
How to Make a Dried Hydrangea Wreath
You might have a hydrangea plant in your garden with flowers beginning to gently fade as the season changes.
Or, like me, a neighbour down the road has a beautiful hydrangea that you keep eyeing up and you're tempted to say hello and ask for a few of them.
In this season of the beginning of Autumn, now's the time of year to collect dusky toned hydrangeas and dry them. When you build a hydrangea wreath you can use hydrangeas that are beginning to turn crispy and they'll dry further on the wreath or you can use some already dried hydrangeas to create your design.
For this wreath design I collected my hydrangeas from a fresh arrangement last year and they’ve been hung upside down to dry since then.
You can create your own dried hydrangea wreath in 5 simple steps and before you know it, you’ll be hanging it from your front door for all the neighbourhood to see.
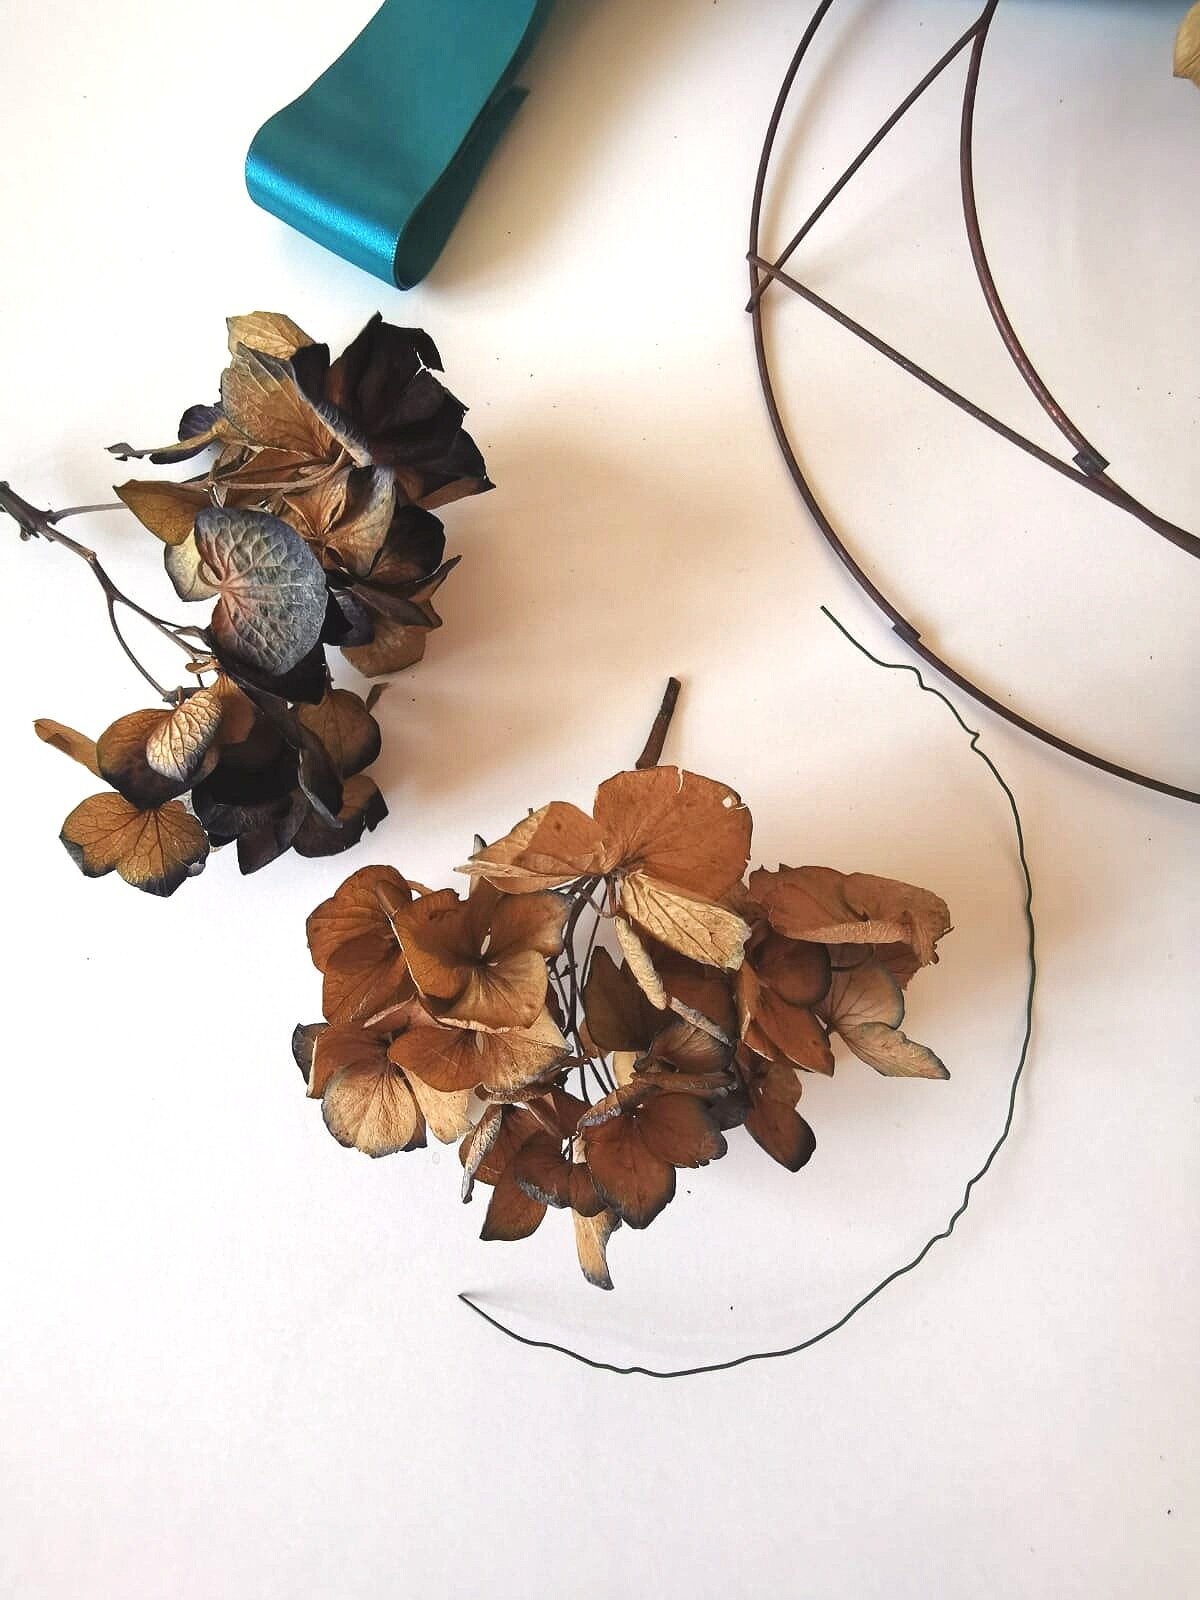
For your hydrangea wreath you will need:
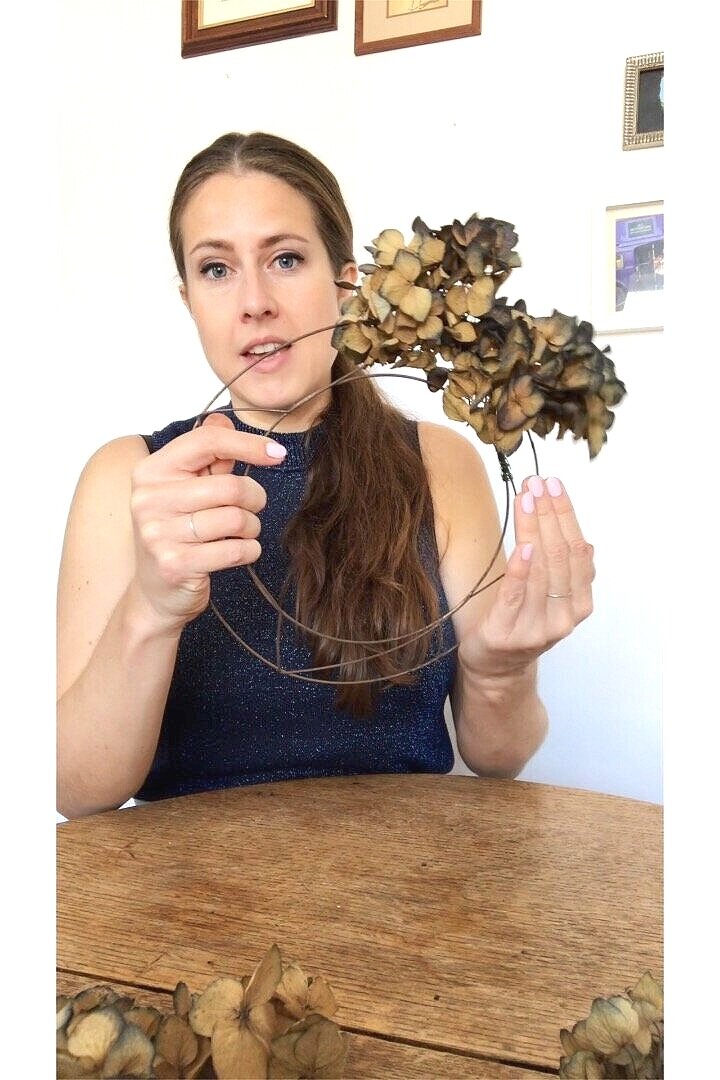
-A copper wreath ring
-Ribbon or twine to hang the wreath
-Hydrangea heads. I used 14 small ones but you can use less if yours are bigger
-Florist wire. 1 per hydrangea head, each 15cm long
I've put together this wreath tutorial in 2 ways. Below there's a simple step by step for you to follow, with images and descriptions for each stage of the wreath making process.
Or, if you love a video to learn something new, I've made an Instagram IGTV and you can watch that if you scroll slightly further down to the big button that says Watch the Video Tutorial.
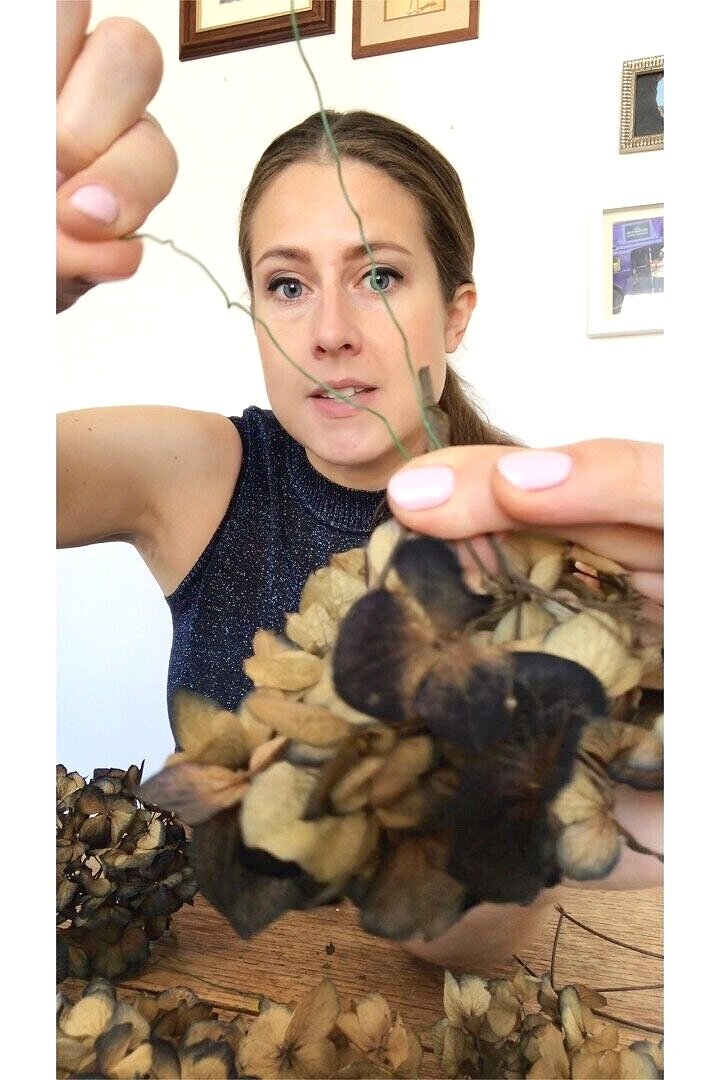
STEP 1.
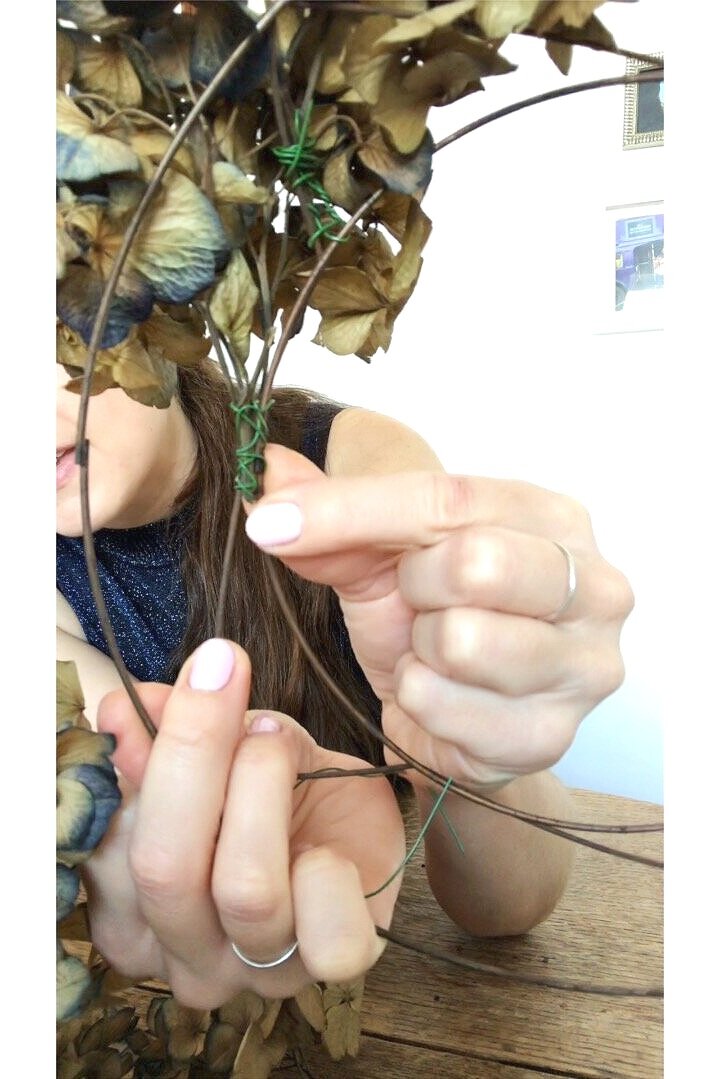
Using the florist wire, wire each hydrangea flower by folding the wire over a lower stem of the florette and twisting the wire a couple of times round the main stem to secure it. Make sure there are two lengths of wire left loose to attach onto the wreath ring.
STEP 2.
Attach the first hydrangea onto the wreath ring by wrapping the wired hydrangea onto one of the small bars of the copper wreath ring.
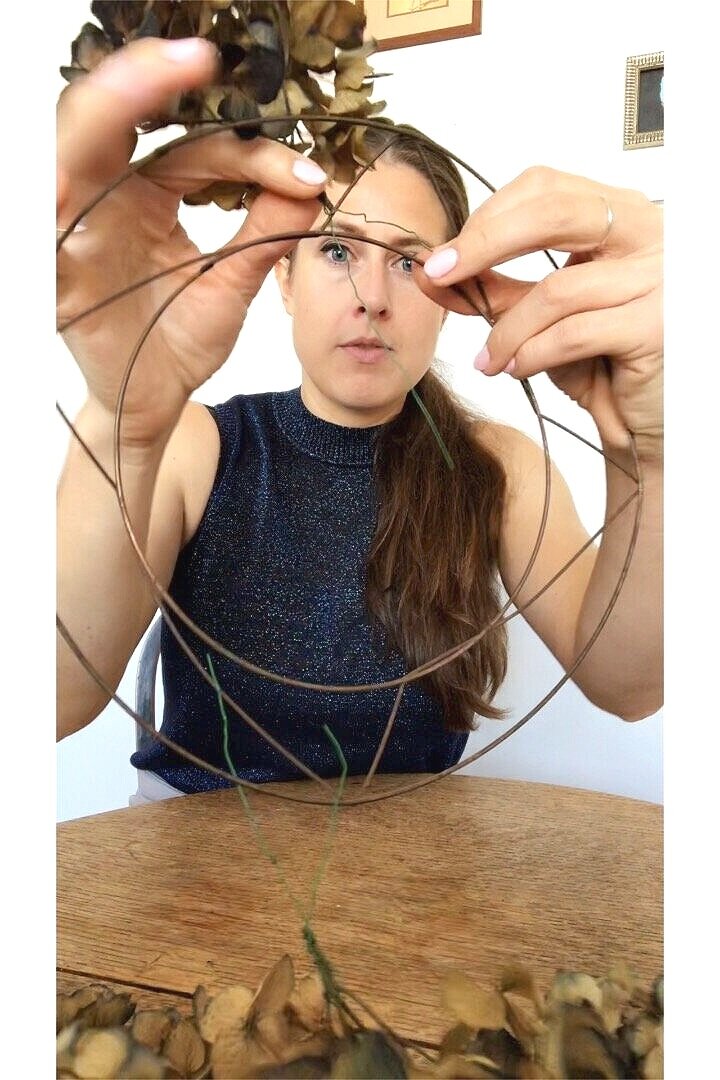
STEP 3.
With the excess wire from your wired hydrangea flowers, rather than cutting it off, wrap the wire all the way up the stem so it's fully attached onto the copper wreath ring and not wobbling about too much.
STEP 4.
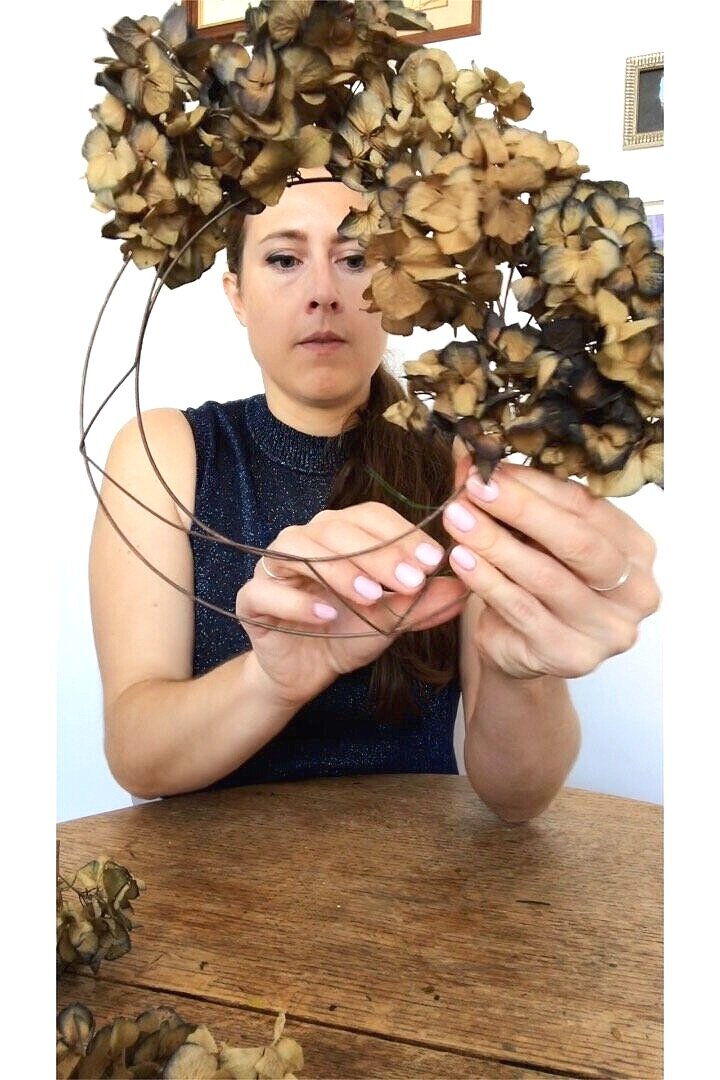
Now build up your wreath by adding the rest of the hydrangeas. Add the next hydrangea below the last and wire it onto the wreath securely using the same method in step 2 and 3.
STEP 5.
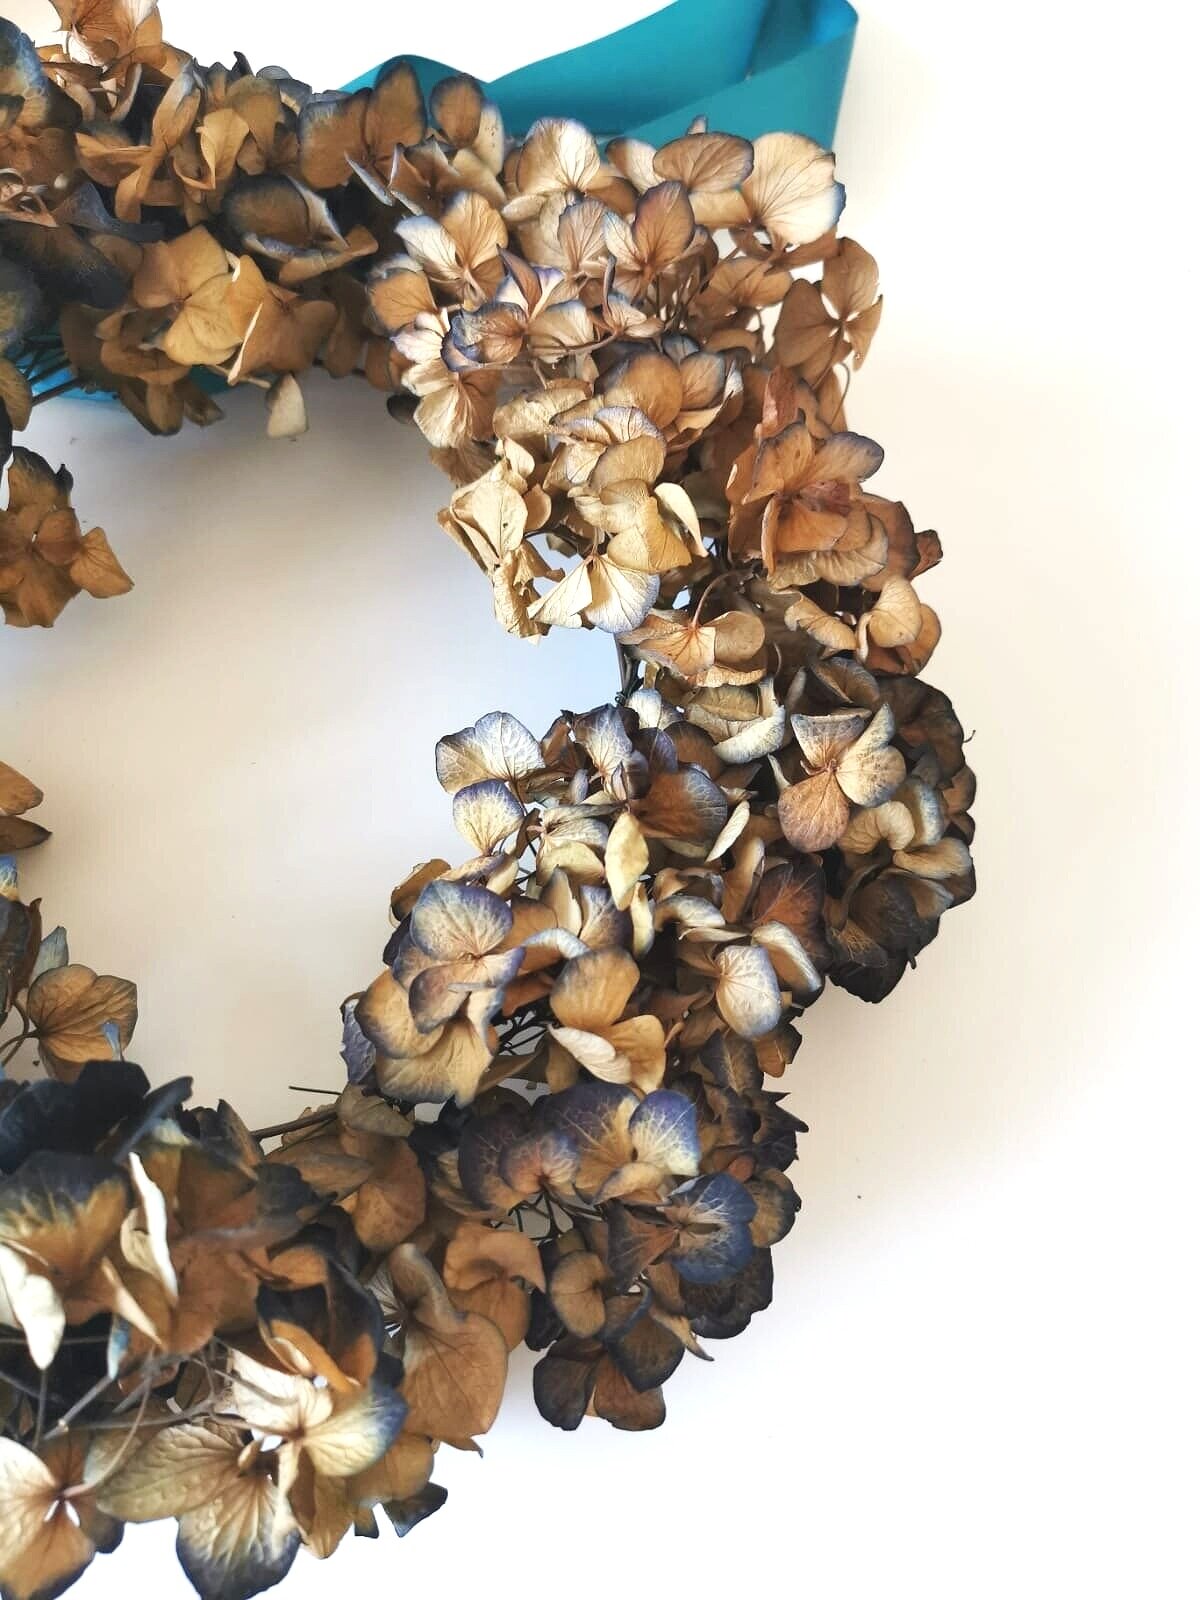
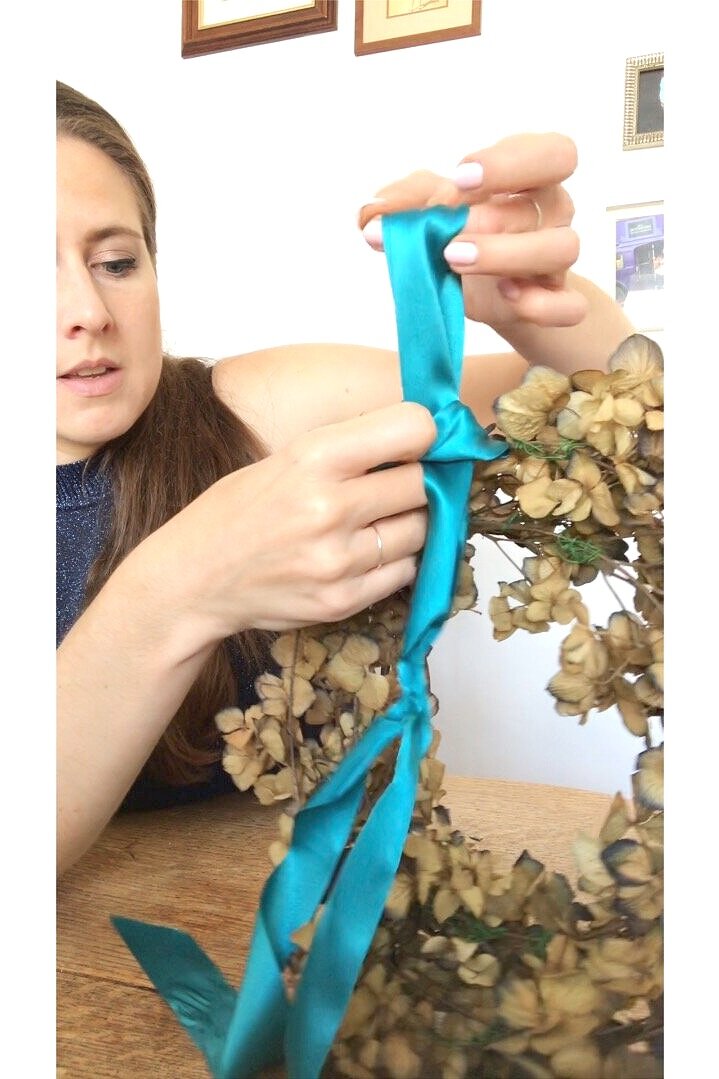
Once all the hydrangeas have been attached, loop your ribbon or twine round the back of the wreath so you can hang it up on display.
Can’t wait to see how you get on with making your dried hydrangea wreath, tag me in your creations on Instagram @WebbandFarrer. You can watch this whole tutorial on video by clicking the big button just below.
This hydrangea wreath is such a nice way to embrace the change of season as the hydrangeas fade they become even more beautiful and transparent. These wreaths last for ages and if you store it in a dry place you should be able to bring it out for next year and see how it’s transformed over time.

Learn how to make your own bouquet
I’ve created a video workshop on Skillshare that guides you through the steps I take to create wedding bouquets as well as hand-ties to pop in a vase at home.
The button below is an affiliate link.