
How I Refurbished My Home Office Stool
Before and After:
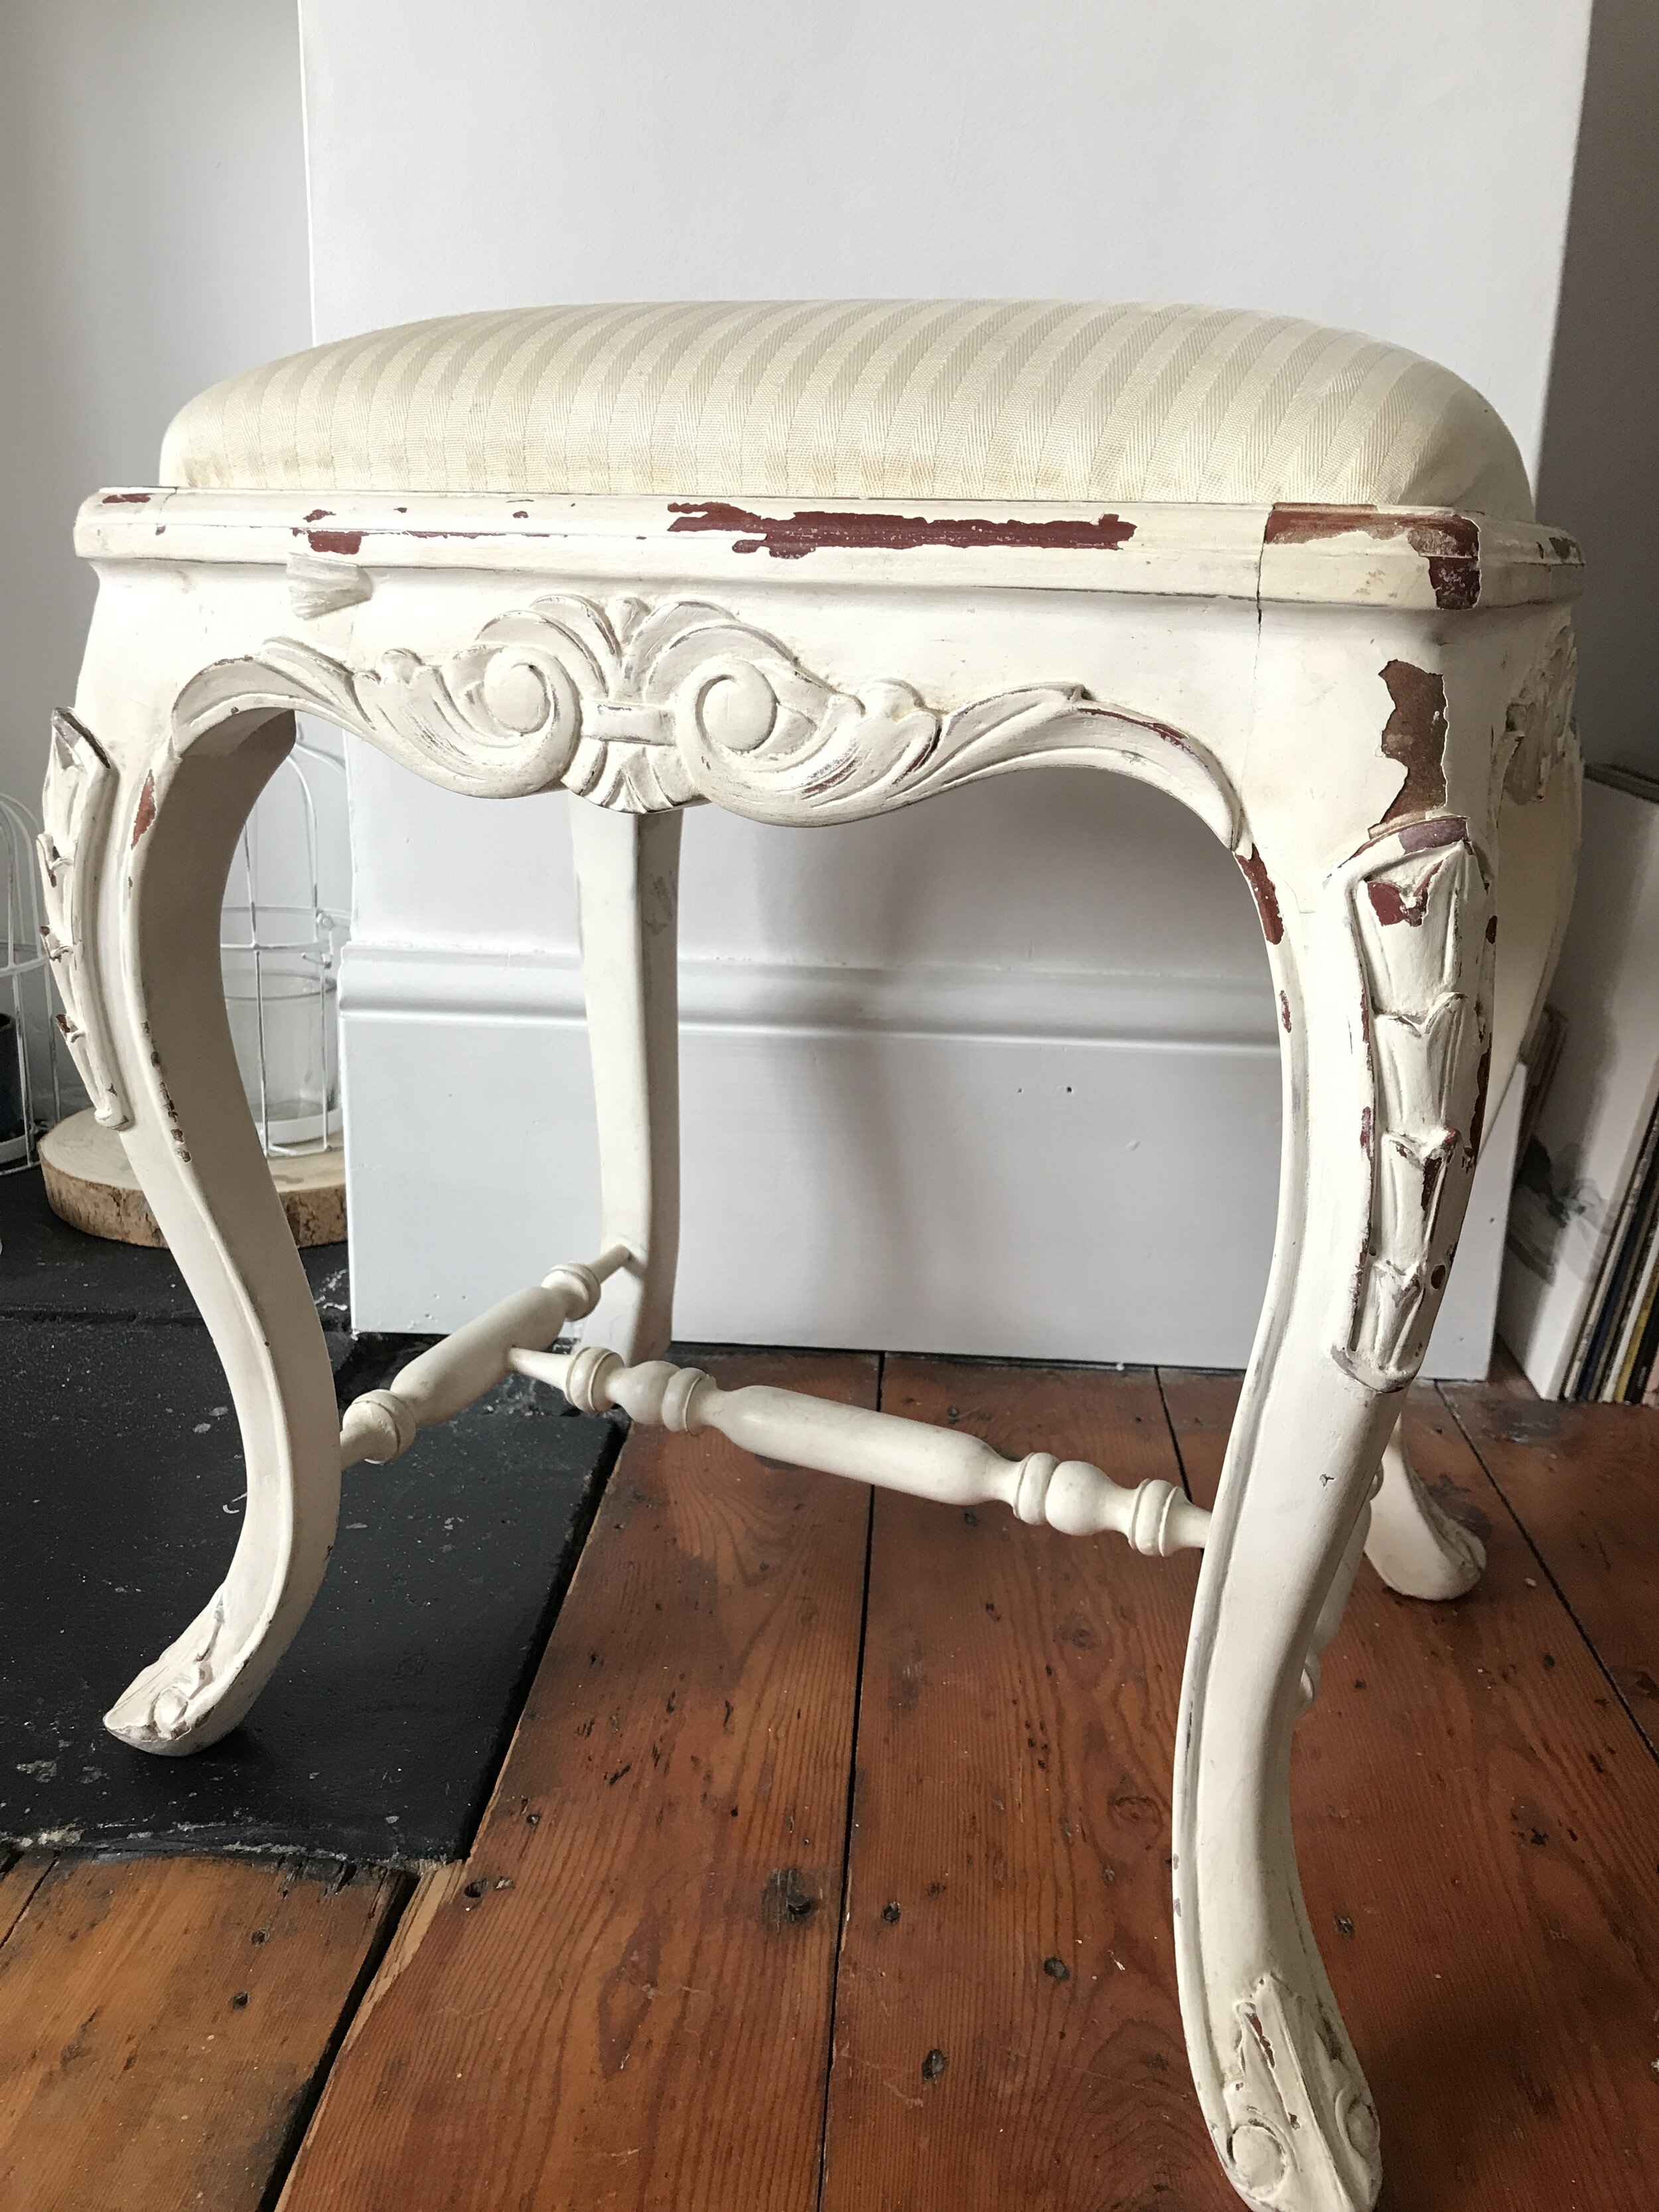
My office chair is an upholstered stool which is surprisingly comfy! It’s got a bit tired over the years I’ve had it so it was time to up-cycle it on a rainy day spent inside. I’ve had this stool for well over 15 years now and it’s got covered in makeup, from when it was my dressing table stool, and now it’s in my flower studio I drop leaves on it a lot and it’s not looking its best at the mo. Here’s how I refurbished my home office stool with fabric and paint I had left over from other craft projects.
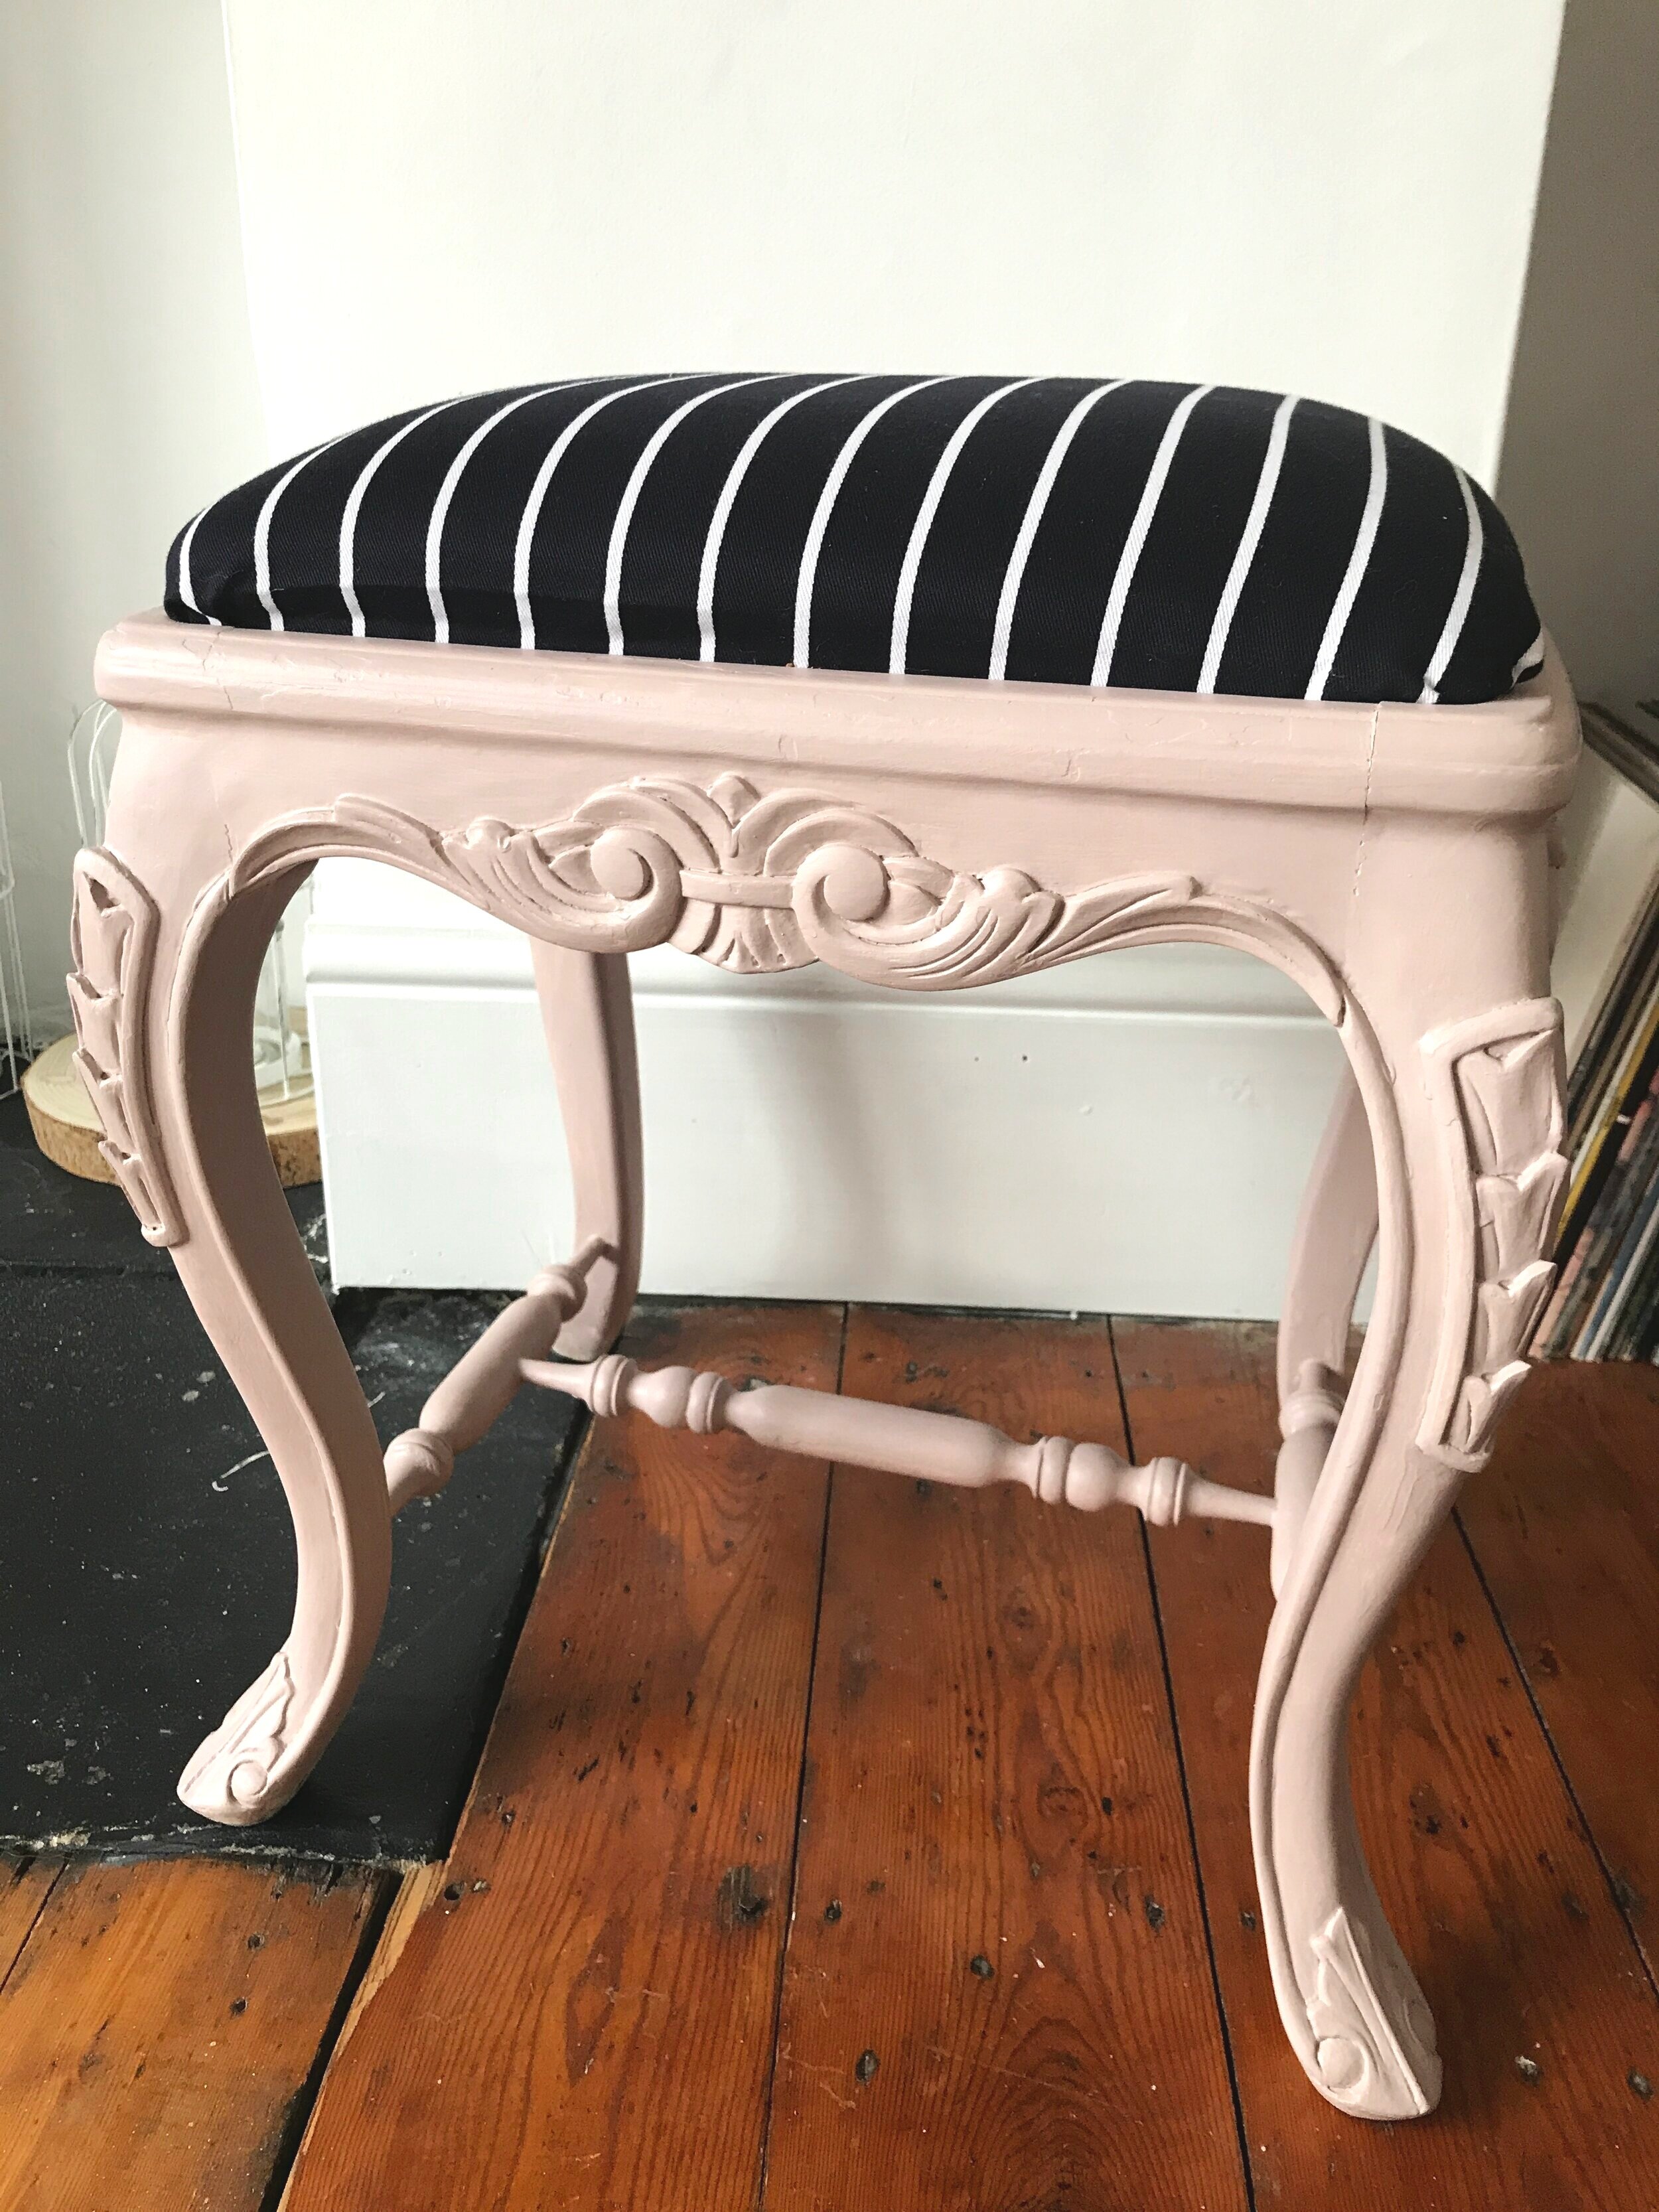
I had some leftover Ronseal chalky furniture paint in the shade English Rose so that was going to be my paint colour and then I chose my fabric from a selection of pieces I had left from craft projects. In the end I went for a very dark navy blue with white stripes across it.
This was a fun experiment and my first time reupholstering anything so the steps below come with the caveat that I’m not a professional furniture up-cycler. I don’t usually paint old wooden furniture unless it’s already been painted and this stool had a coat of cream paint on it since it came into my possession around 2003!

I used:
Ronseal Chalky Furniture paint in English Rose
Large paintbrush
Fabric Scissors
Thick navy fabric
Staple gun (use with caution x)
An old sheet to protect the floor
Step 1 - Cushion off, Paint on
I took the cushion seat out of the stool and put that to the side so it wouldn’t get splattered with paint, knowing me. The cushion was one that can pop in and out and wasn’t attached in any way.
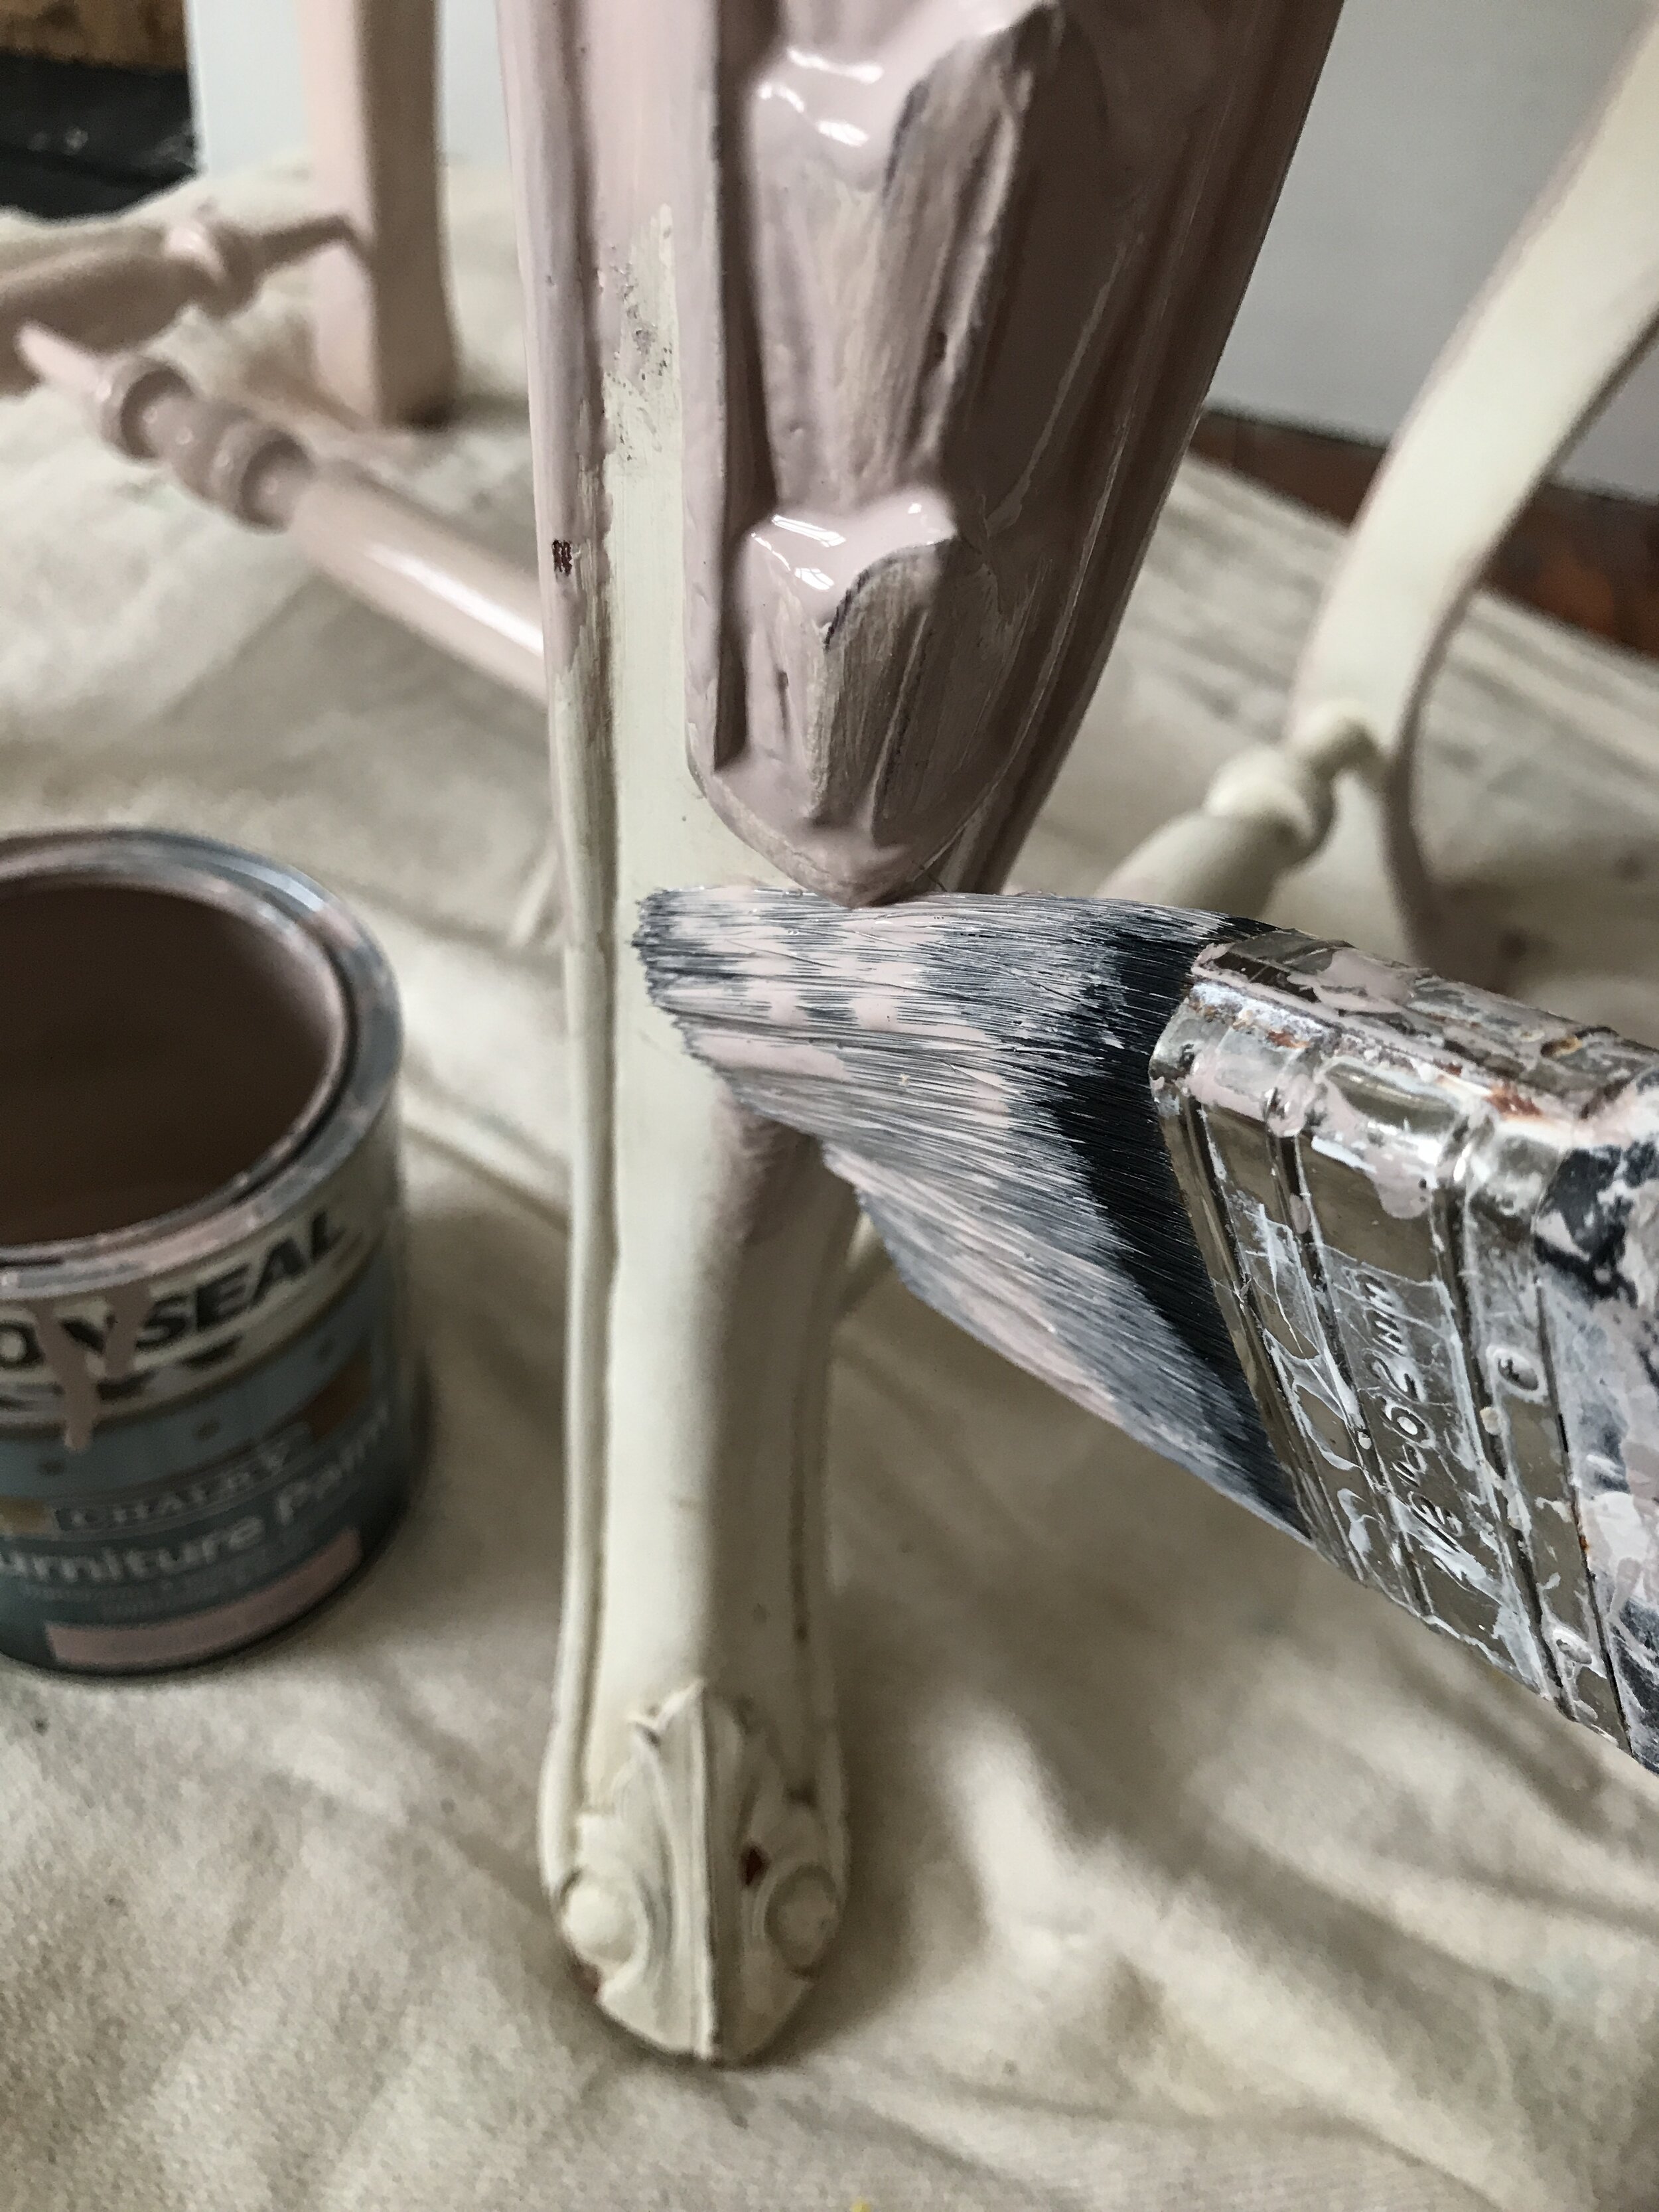
To protect the nice wooden floor in the front room, I placed the old sheet on the floor and painted the first coat of paint all over the stool. It was quite thick and dribbley so I did a thin coat and made sure to get in the smaller details of the wood with the tip of the brush.

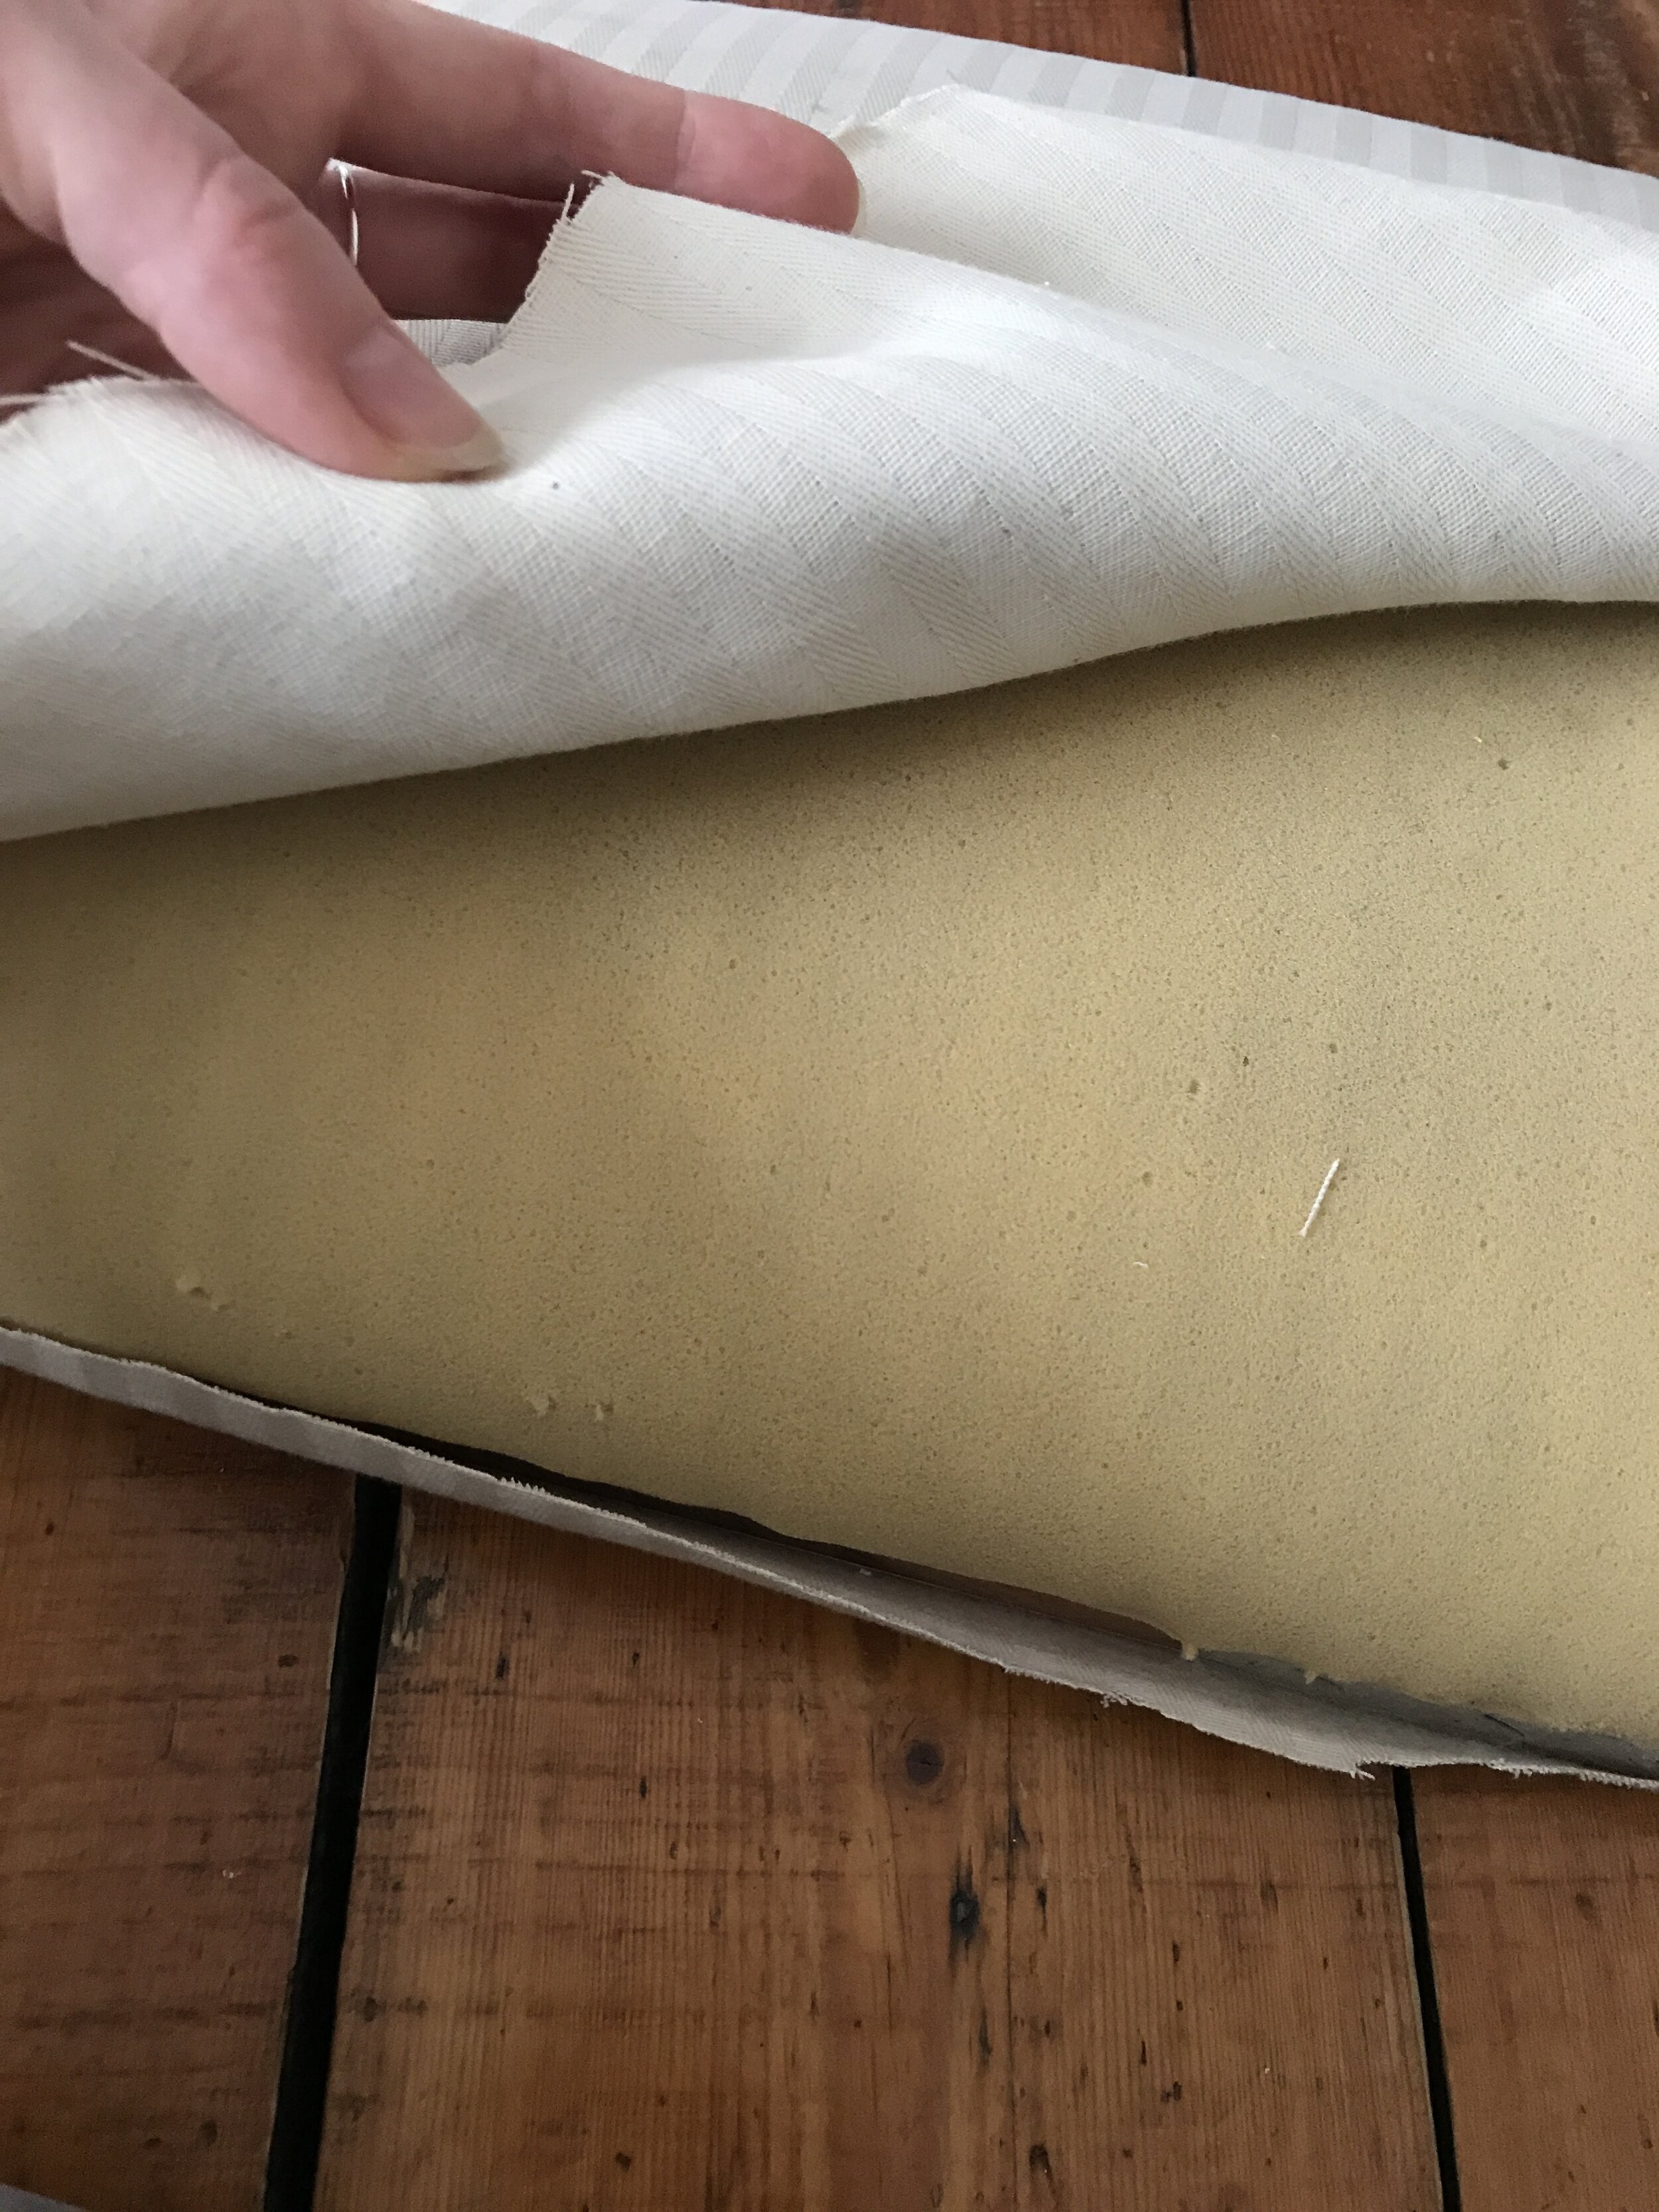
Step 2 - Removing the Old Fabric
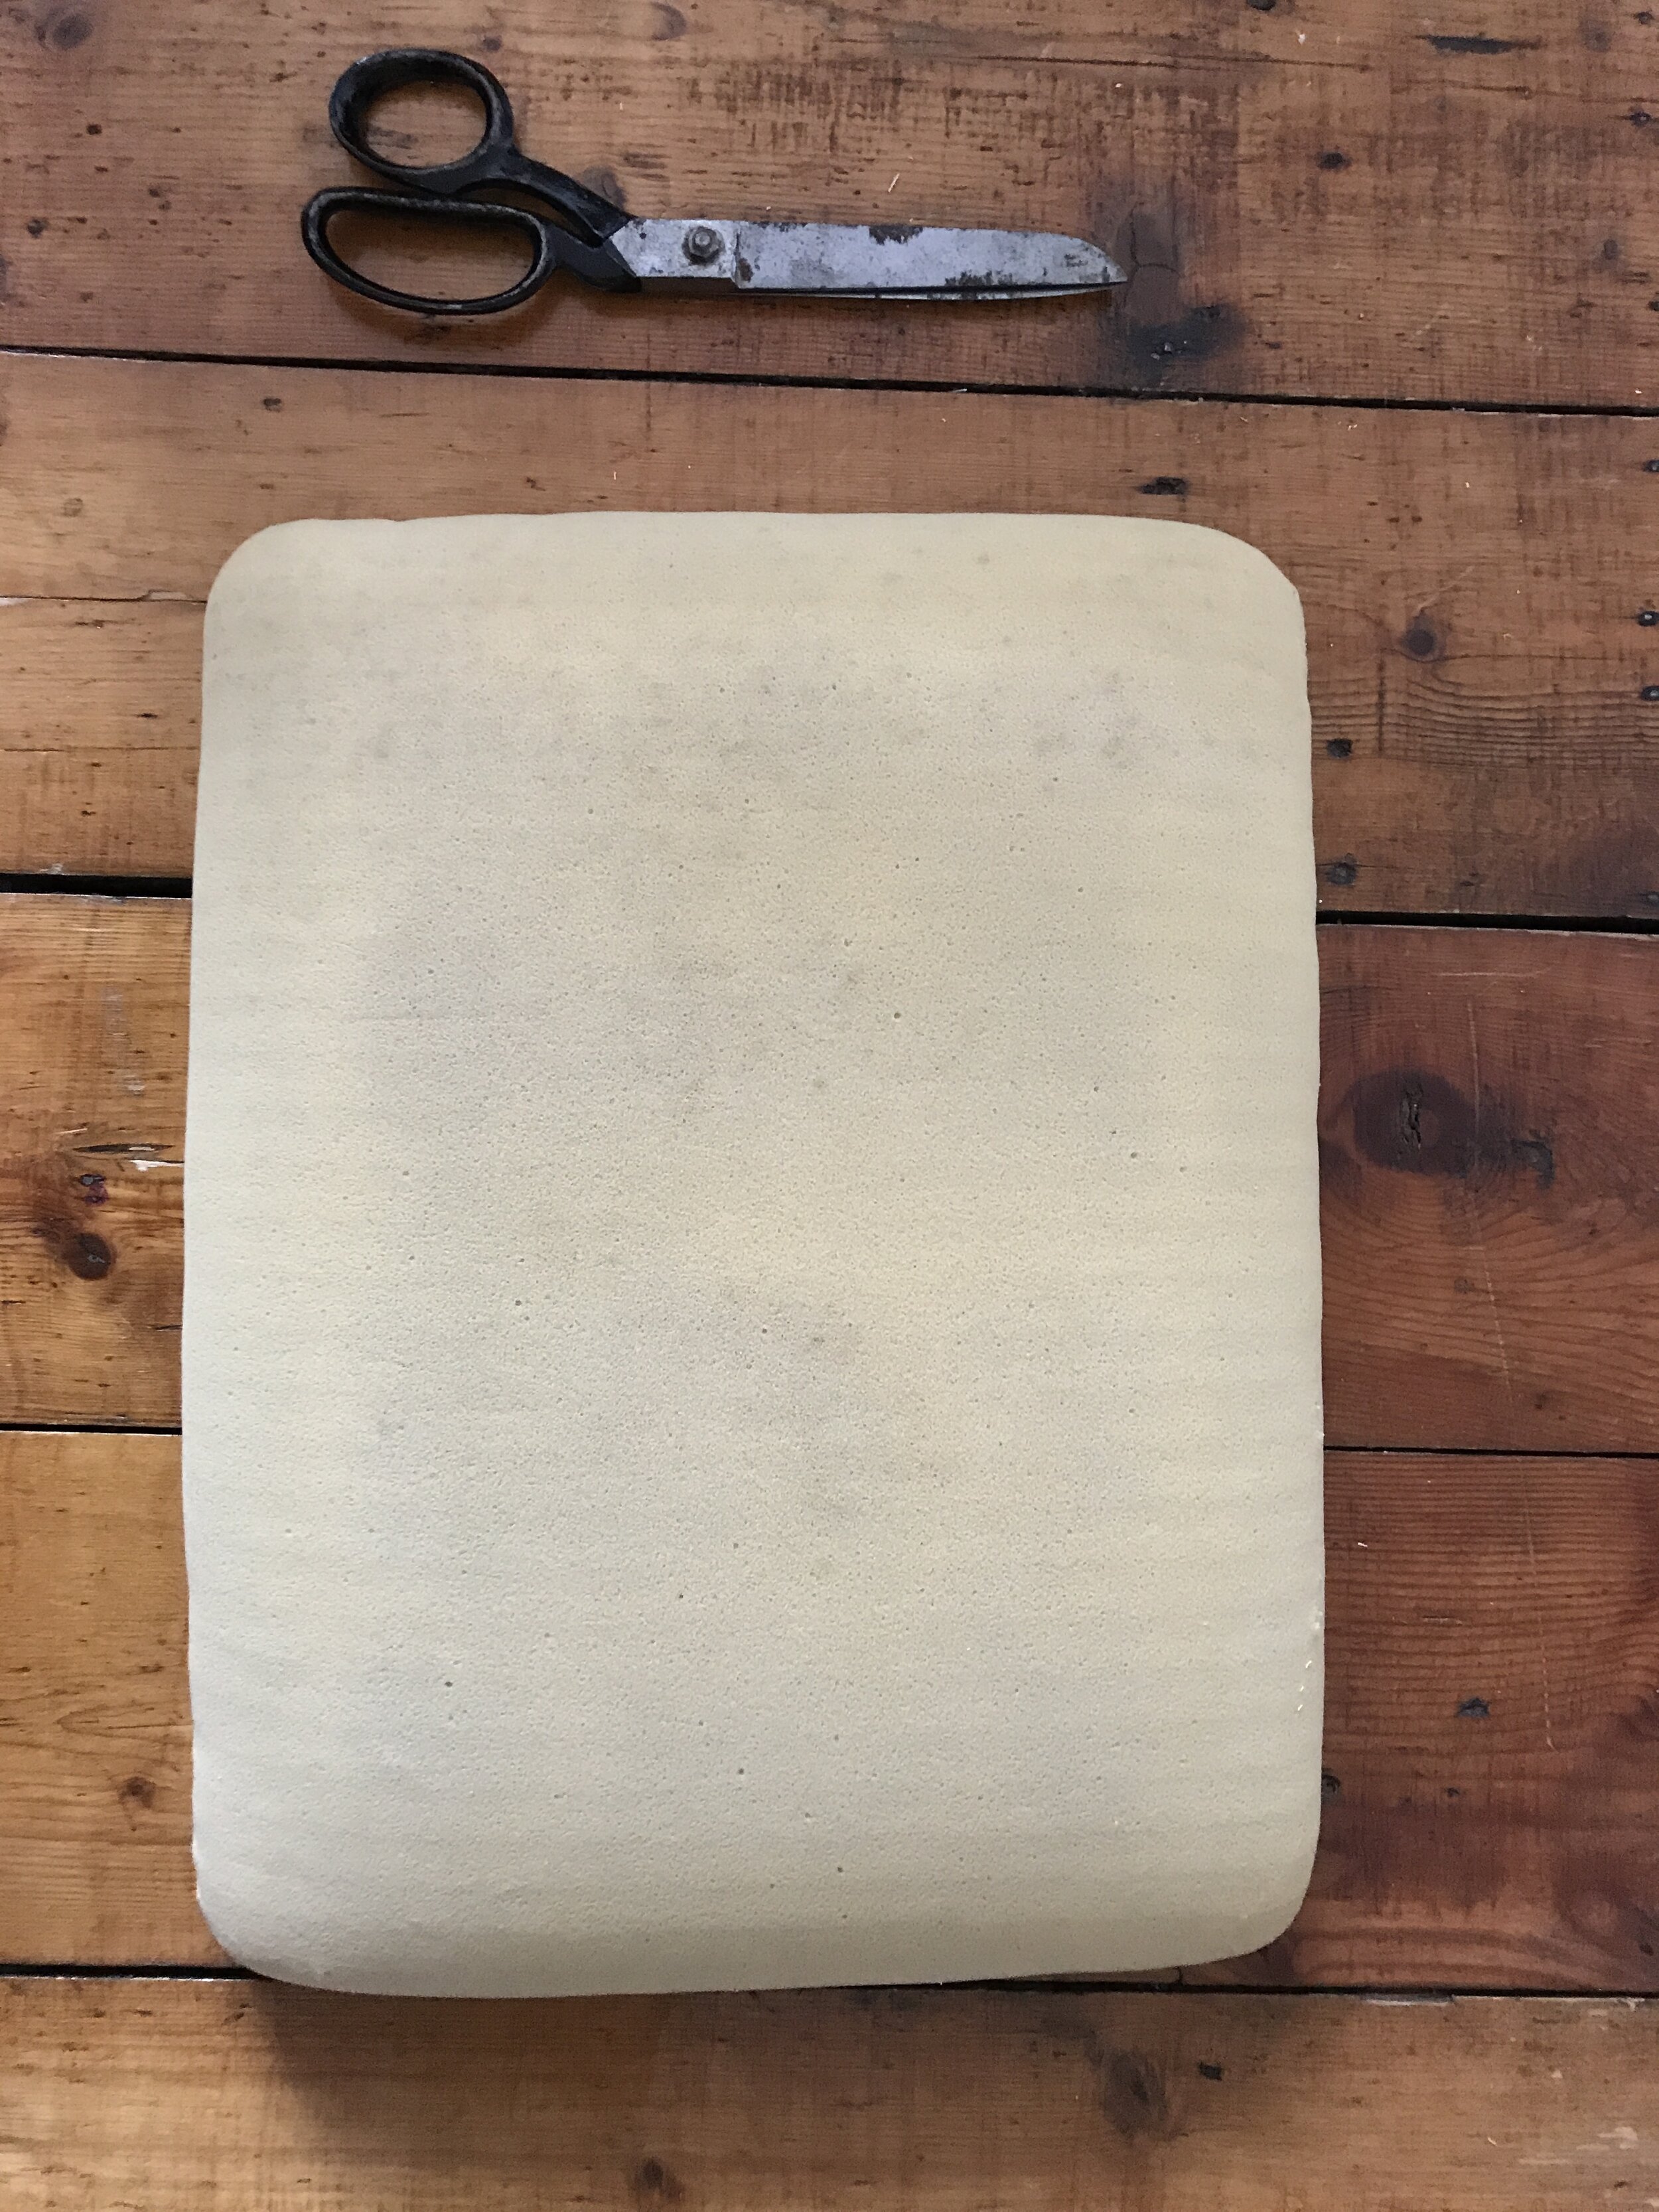
Whilst the first coat of paint was on and drying, I then tackled the cushion. I carefully cut away the old fabric from the cushion without snipping into the padding of the cushion itself. From the new navy blue piece of fabric, I cut a rectangular piece that would cover the now bare cushion seat, making sure there was enough fabric to fold over and staple as a seam in the next stage.
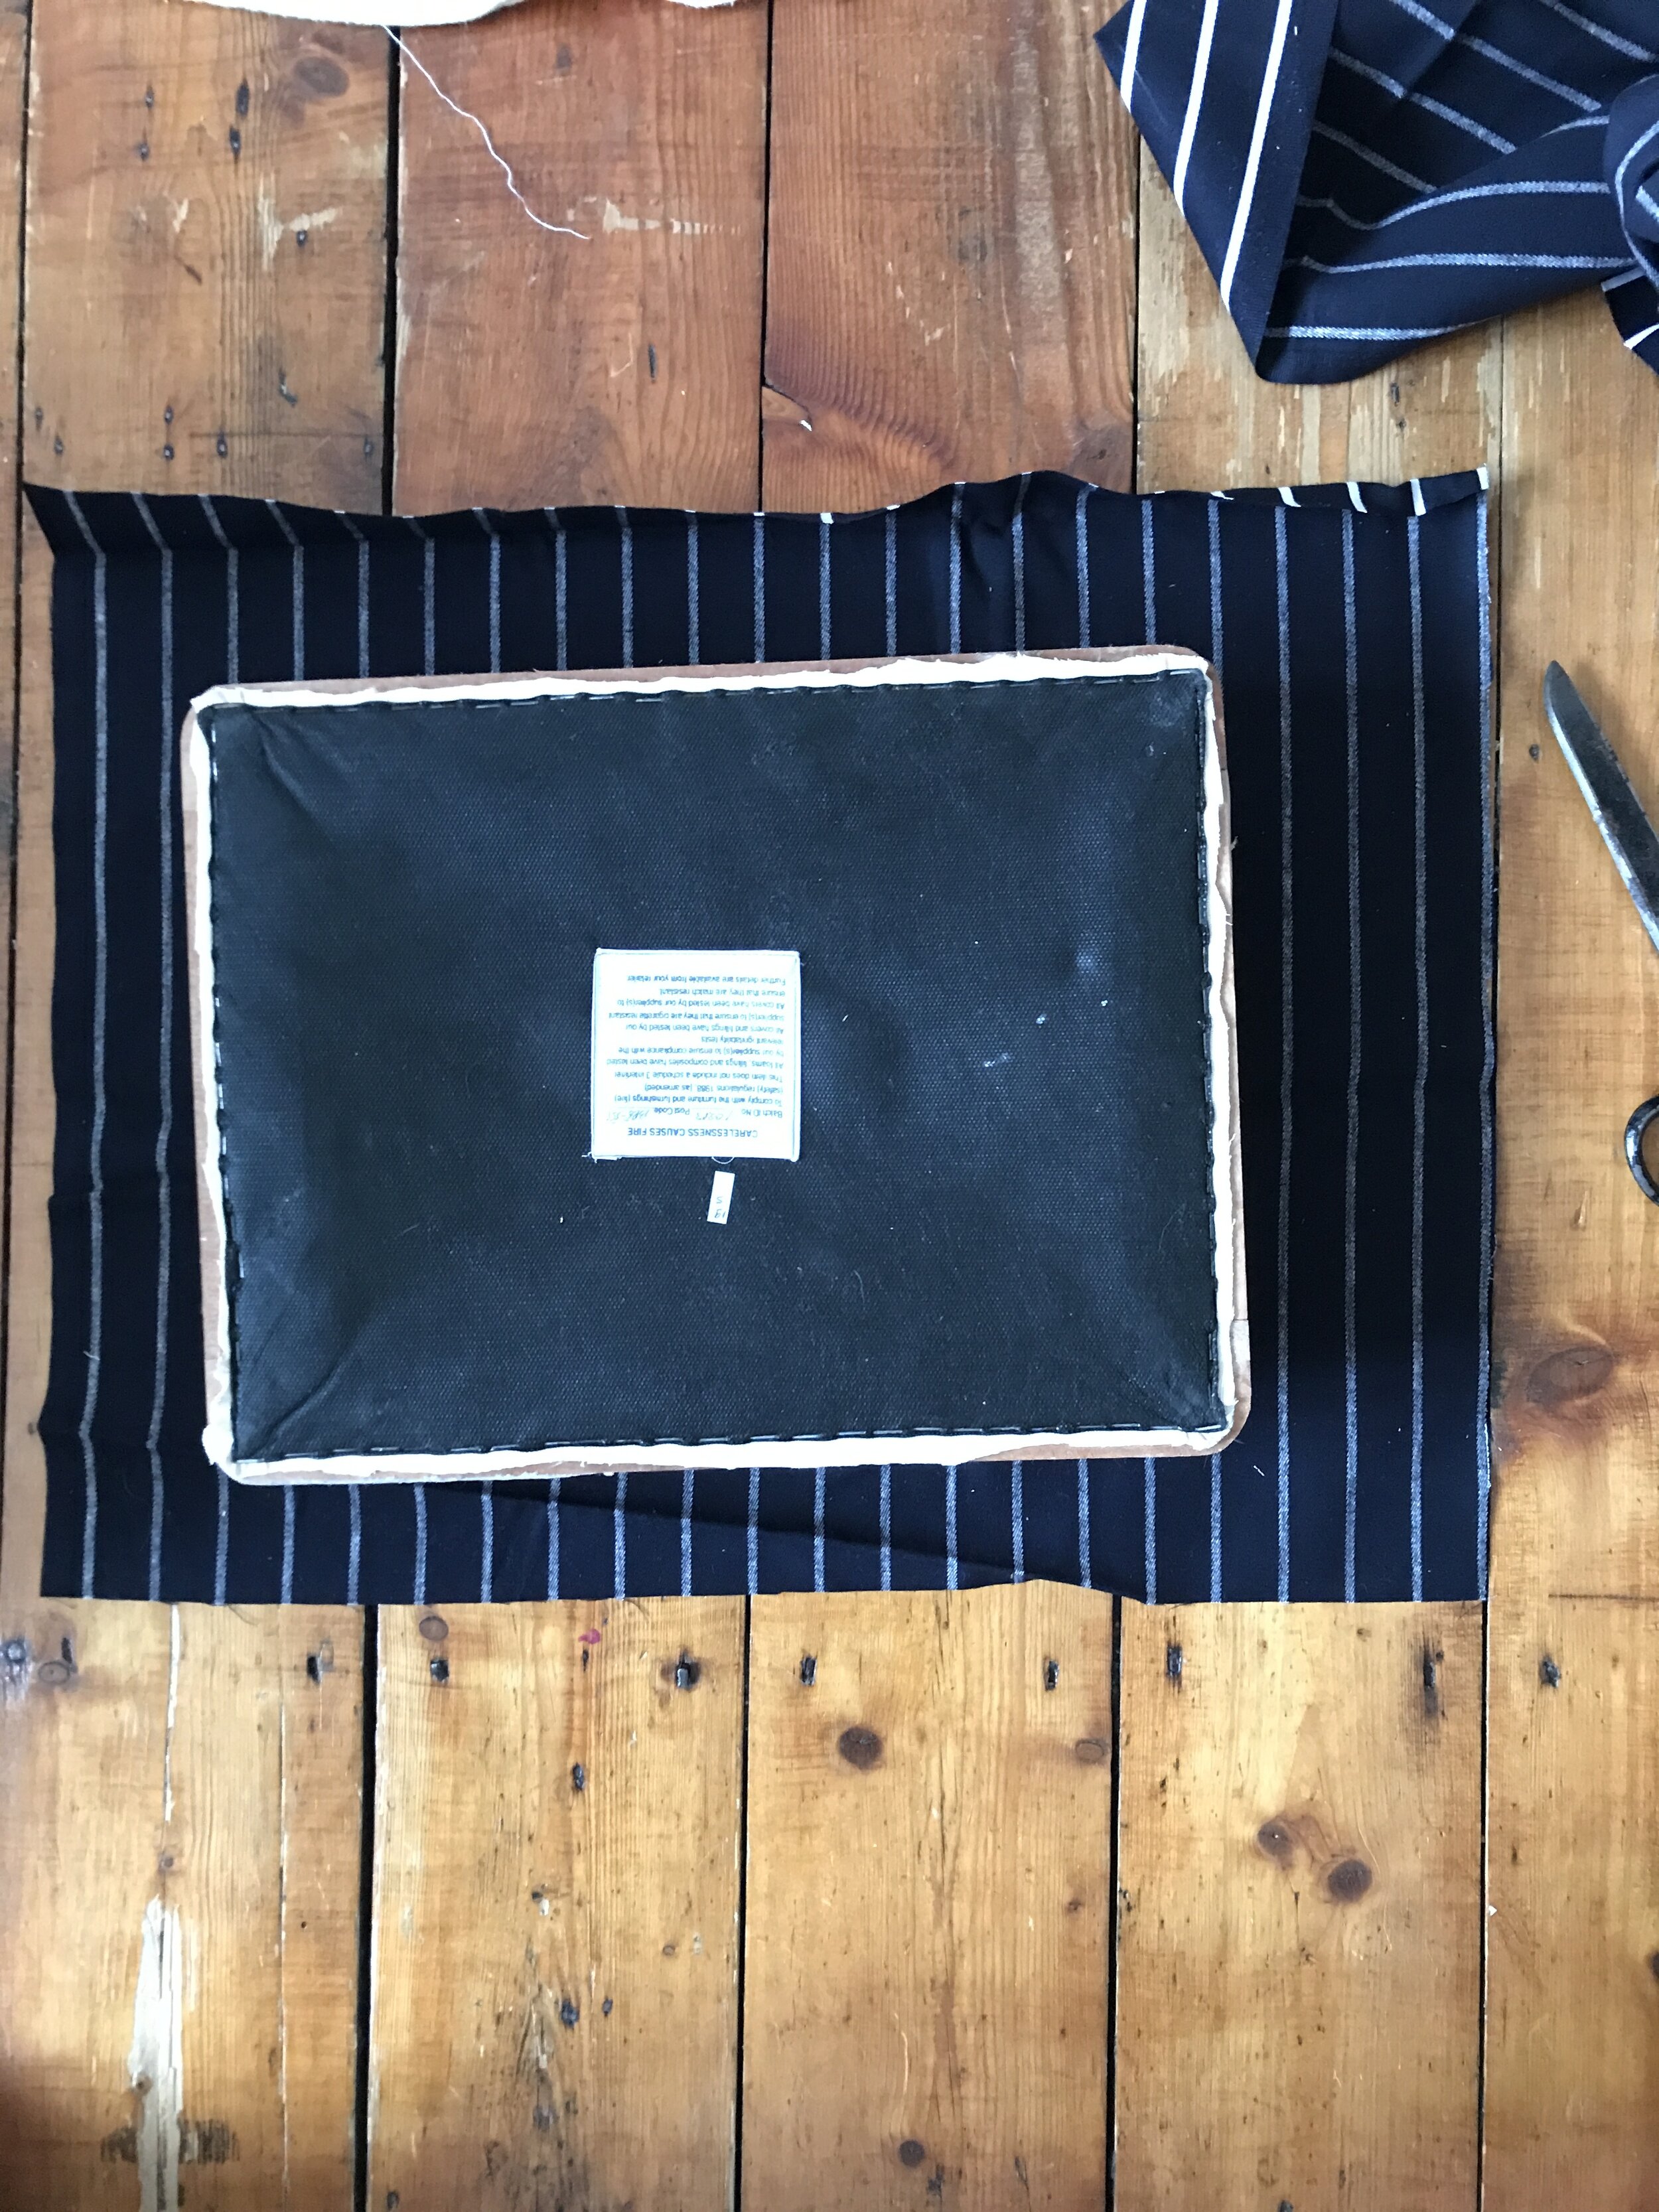
Step 3 - Re-upholstering the Cushion
Making sure the fabric was lined up to equally cover the cushion, I placed the cushion seat top down onto the fabric piece. I then brought the edges of the fabric up to the edge around the bottom of the cushion which was facing me.
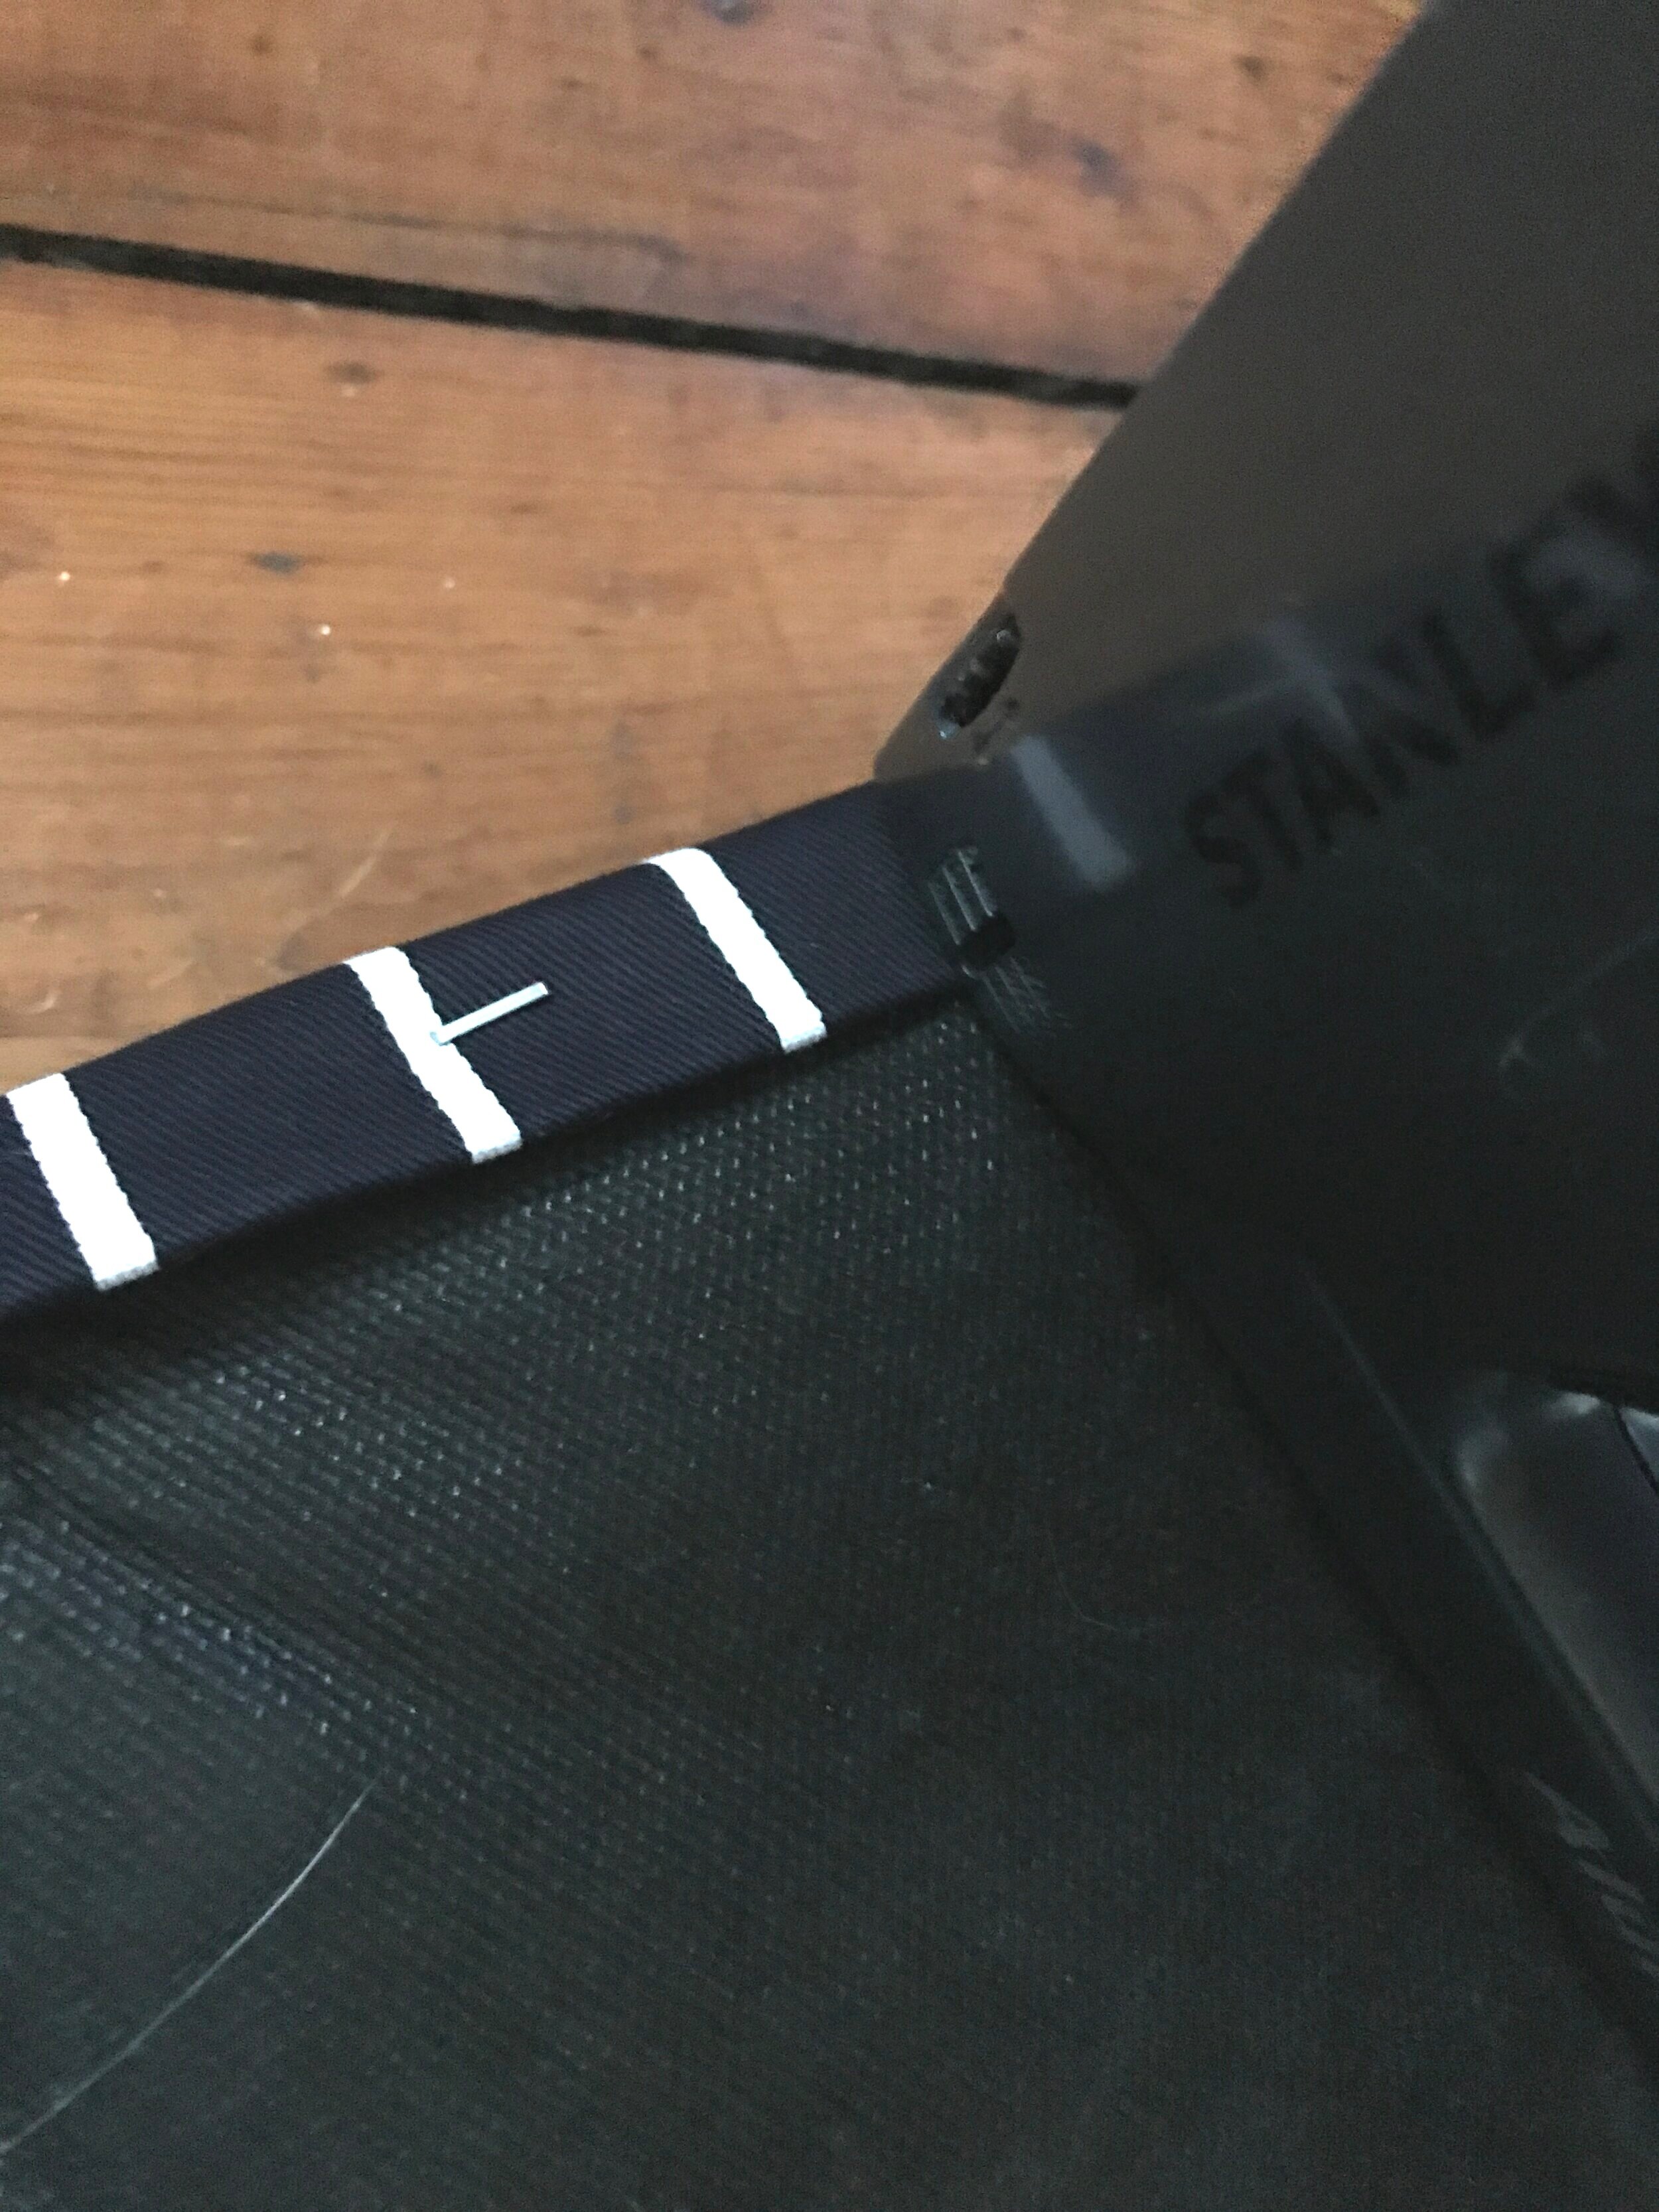
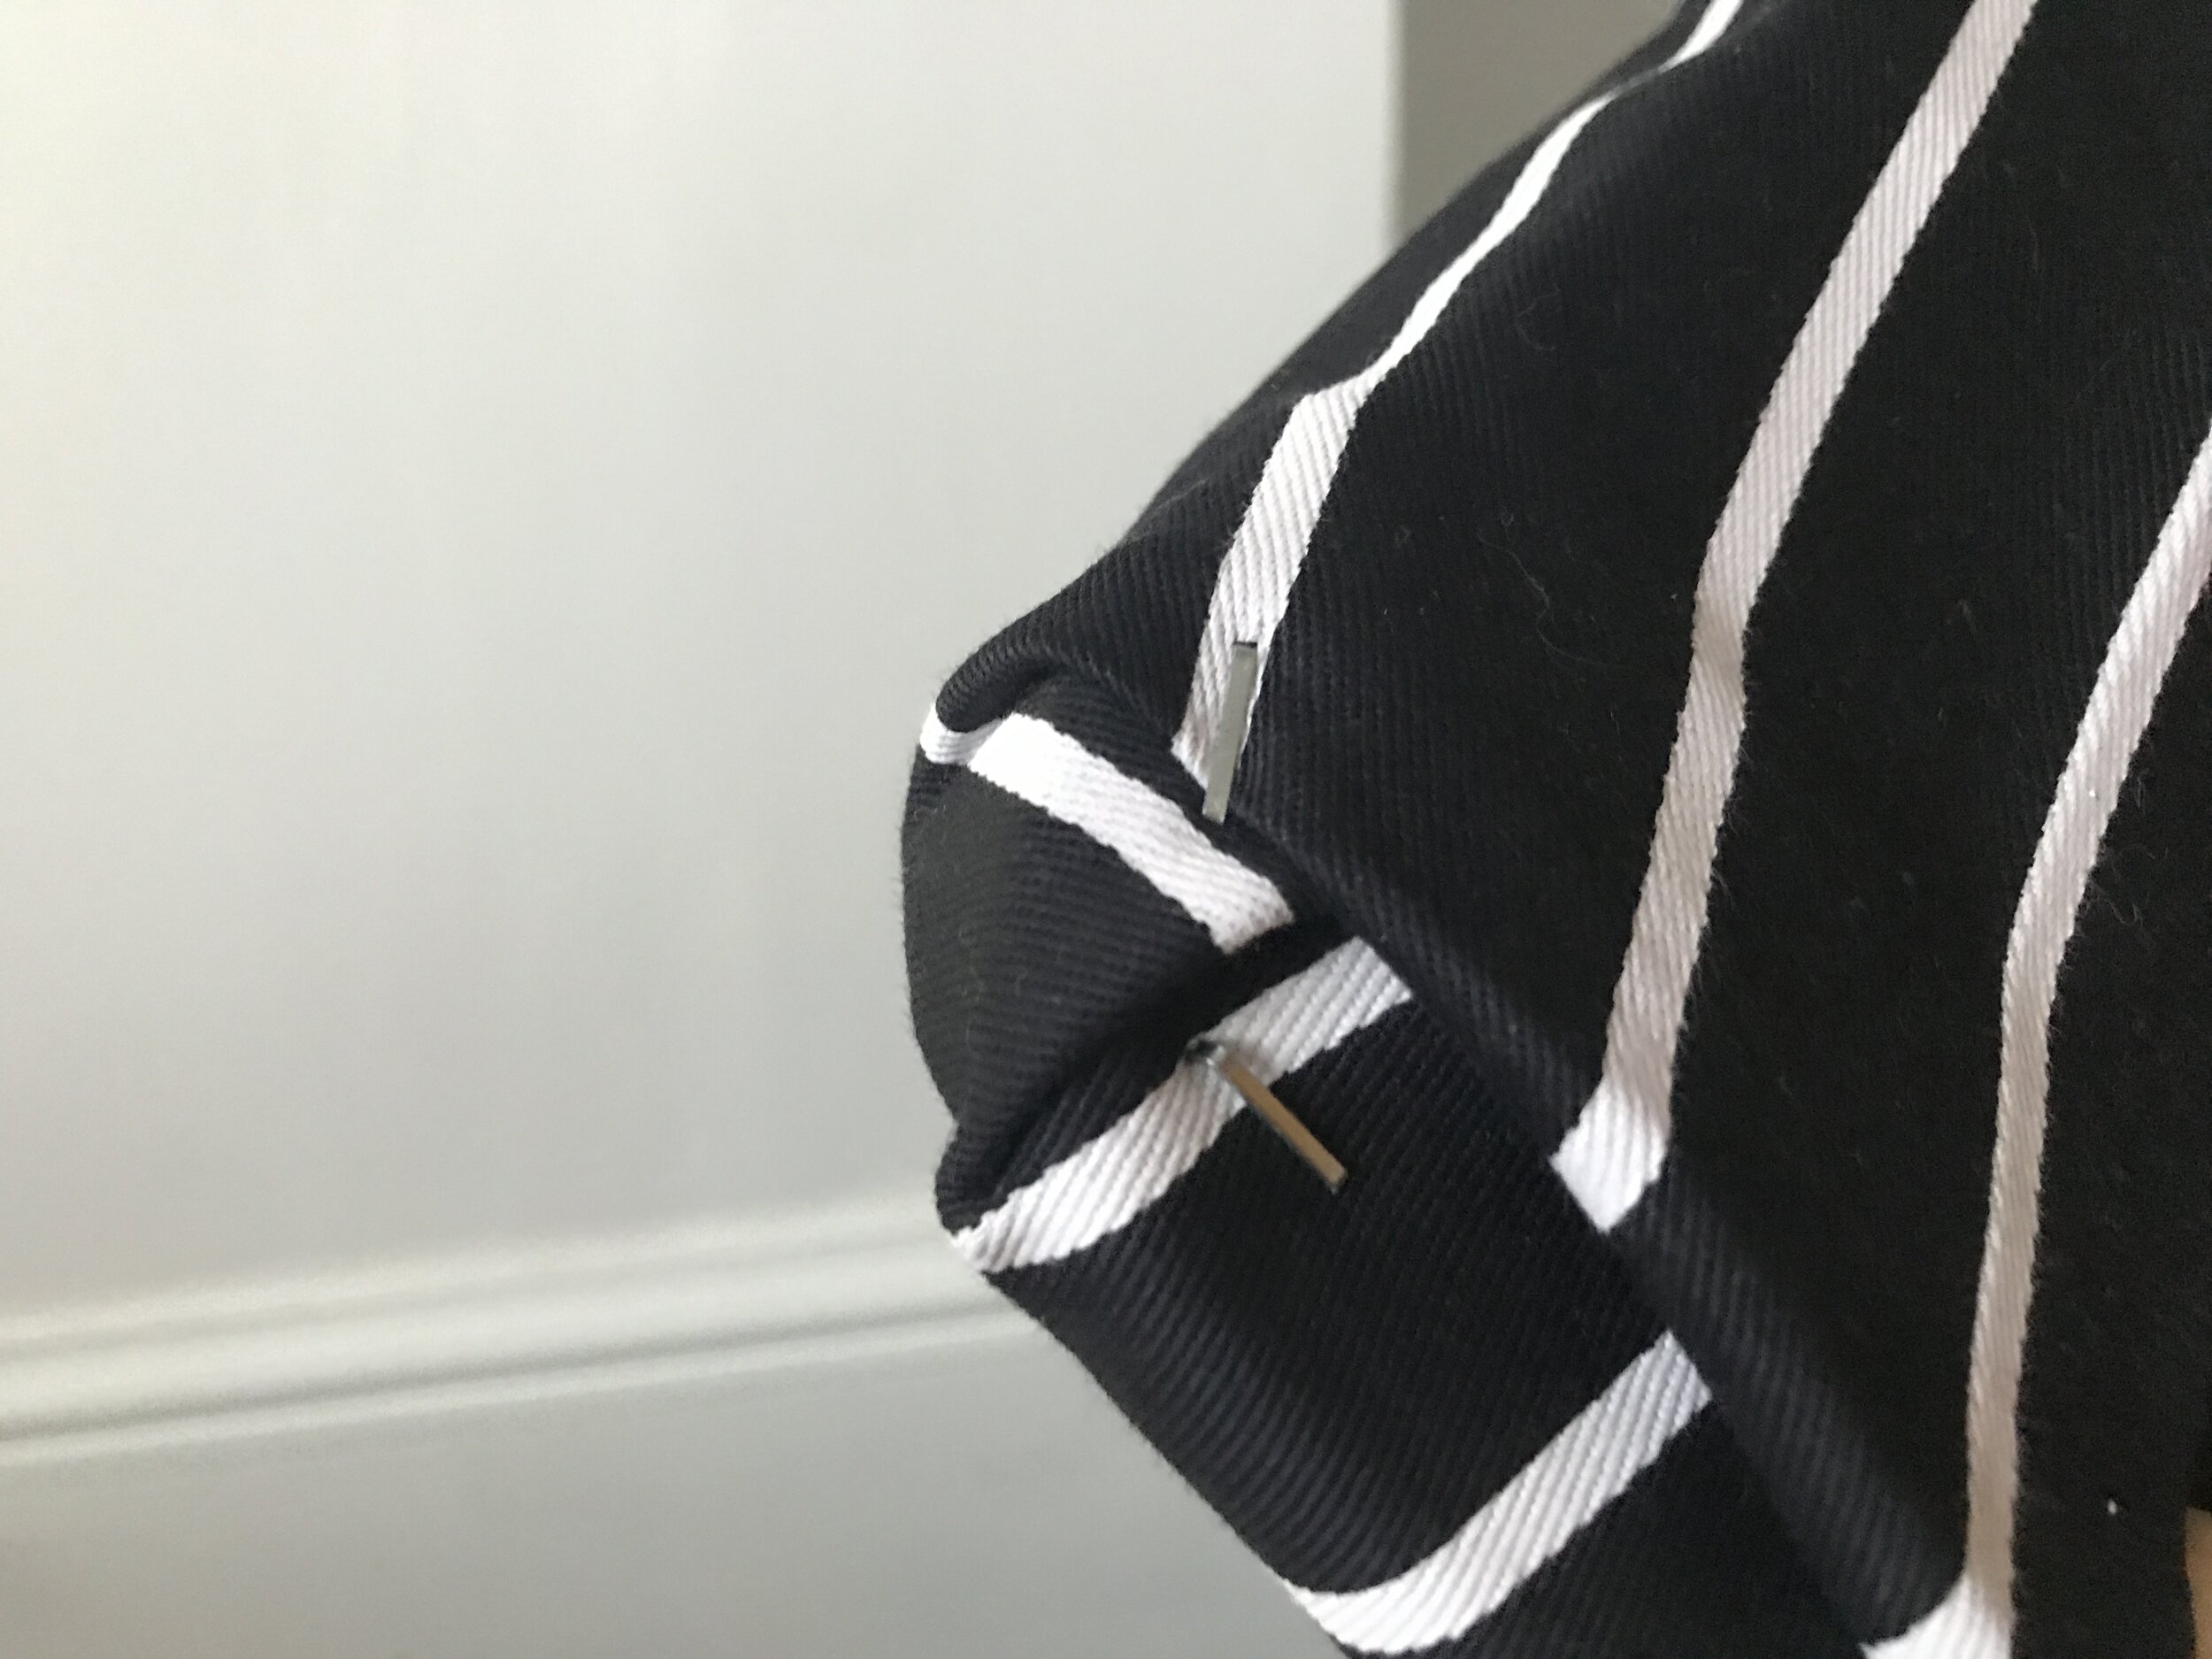
Taking the staple gun (use with caution!) I folded the fabric inwards once, to create a seam and stapled it in place. Making sure to pull tightly as I stapled my way round the underside of the cushion.
When I got to a corner I made a couple of pleats to create a curve and stapled the folds so they were secure.
Once all the fabric was secured around the cushion with the staples, I placed it to the side, and then painted the second coat of paint onto the wooden stool and let that dry before I pushed the cushion back into its place.


Here’s the finished stool with its english rose coat of paint and stripy cushion. It brings me a spark of happiness when I sit down to work in the week now!
It would be so nice to hear if you’re into up-cycling your furniture when you’ve got a spare afternoon. Tag me on Instagram @WebbandFarrer to show me your handy work!