
3 Steps to Create a Cloud of Daisies in a Vase
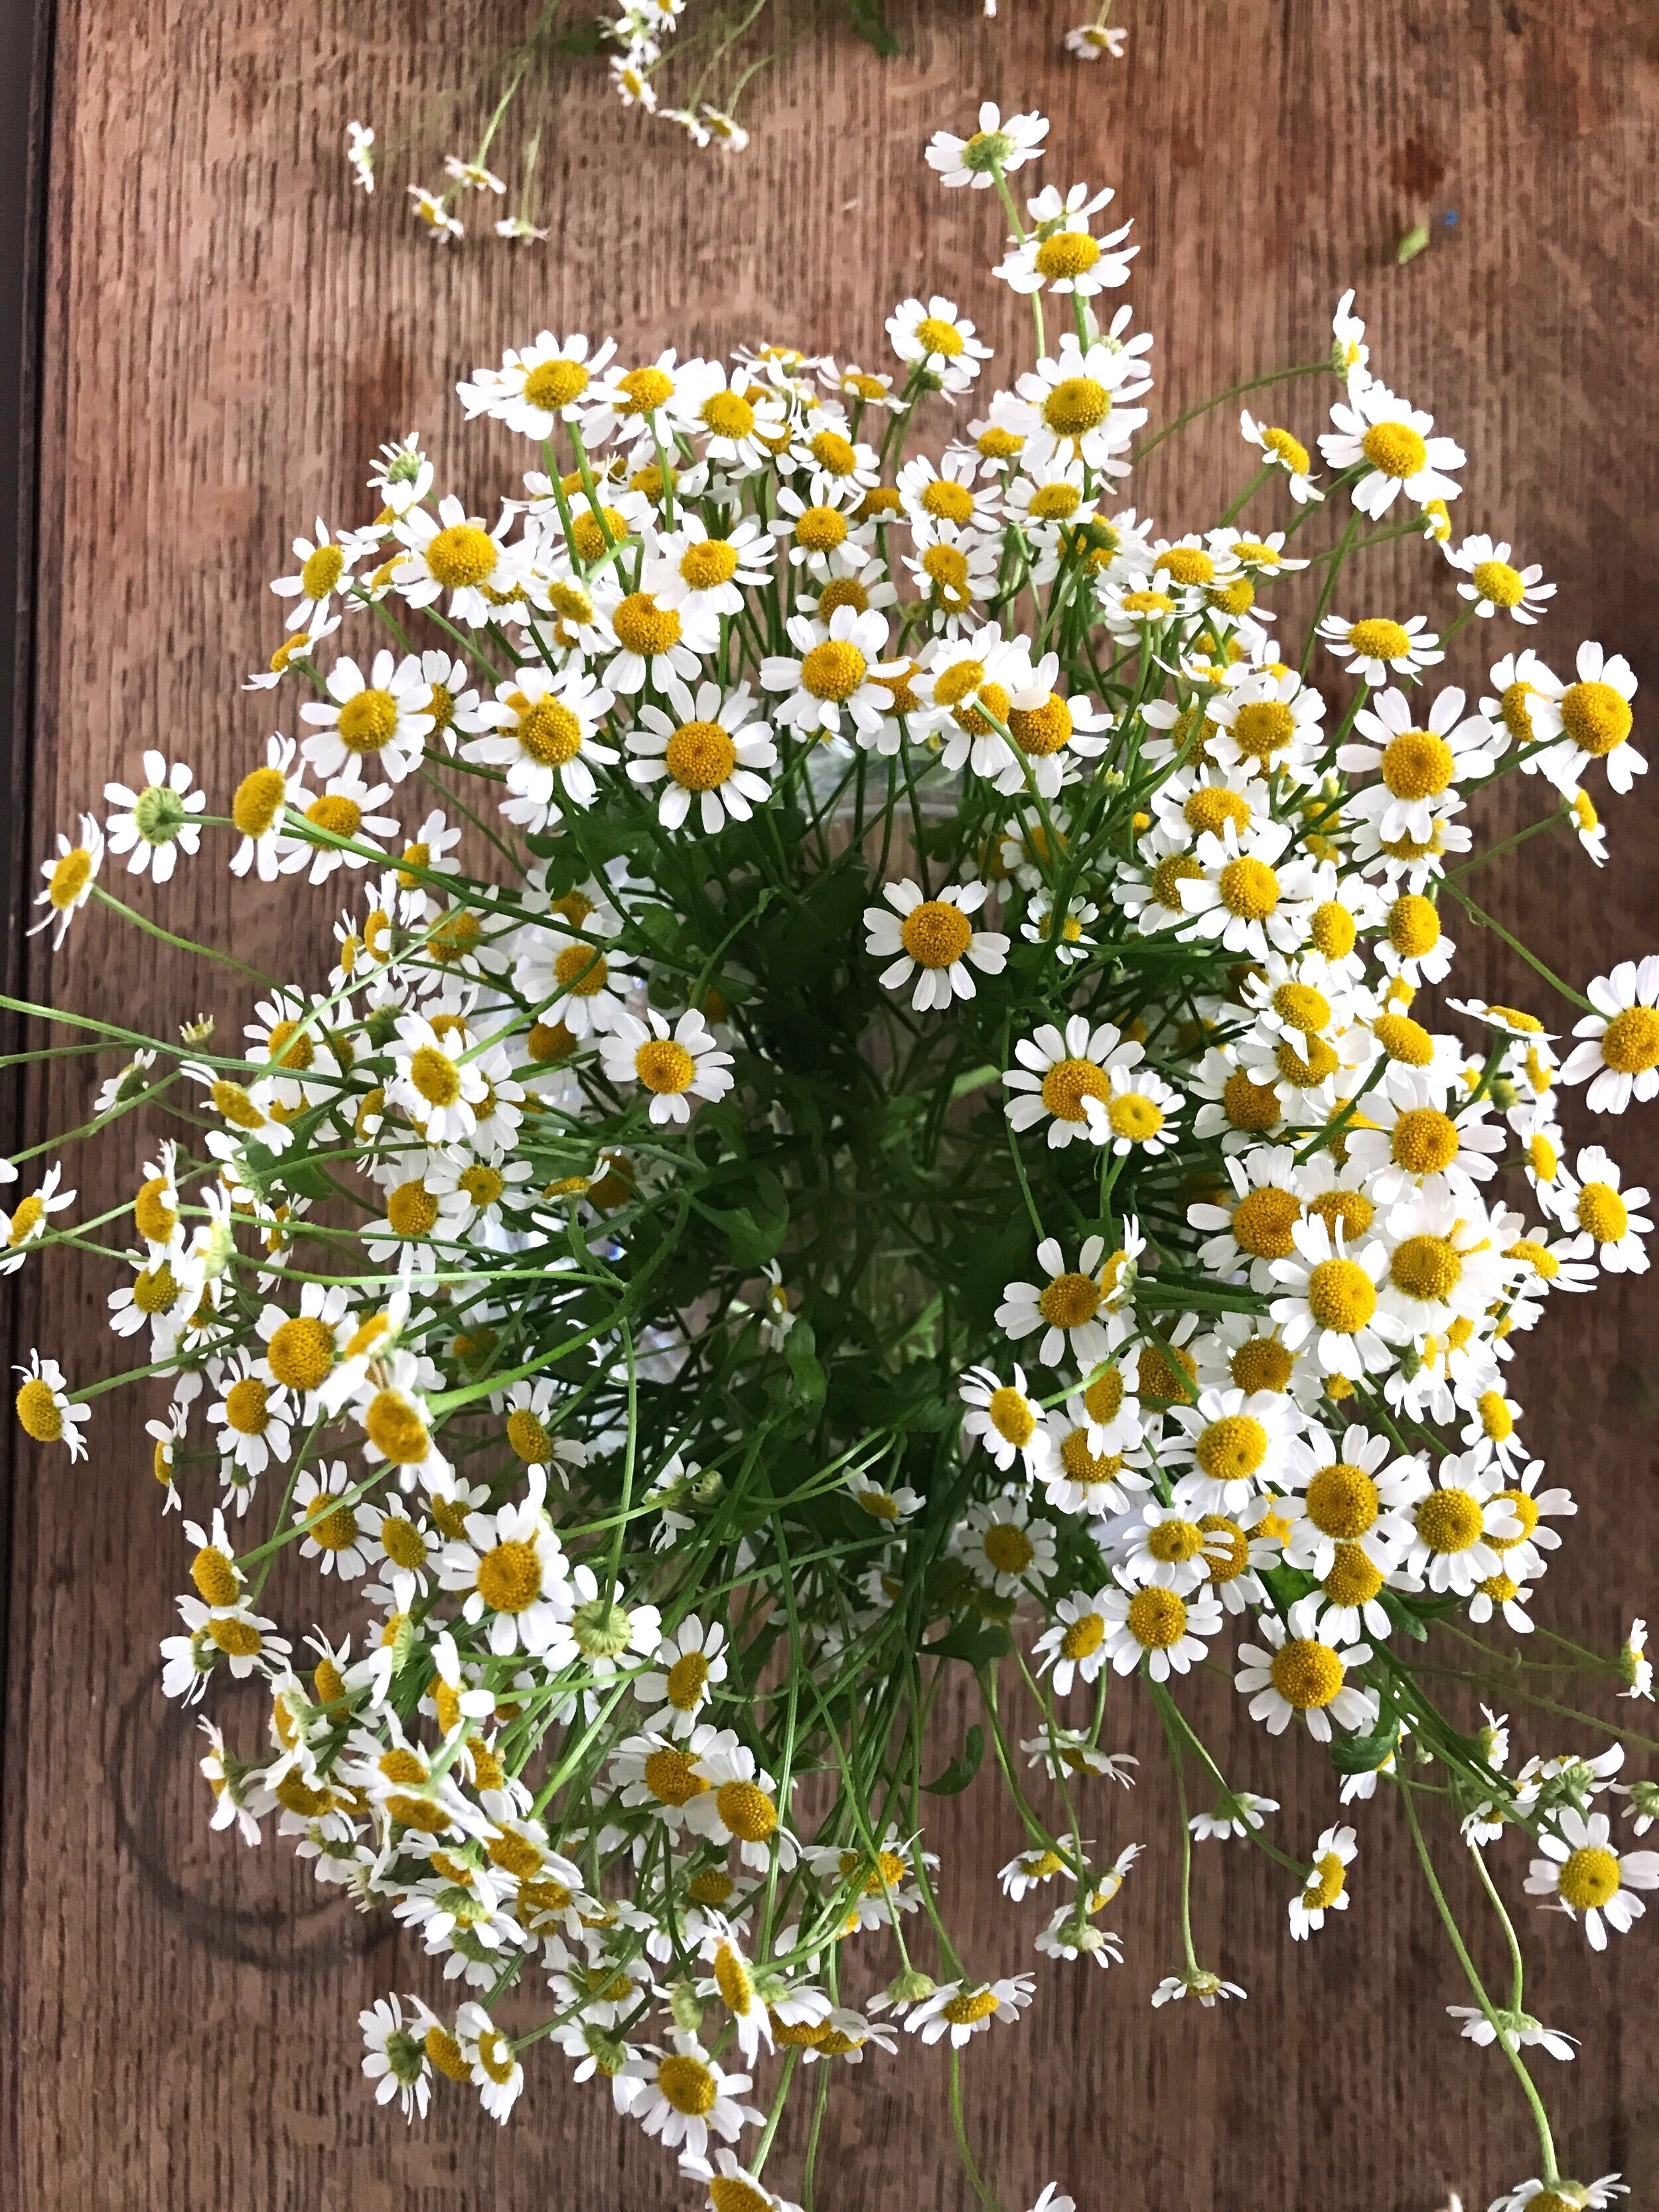
I've got a fluffy cloud flower tutorial for you that's great for a vase for the coffee table. You'll only need one type of flower for this - I've used tanacetum daisies. You could use any fluffy flowers like gypsophila, wax flower or ammi.
This is a nice and simple cloud of flowers tutorial and the result is a professional looking fluffy dome of flowers to uplift your living room or dressing table.
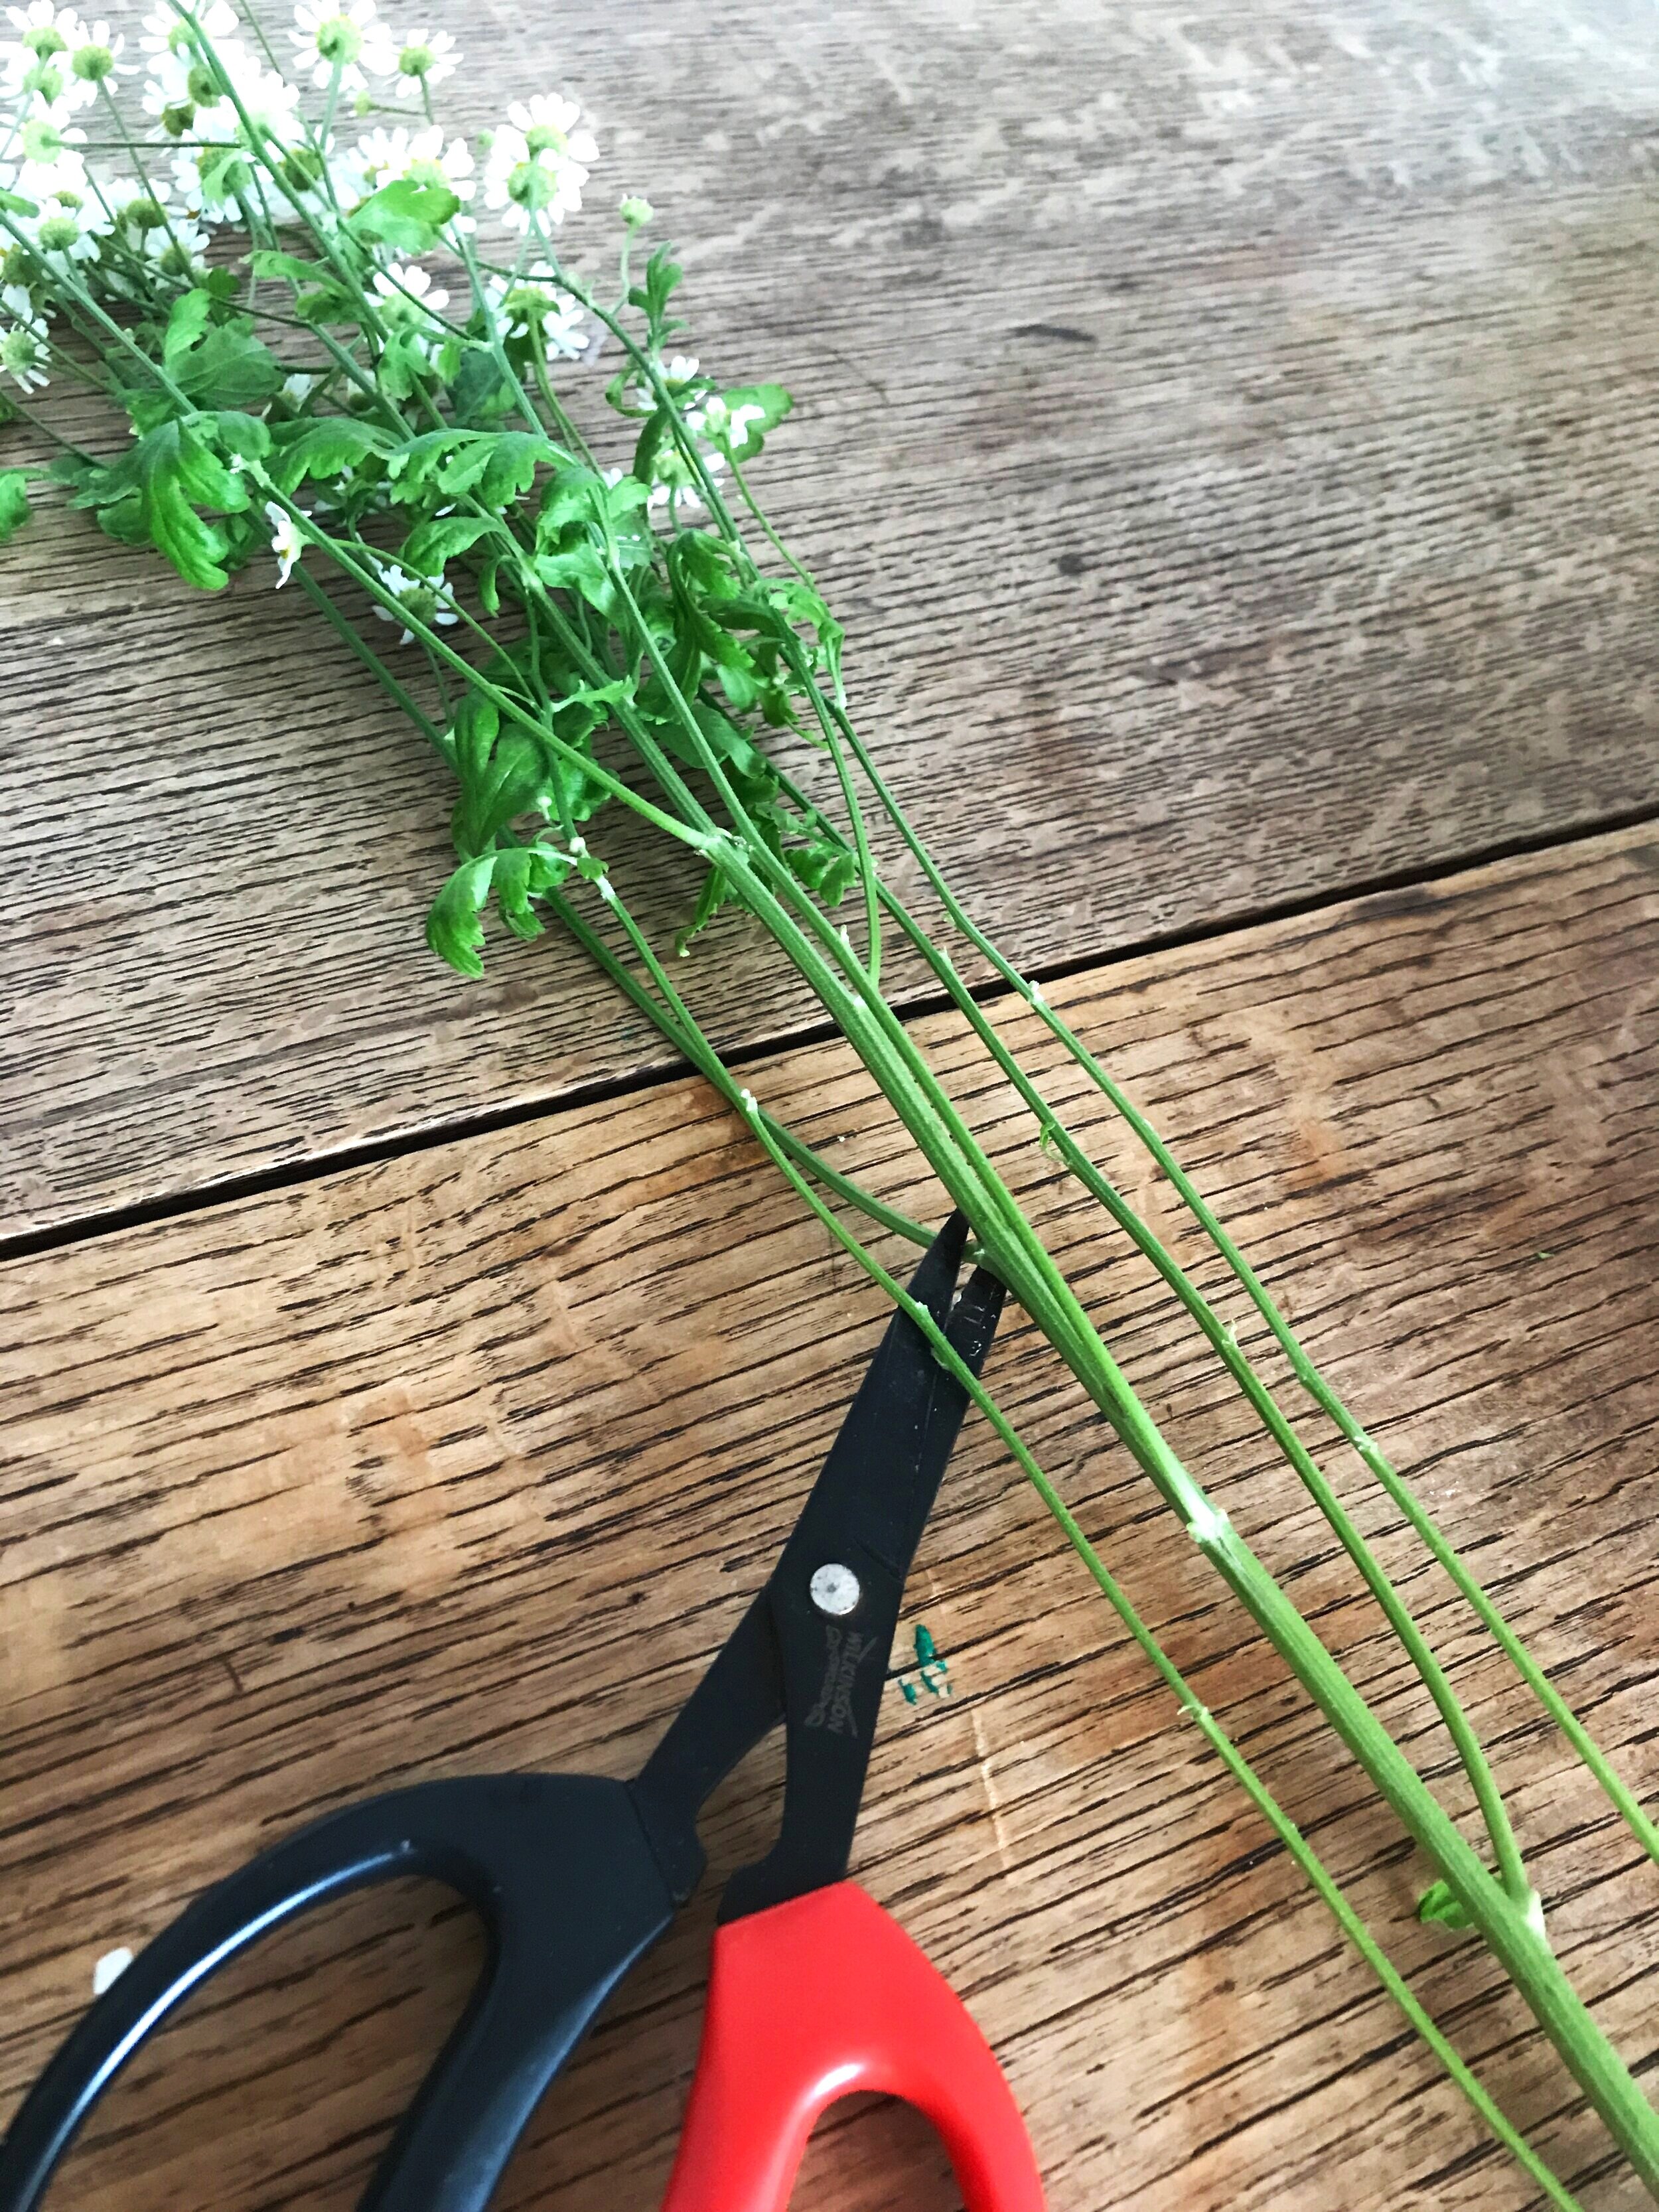
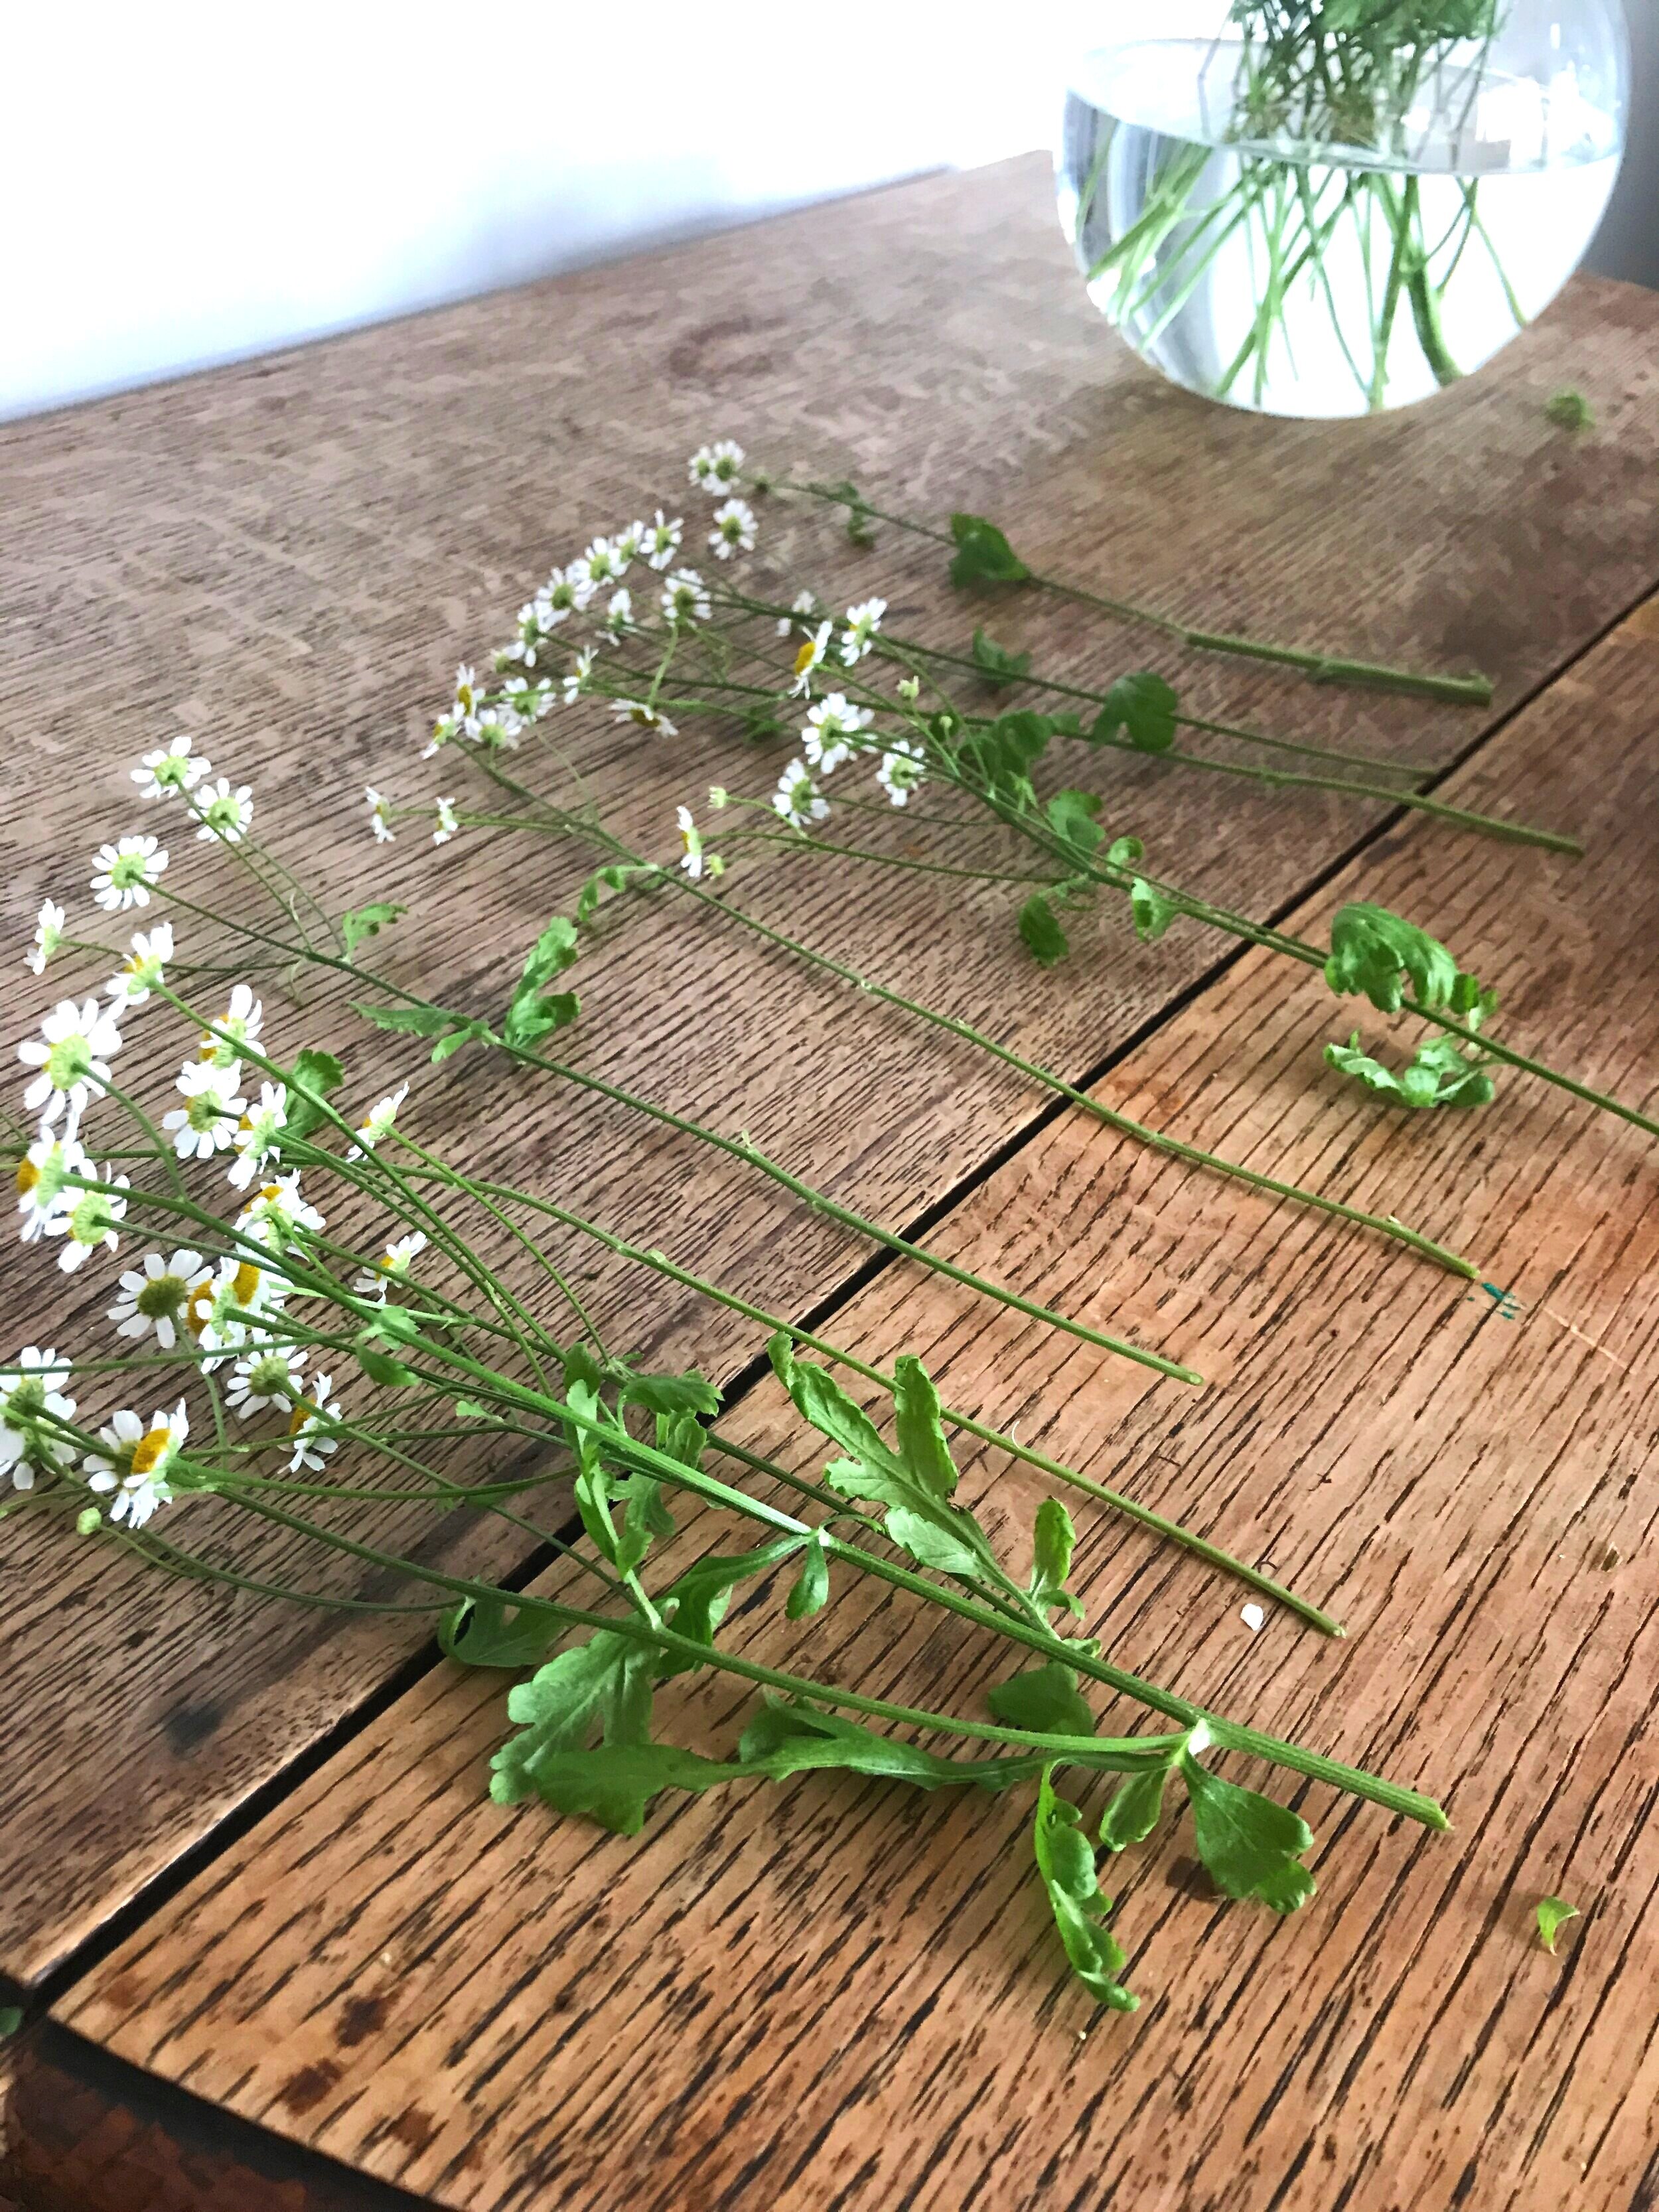
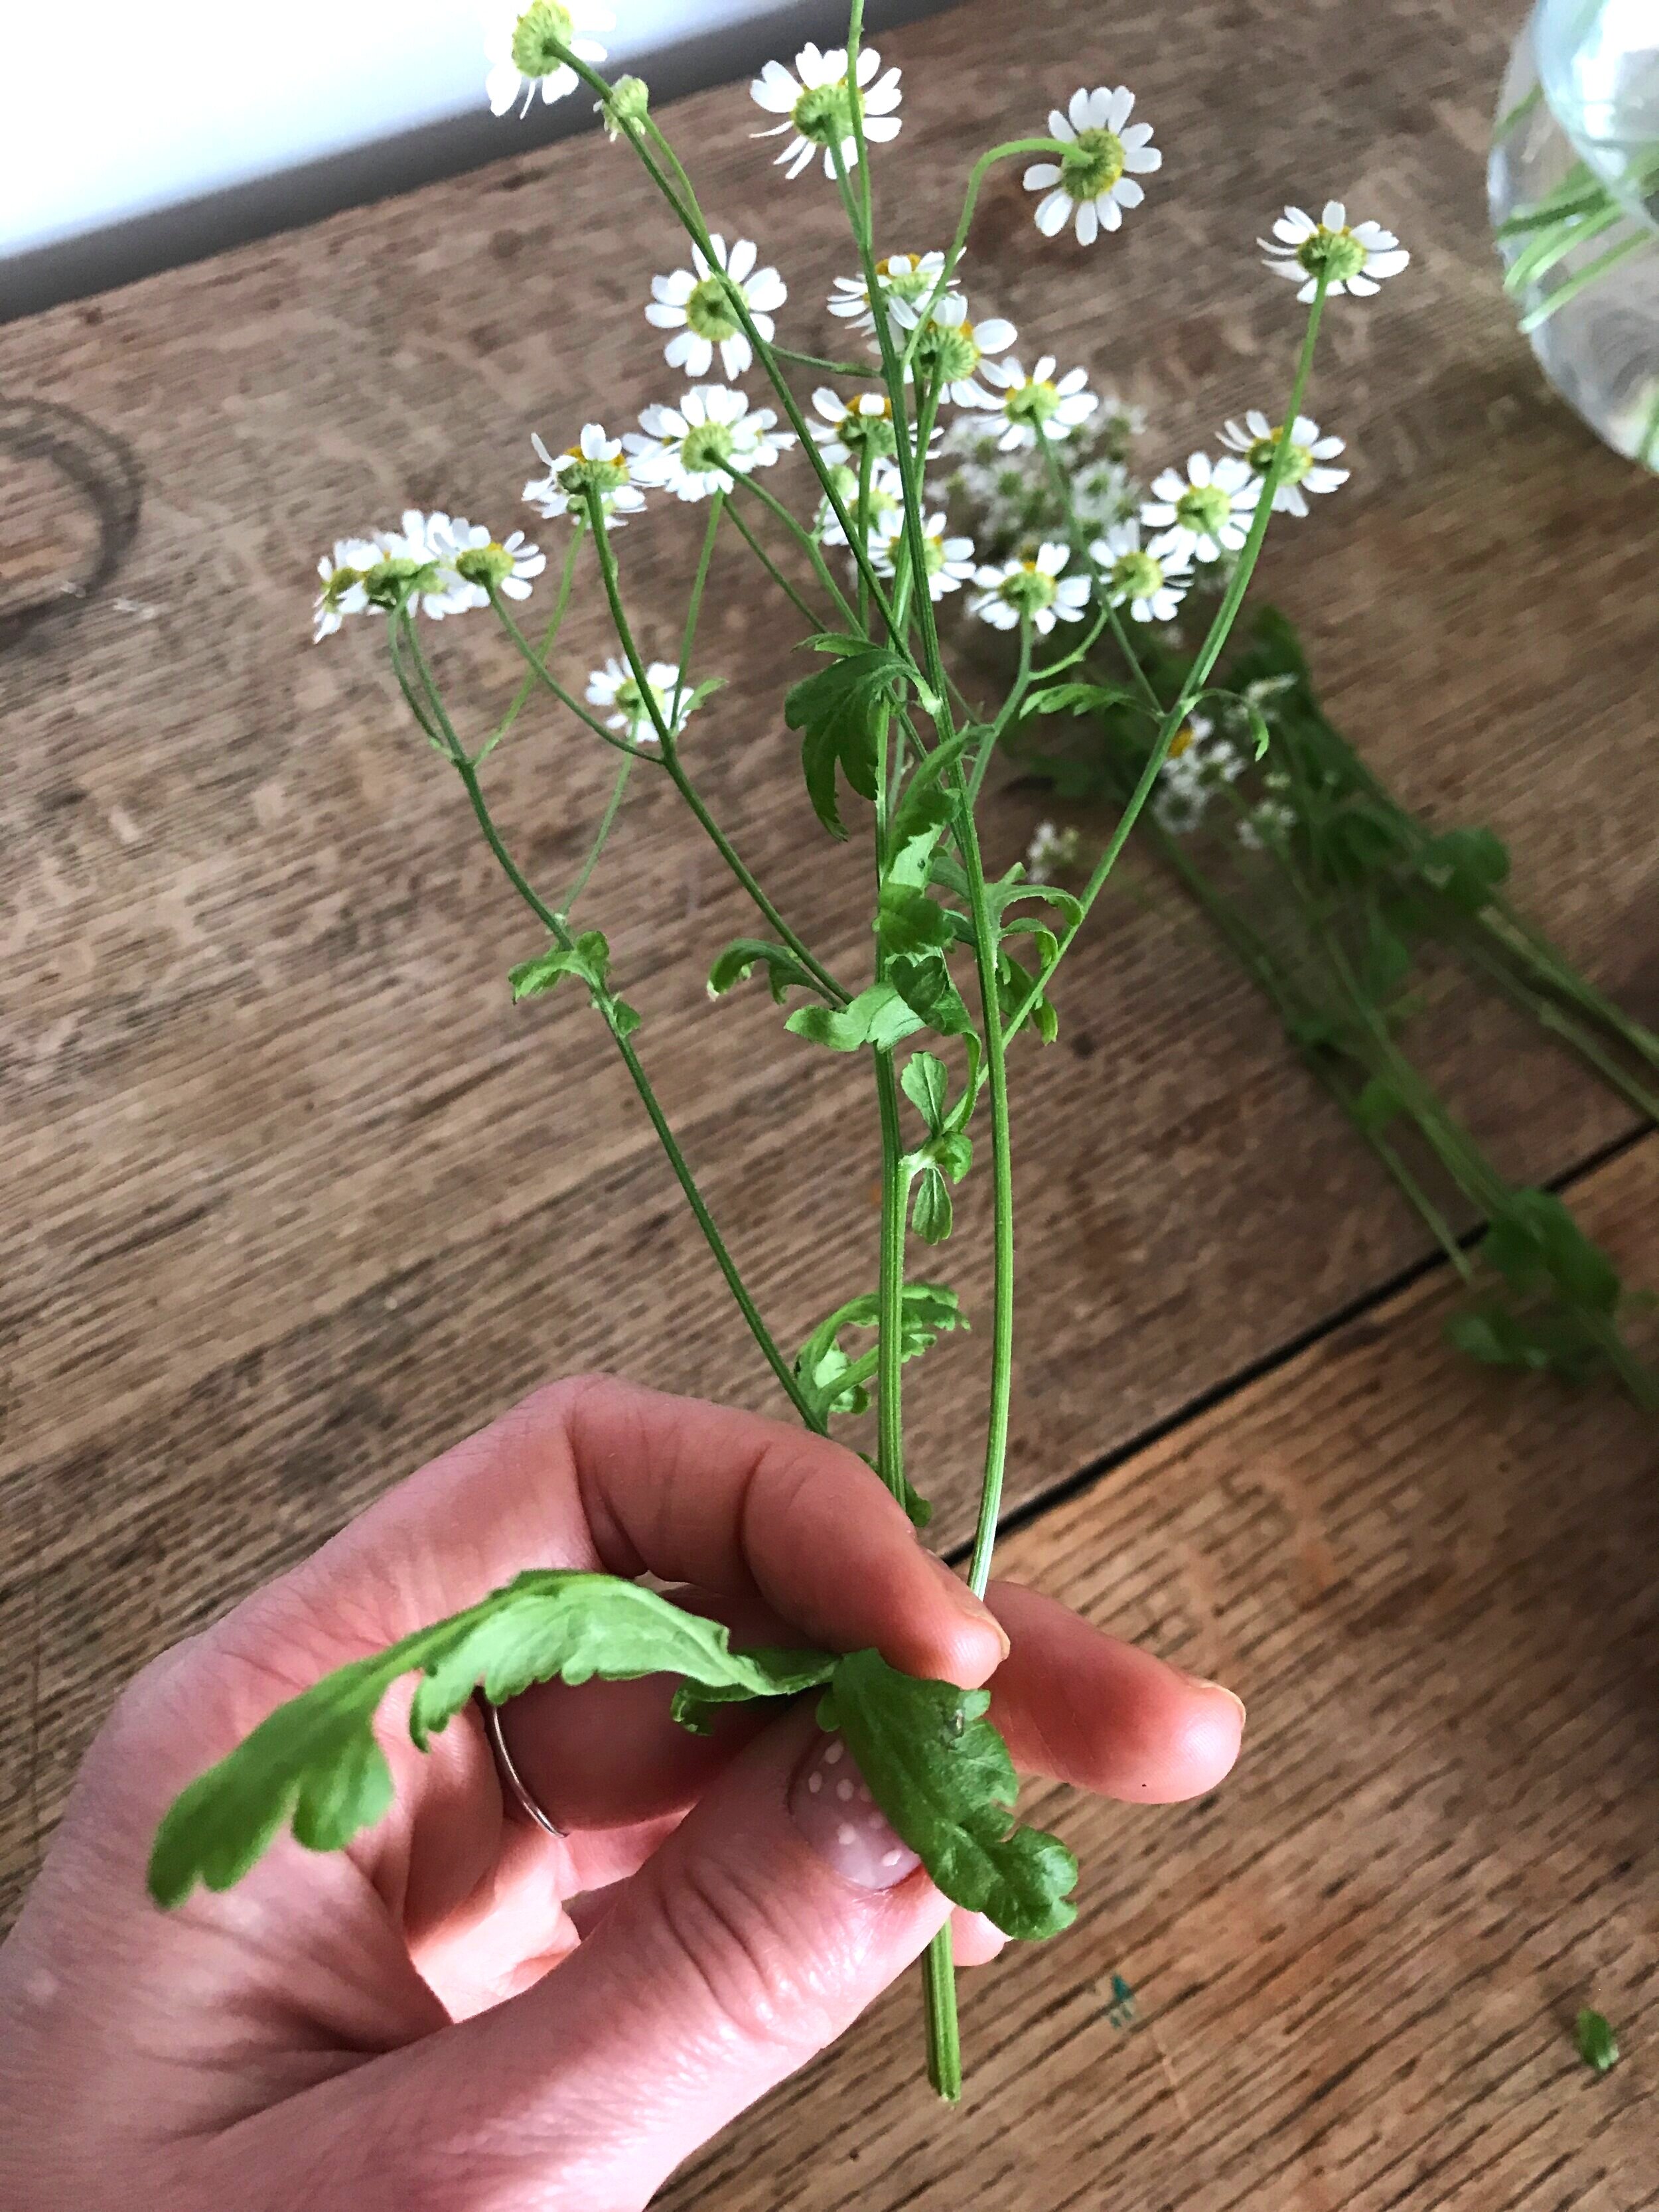
A quick tip before you start: fluffy flowers, like gyp and the daisies I used, tend to have shorter stems coming off the main stem. You can cut these off individually and you'll get lots of smaller stems for the price of 1 large. This 1 stem below made 8 smaller pieces!
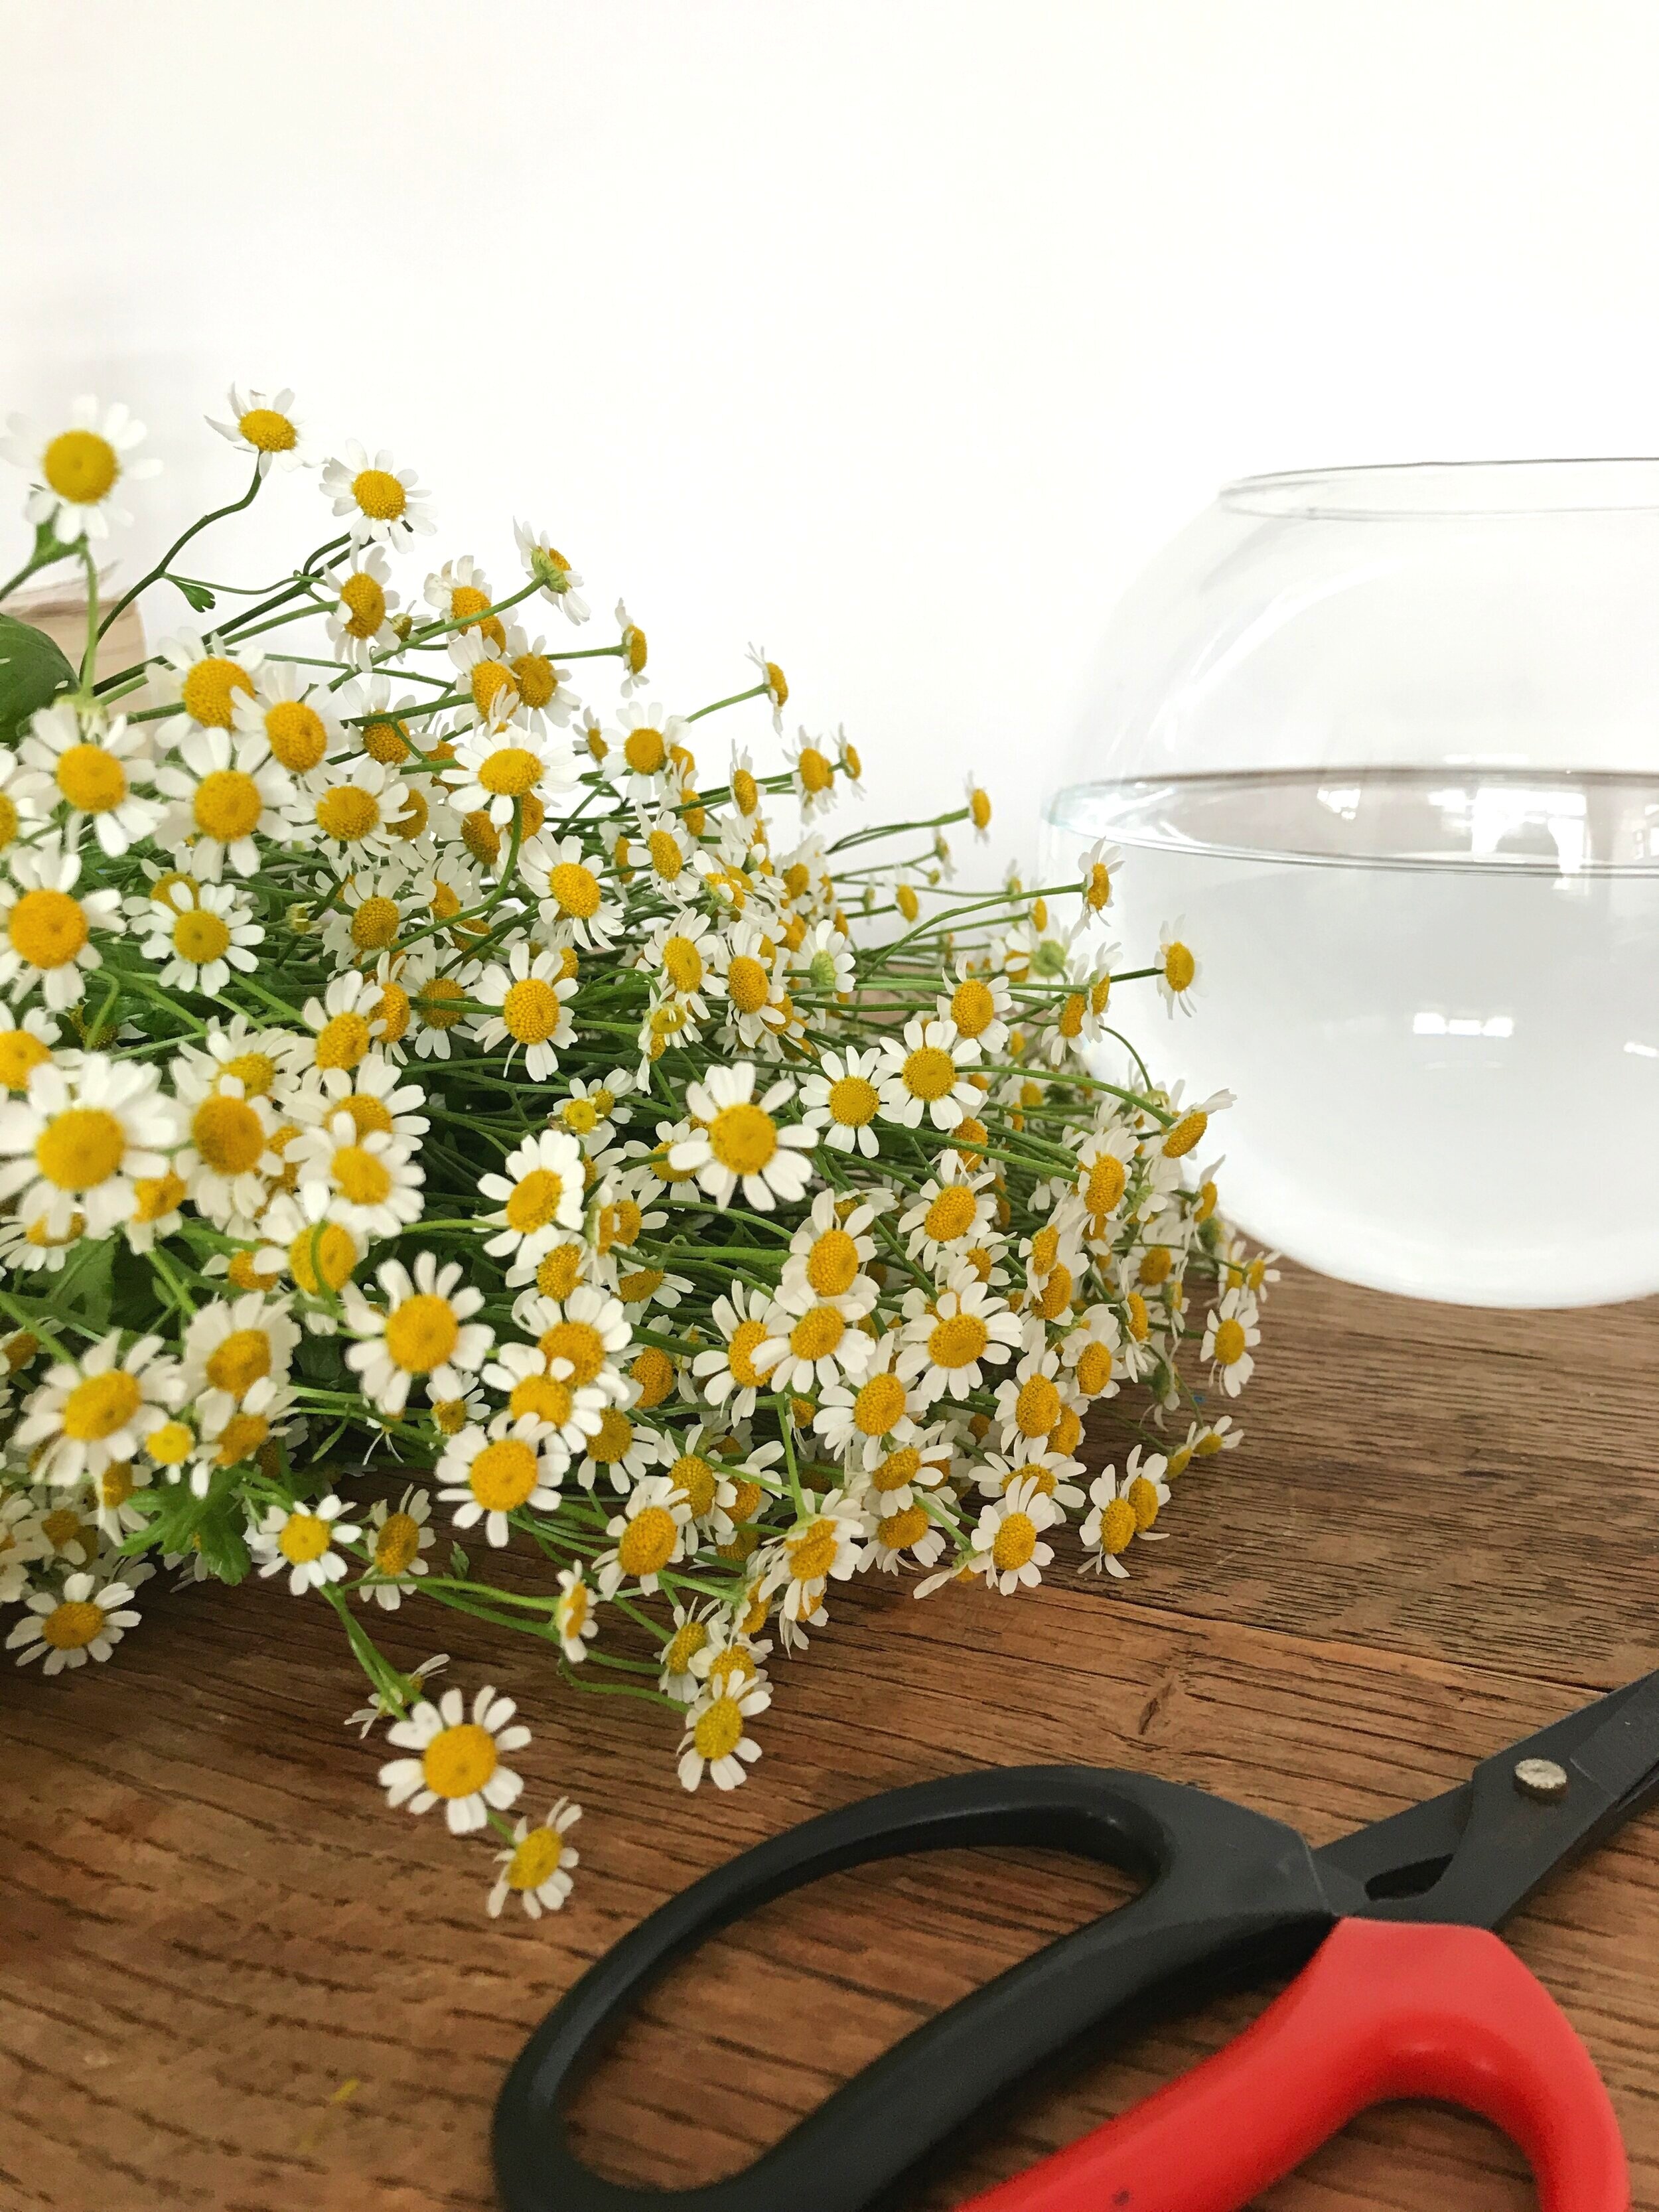
You will need:
- Scissors
- A low vase with water (I used a medium fishbowl)
- Fluffy flowers (I used 9 stems of tanacetum daisies)
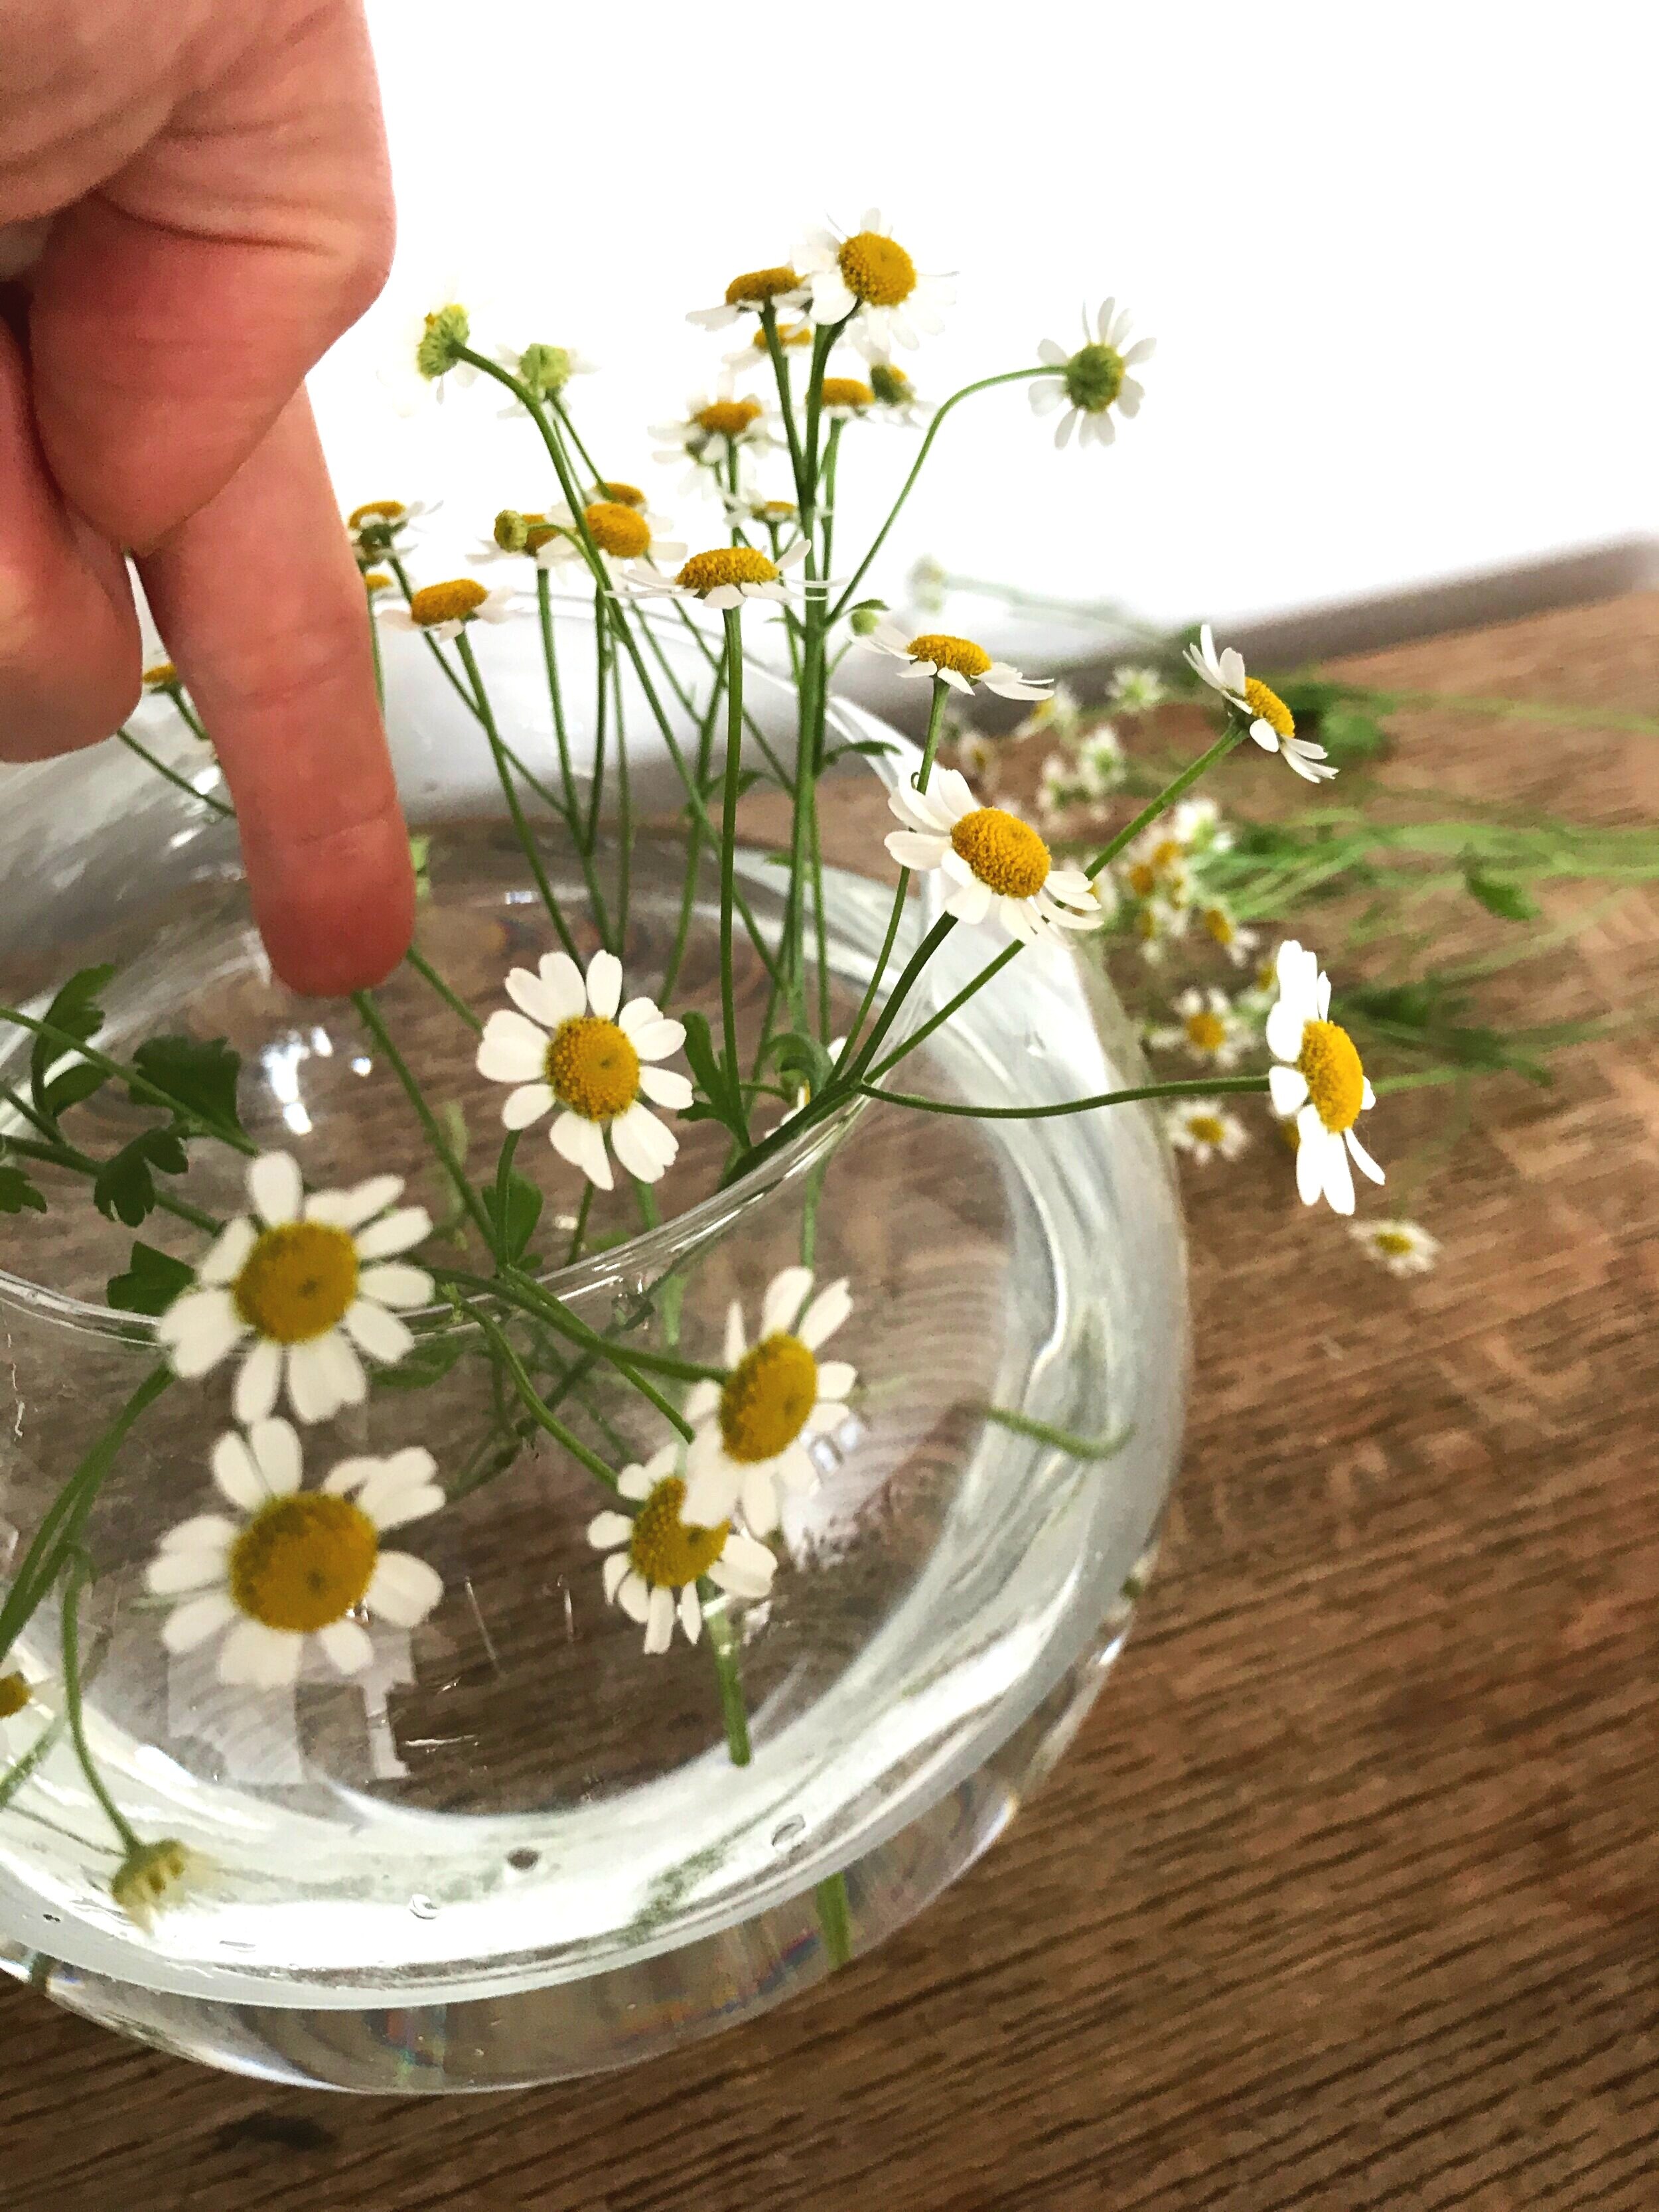
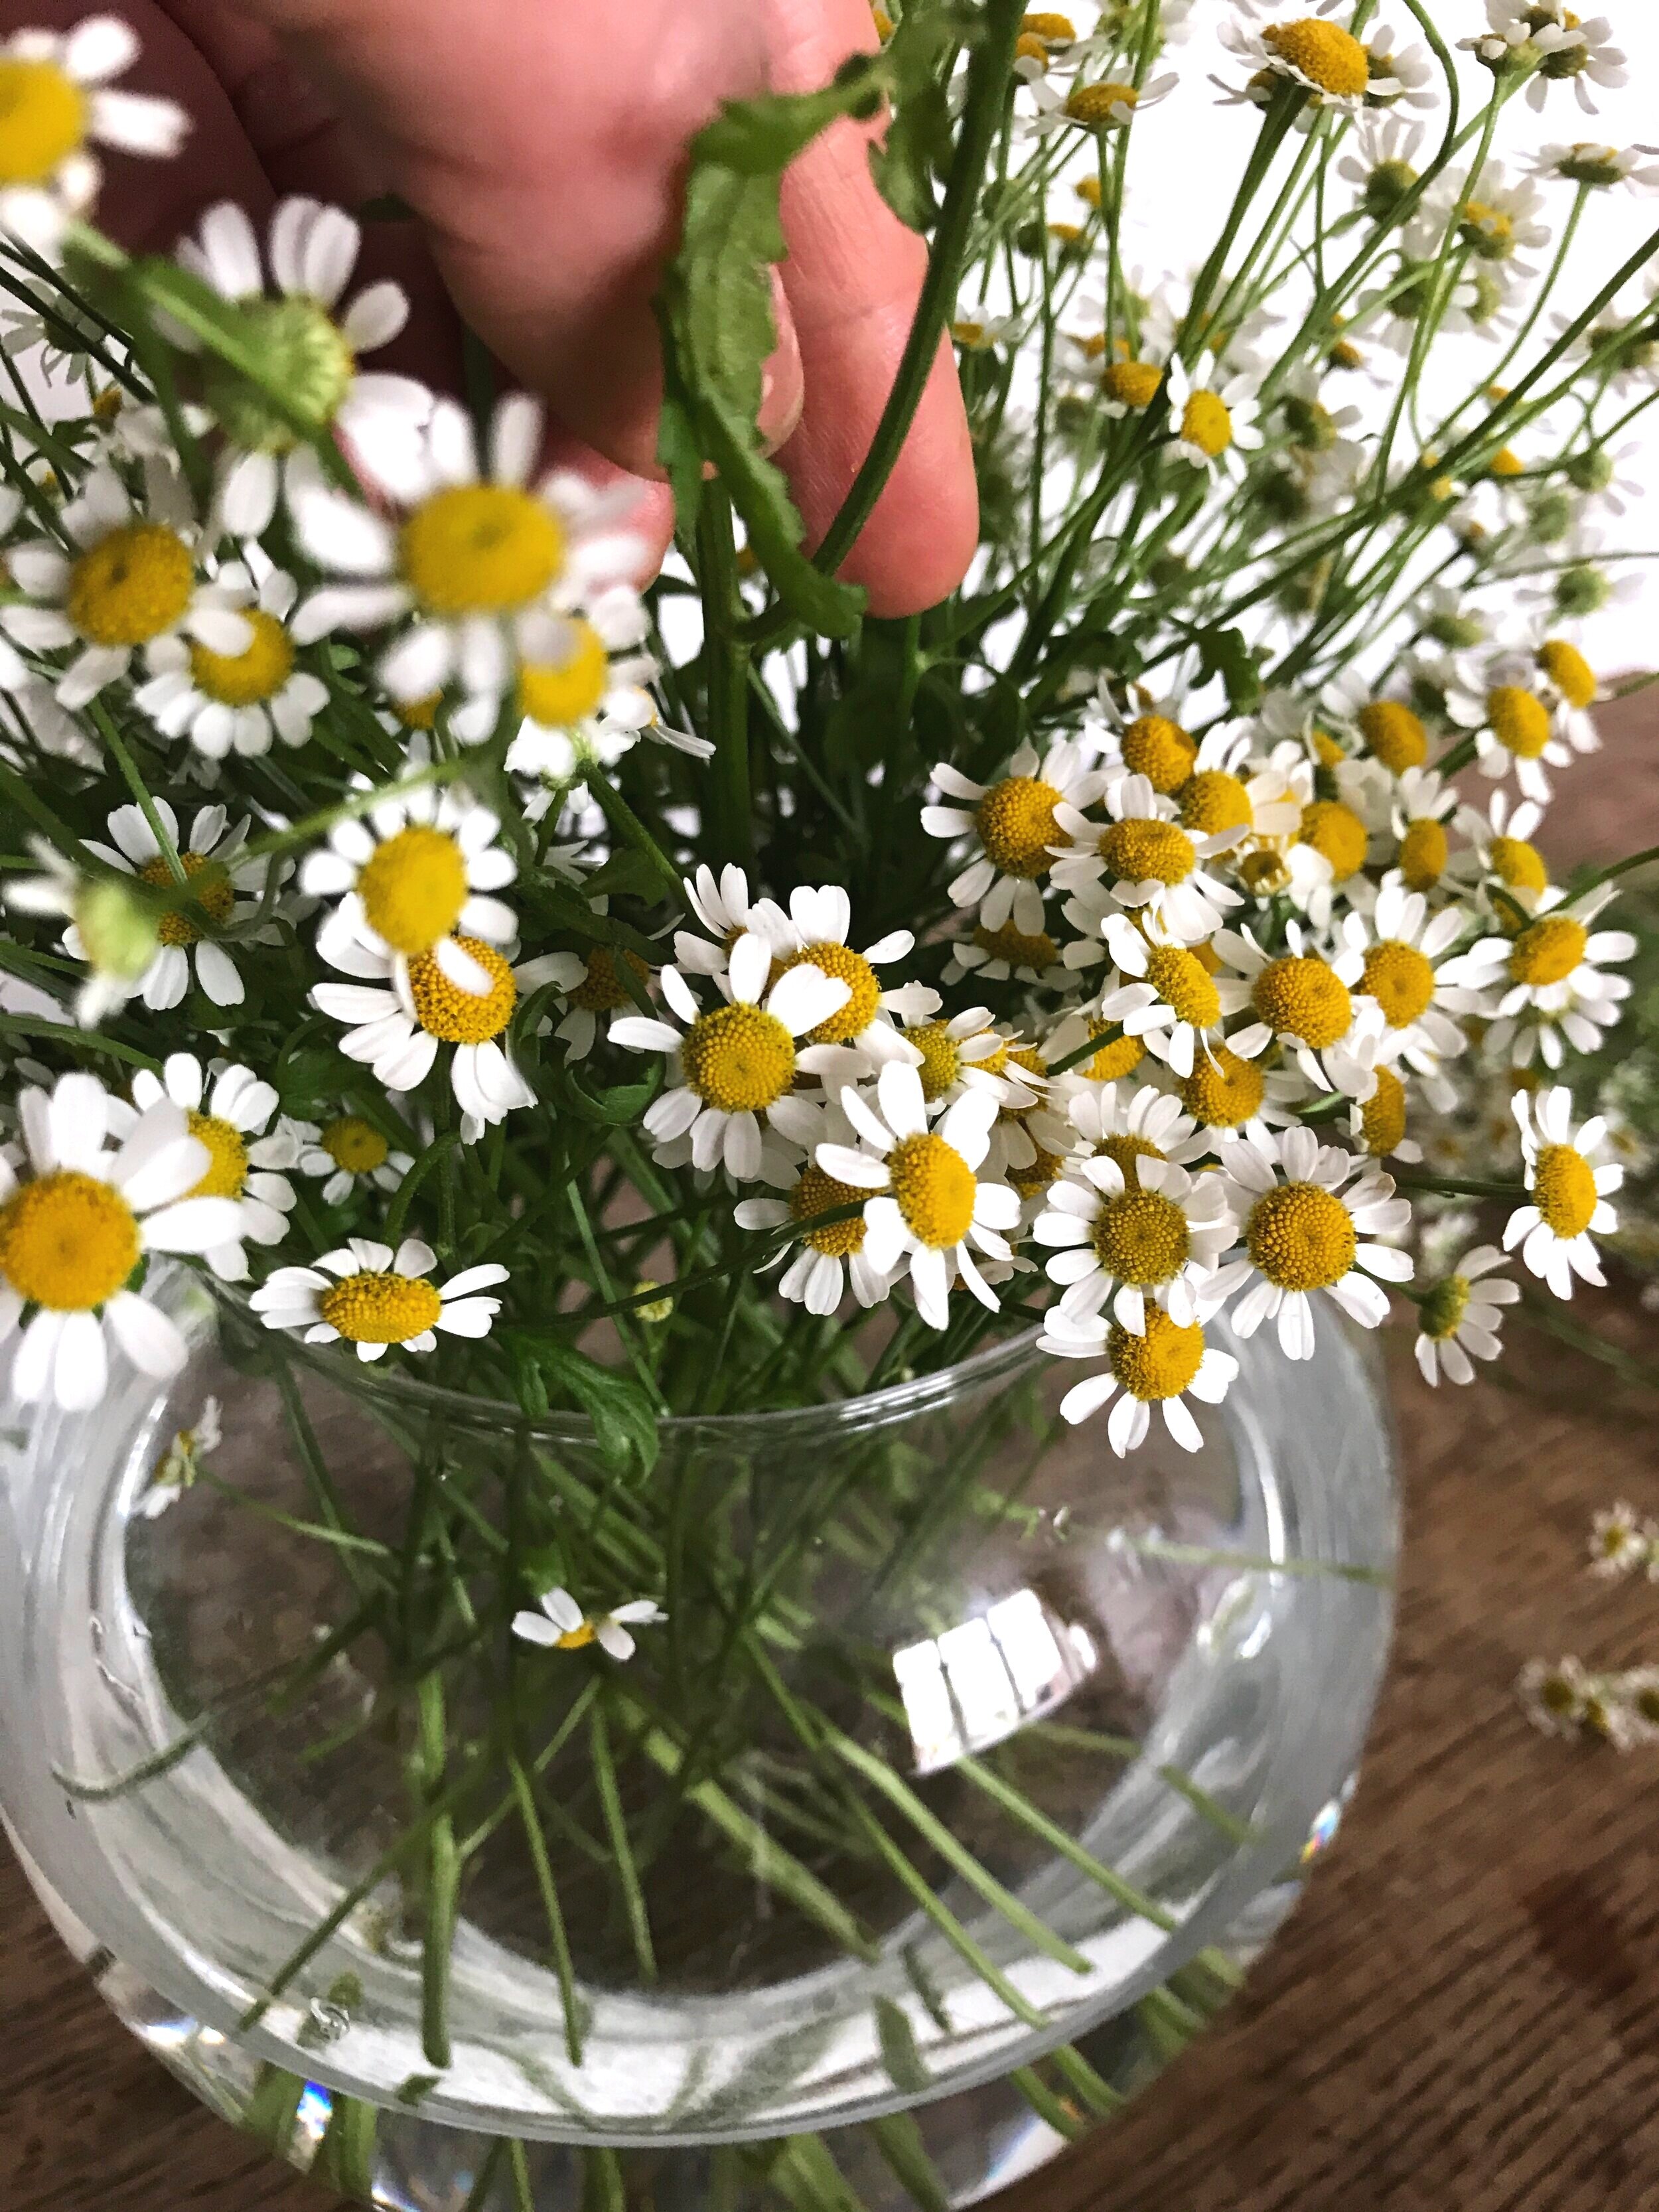
Step 1.
Around the inside rim of your vase, place your shortest stems so they're leaning against the vase edge.
The flowers need to be low and very close to the rim of the vase, I sometimes cut the stem twice because the first time round I'm over cautious and keep the stems a tad too long.
If any leaves are submerged below the water line, pluck these off.
Keep a gap in the middle of the vase arrangement, this is where the next step comes in.
Step 2.
Now it's time to add the next layer of flowers. This time the stems need to be slightly longer as we're going up a level in height.
As the rim of the vase is now covered with the first flower stems, layer this round of taller stems next to these. It's almost like layering up a lasagne from the outside in.
The flowers don't need to be perfectly the same length, it looks nice when there's a slight variation in the gradients.
Step 3.
There'll be a small gap in the centre of the arrangement and it's time to add the flower stems in here that are tallest.
It might be a bit cramped in the vase so gently wiggle and thread these final stems through and into the water.
When you've added all your stems in, make sure all the ends of the stems are submerged in the vase water and able to drink.
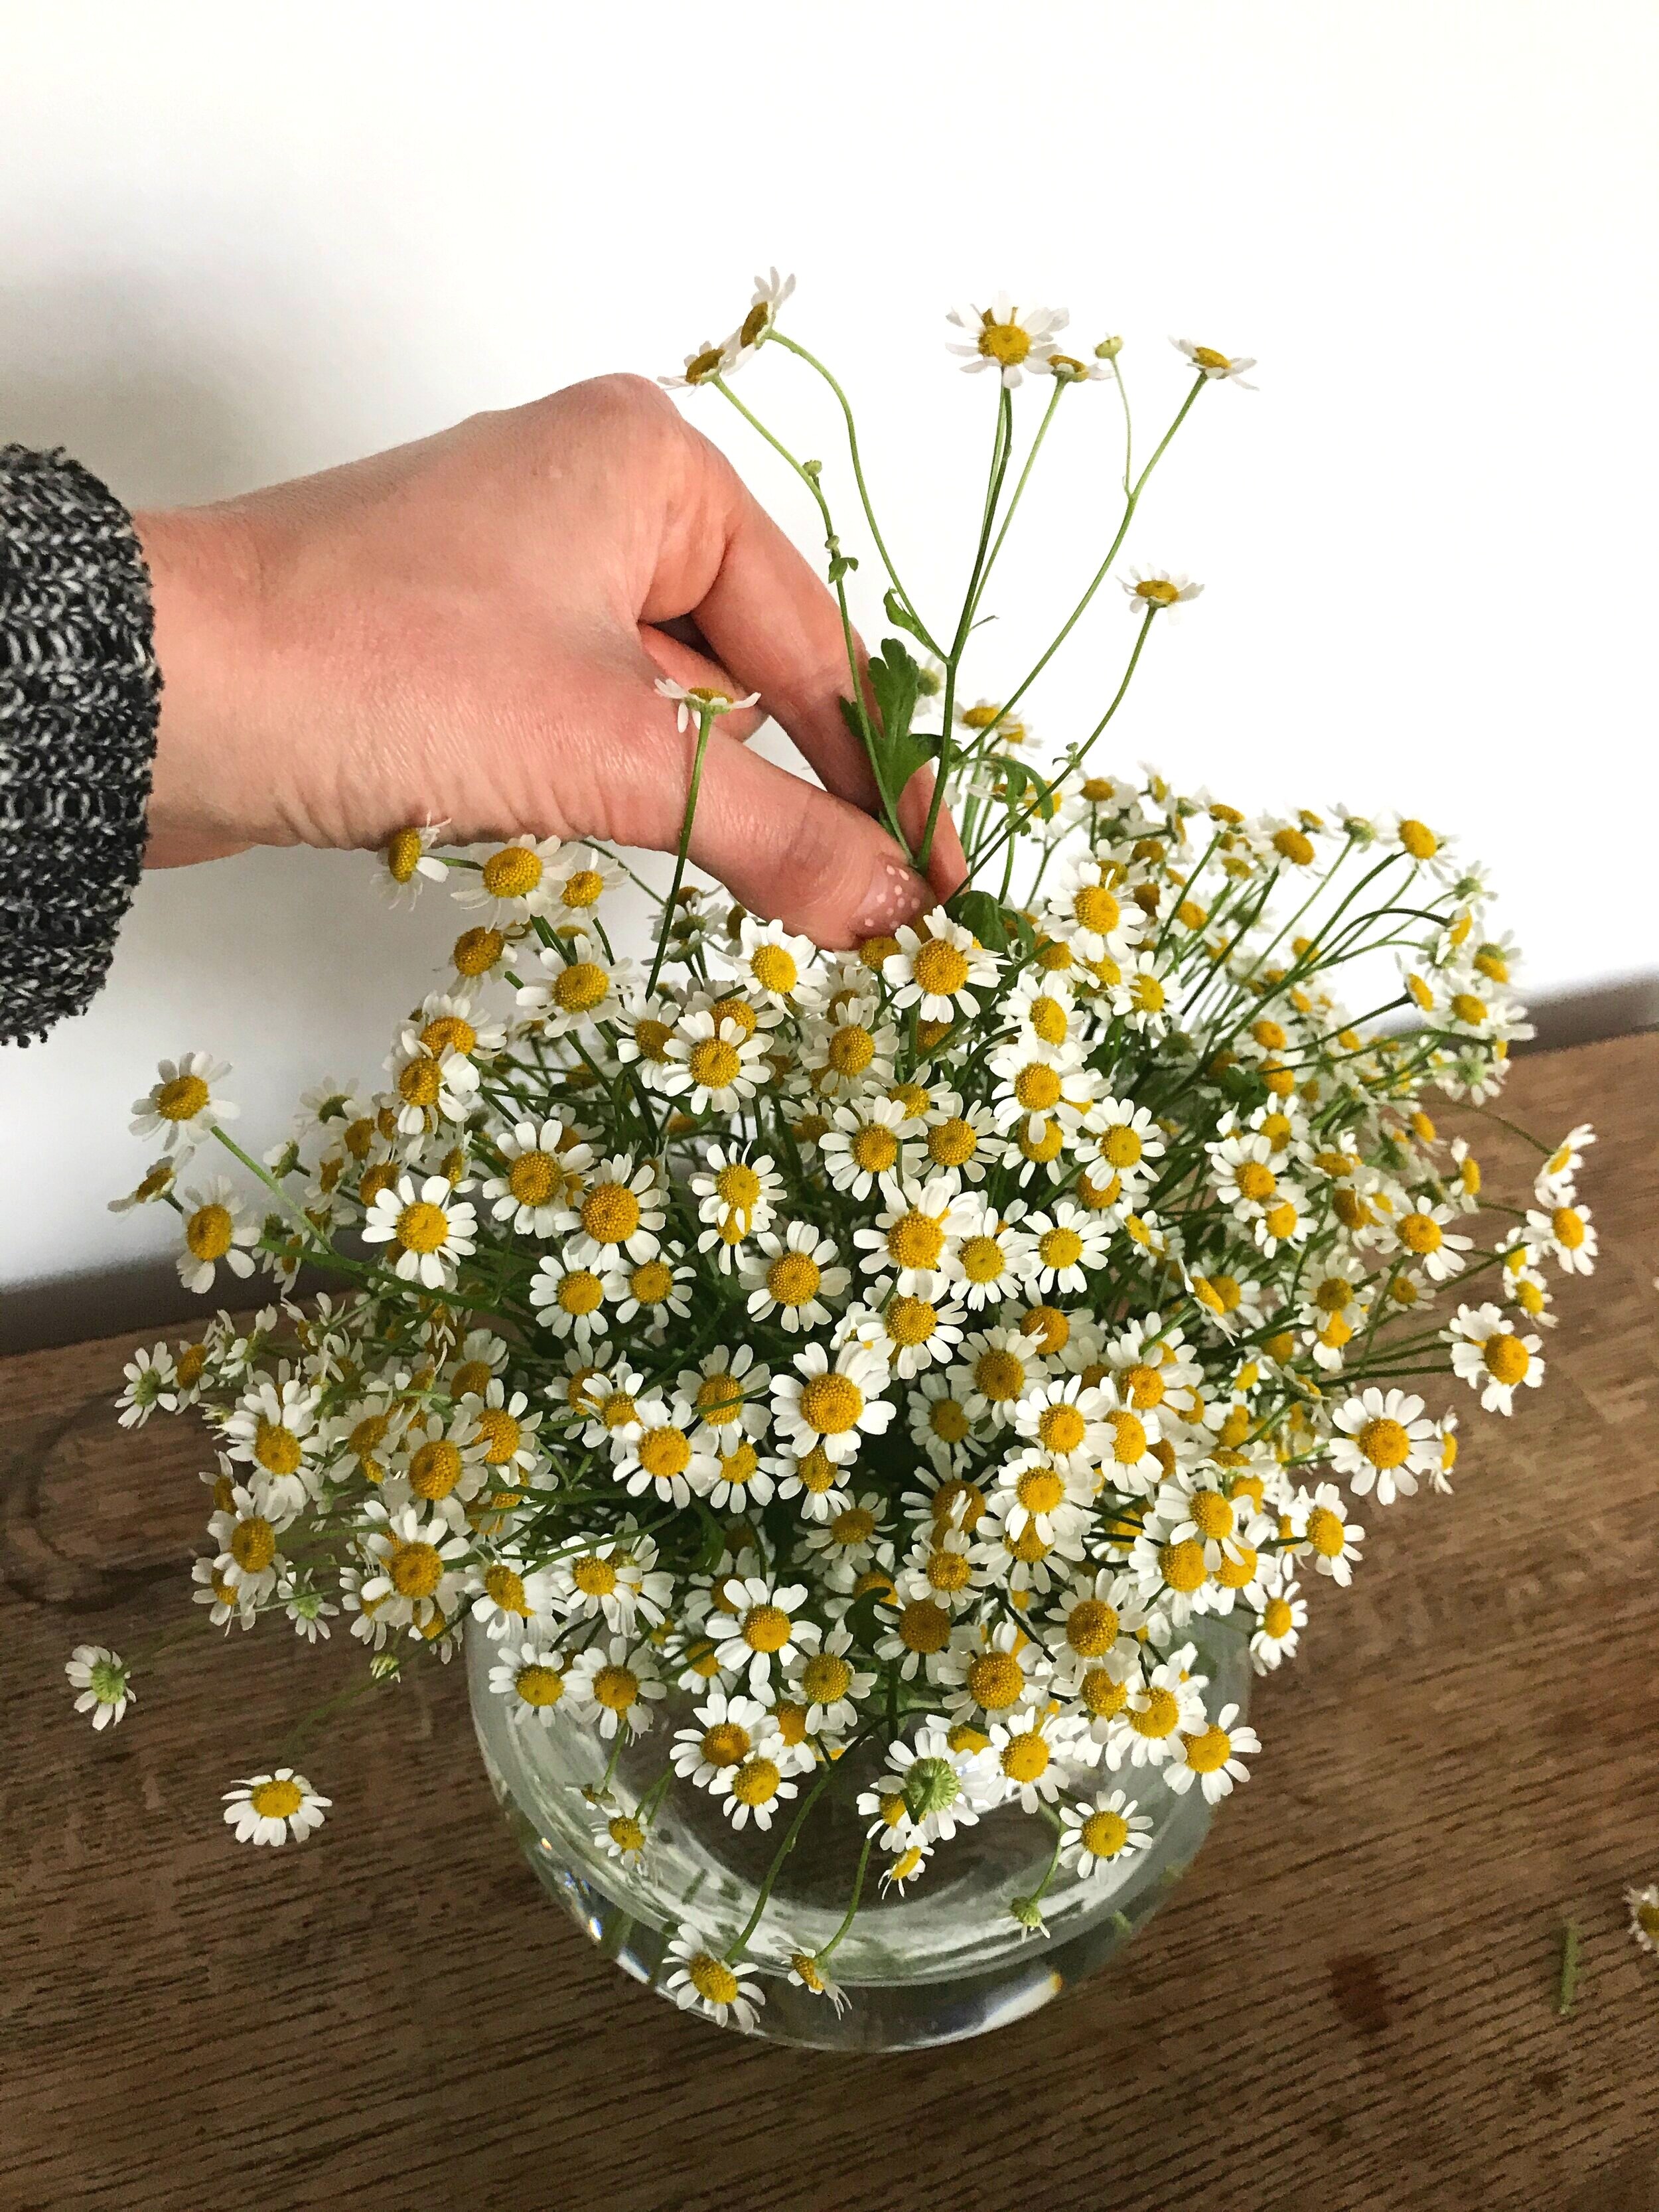

And there's your fluffy cloud of flowers in a vase tutorial. Have fun arranging your flowers and remember that slightly messy is in fashion. You can go less dome shaped by varying the heights of some of the stems. To prolong the life of the flowers, change the water in the vase every couple of days and keep on display away from direct sun, hot radiators and draughts.
I'd love to see what you create, tag me on Instagram @WebbandFarrer

Want to discover more flower arranging?
I've created a video course to show you how to create wedding bouquets, buttonholes, flower crowns and wrist corsages.