
How to Make a Foliage Wreath
Foliage wreaths are a fresh way to decorate your home or wedding venue at this time of year. If you use scented foliage like eucalyptus, bay leaves or rosemary then your wreath will also provide a beautiful leafy fragrance. Foliage wreaths are great to decorate a barn wedding or to adorn with seasonal decorations and hang from your front door. They add texture and a natural look to your interiors and also look perfectly at home hung up among your photos and pictures in your living room. To make a gorgeous foliage wreath of your own, I’ve written you a step by step guide. Scroll down to learn how.

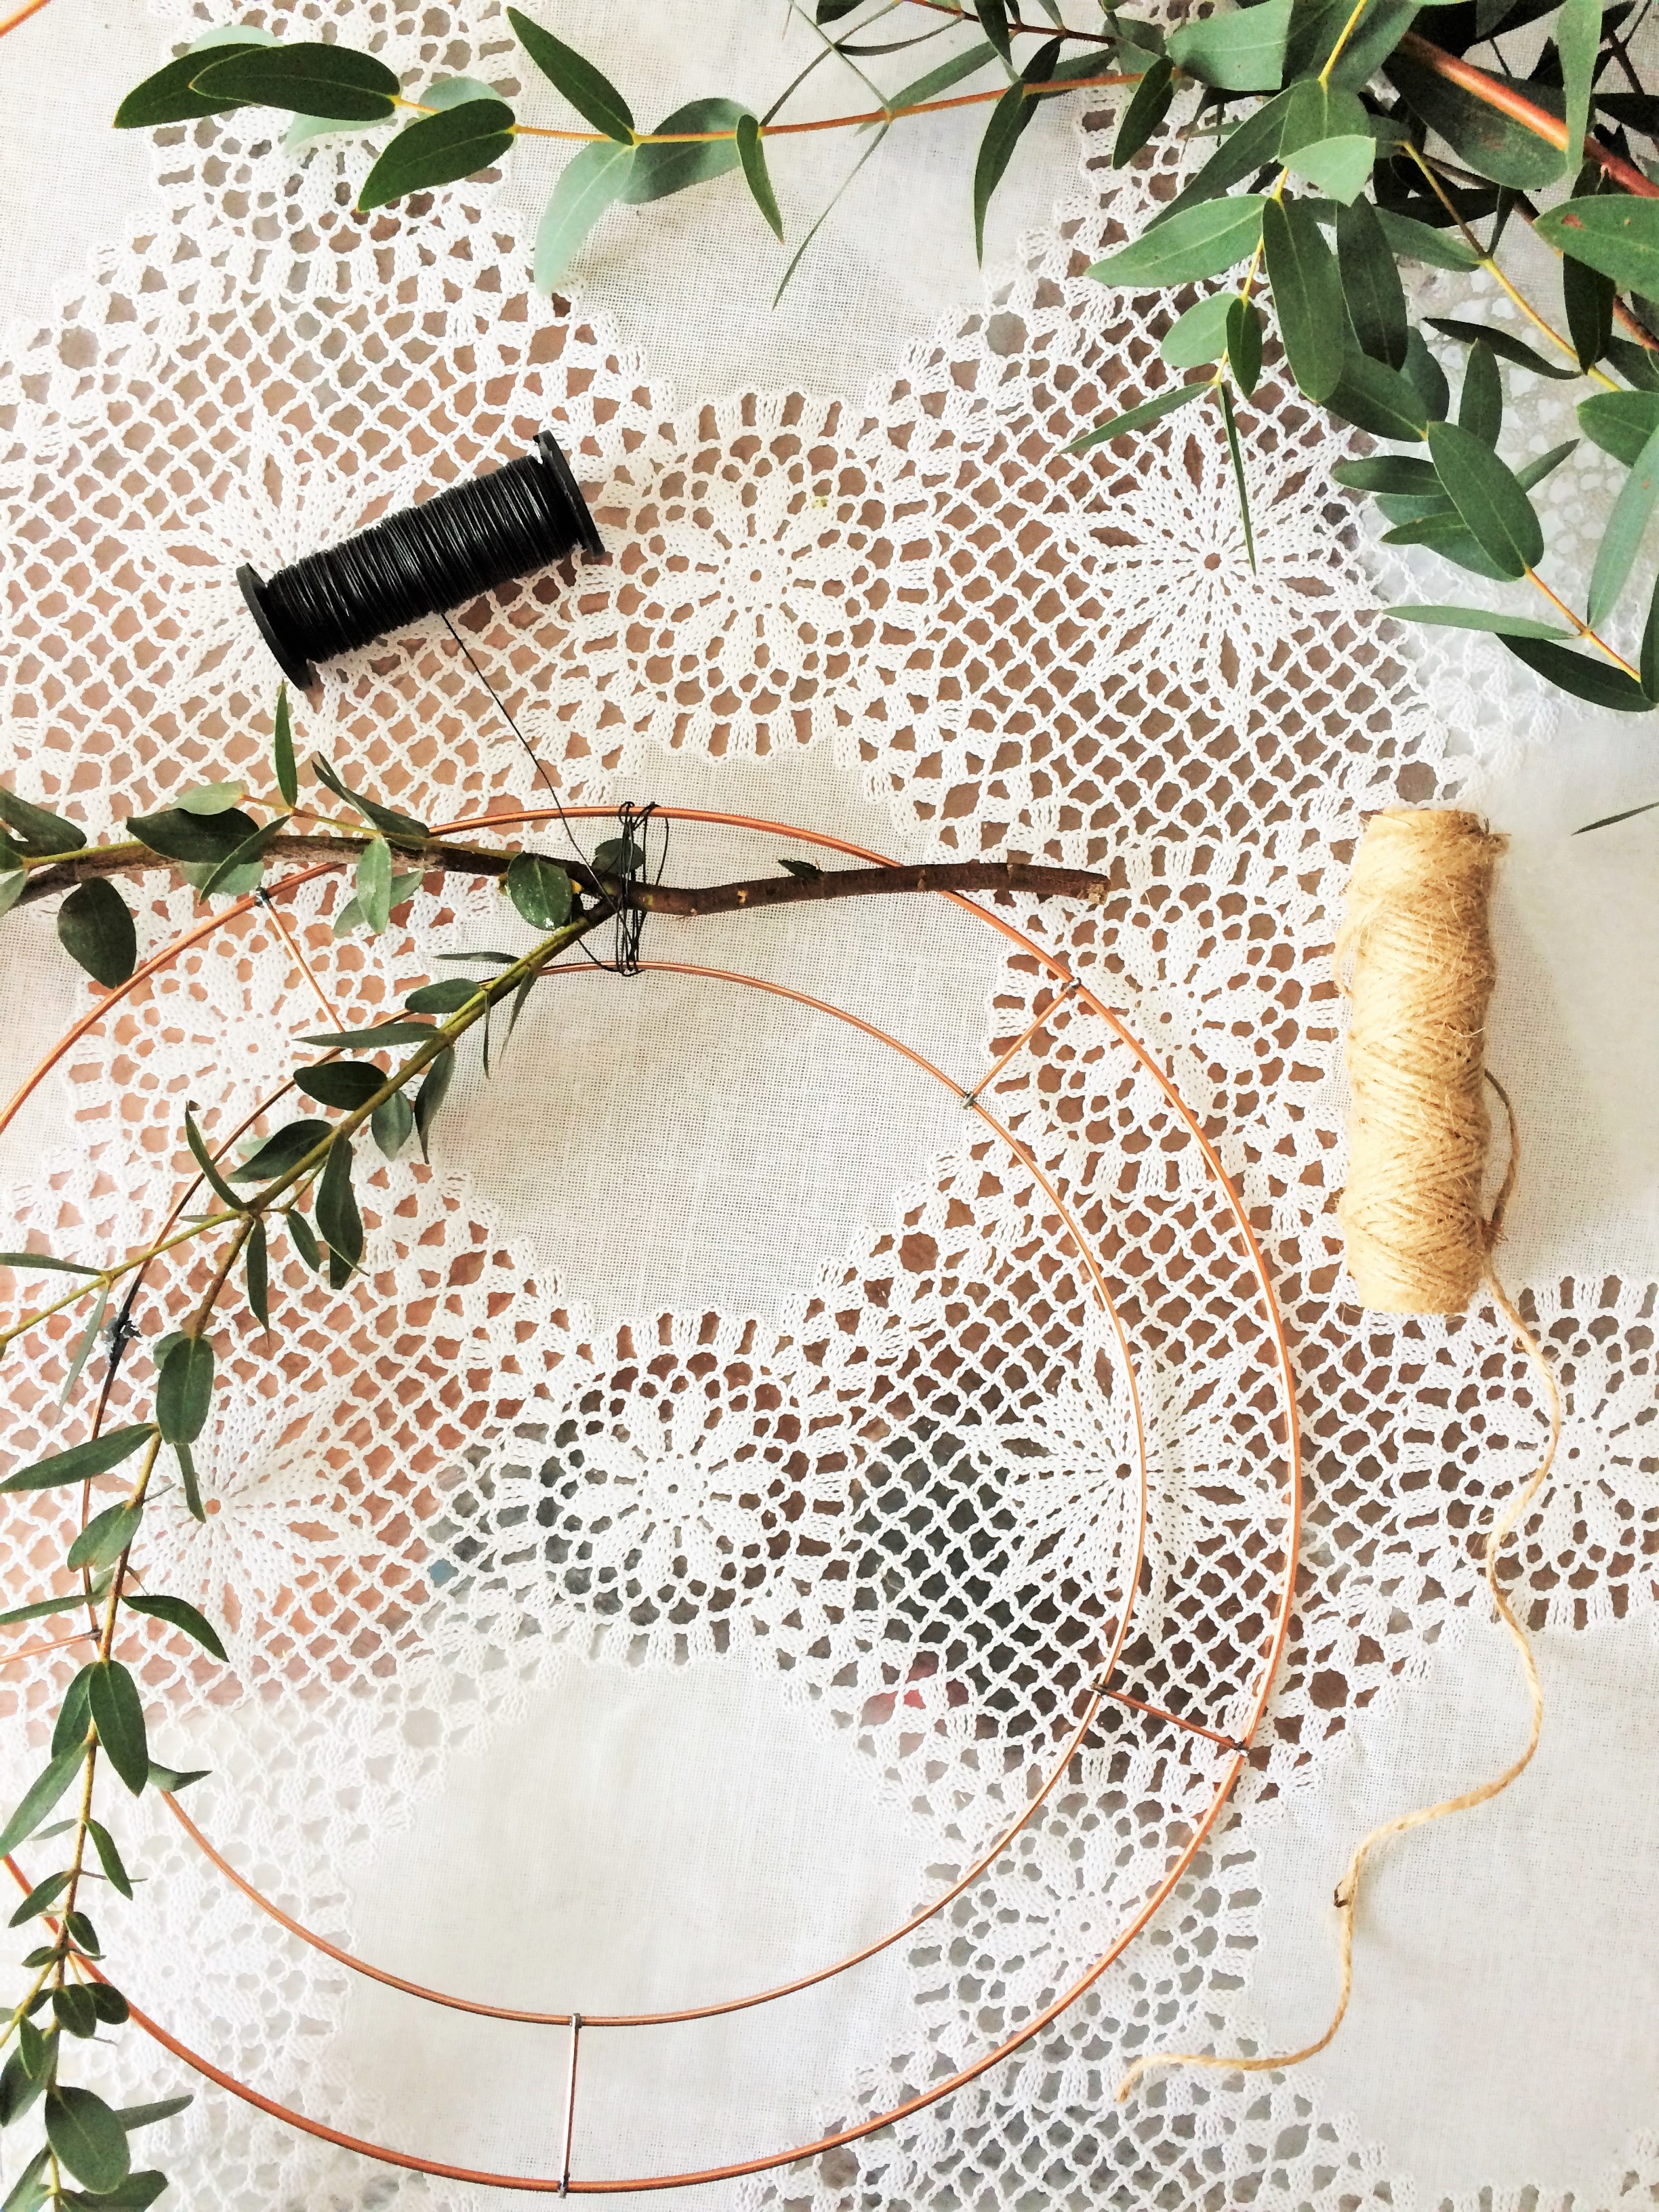
You will need:
Copper wreath ring
Scissors
Twine
Wire on a reel
Tape
Foliage
I used: Pistache leaves and Eucalyptus parvifolia. You could also use other woody stemmed foliage like rosemary, large leaf eucalyptus, bay leaves, conifer and ruscus. If you cut foliage from the hedges in your garden, make sure you don’t disturb any nesting birds, you can find out more about this here on the RHS website.

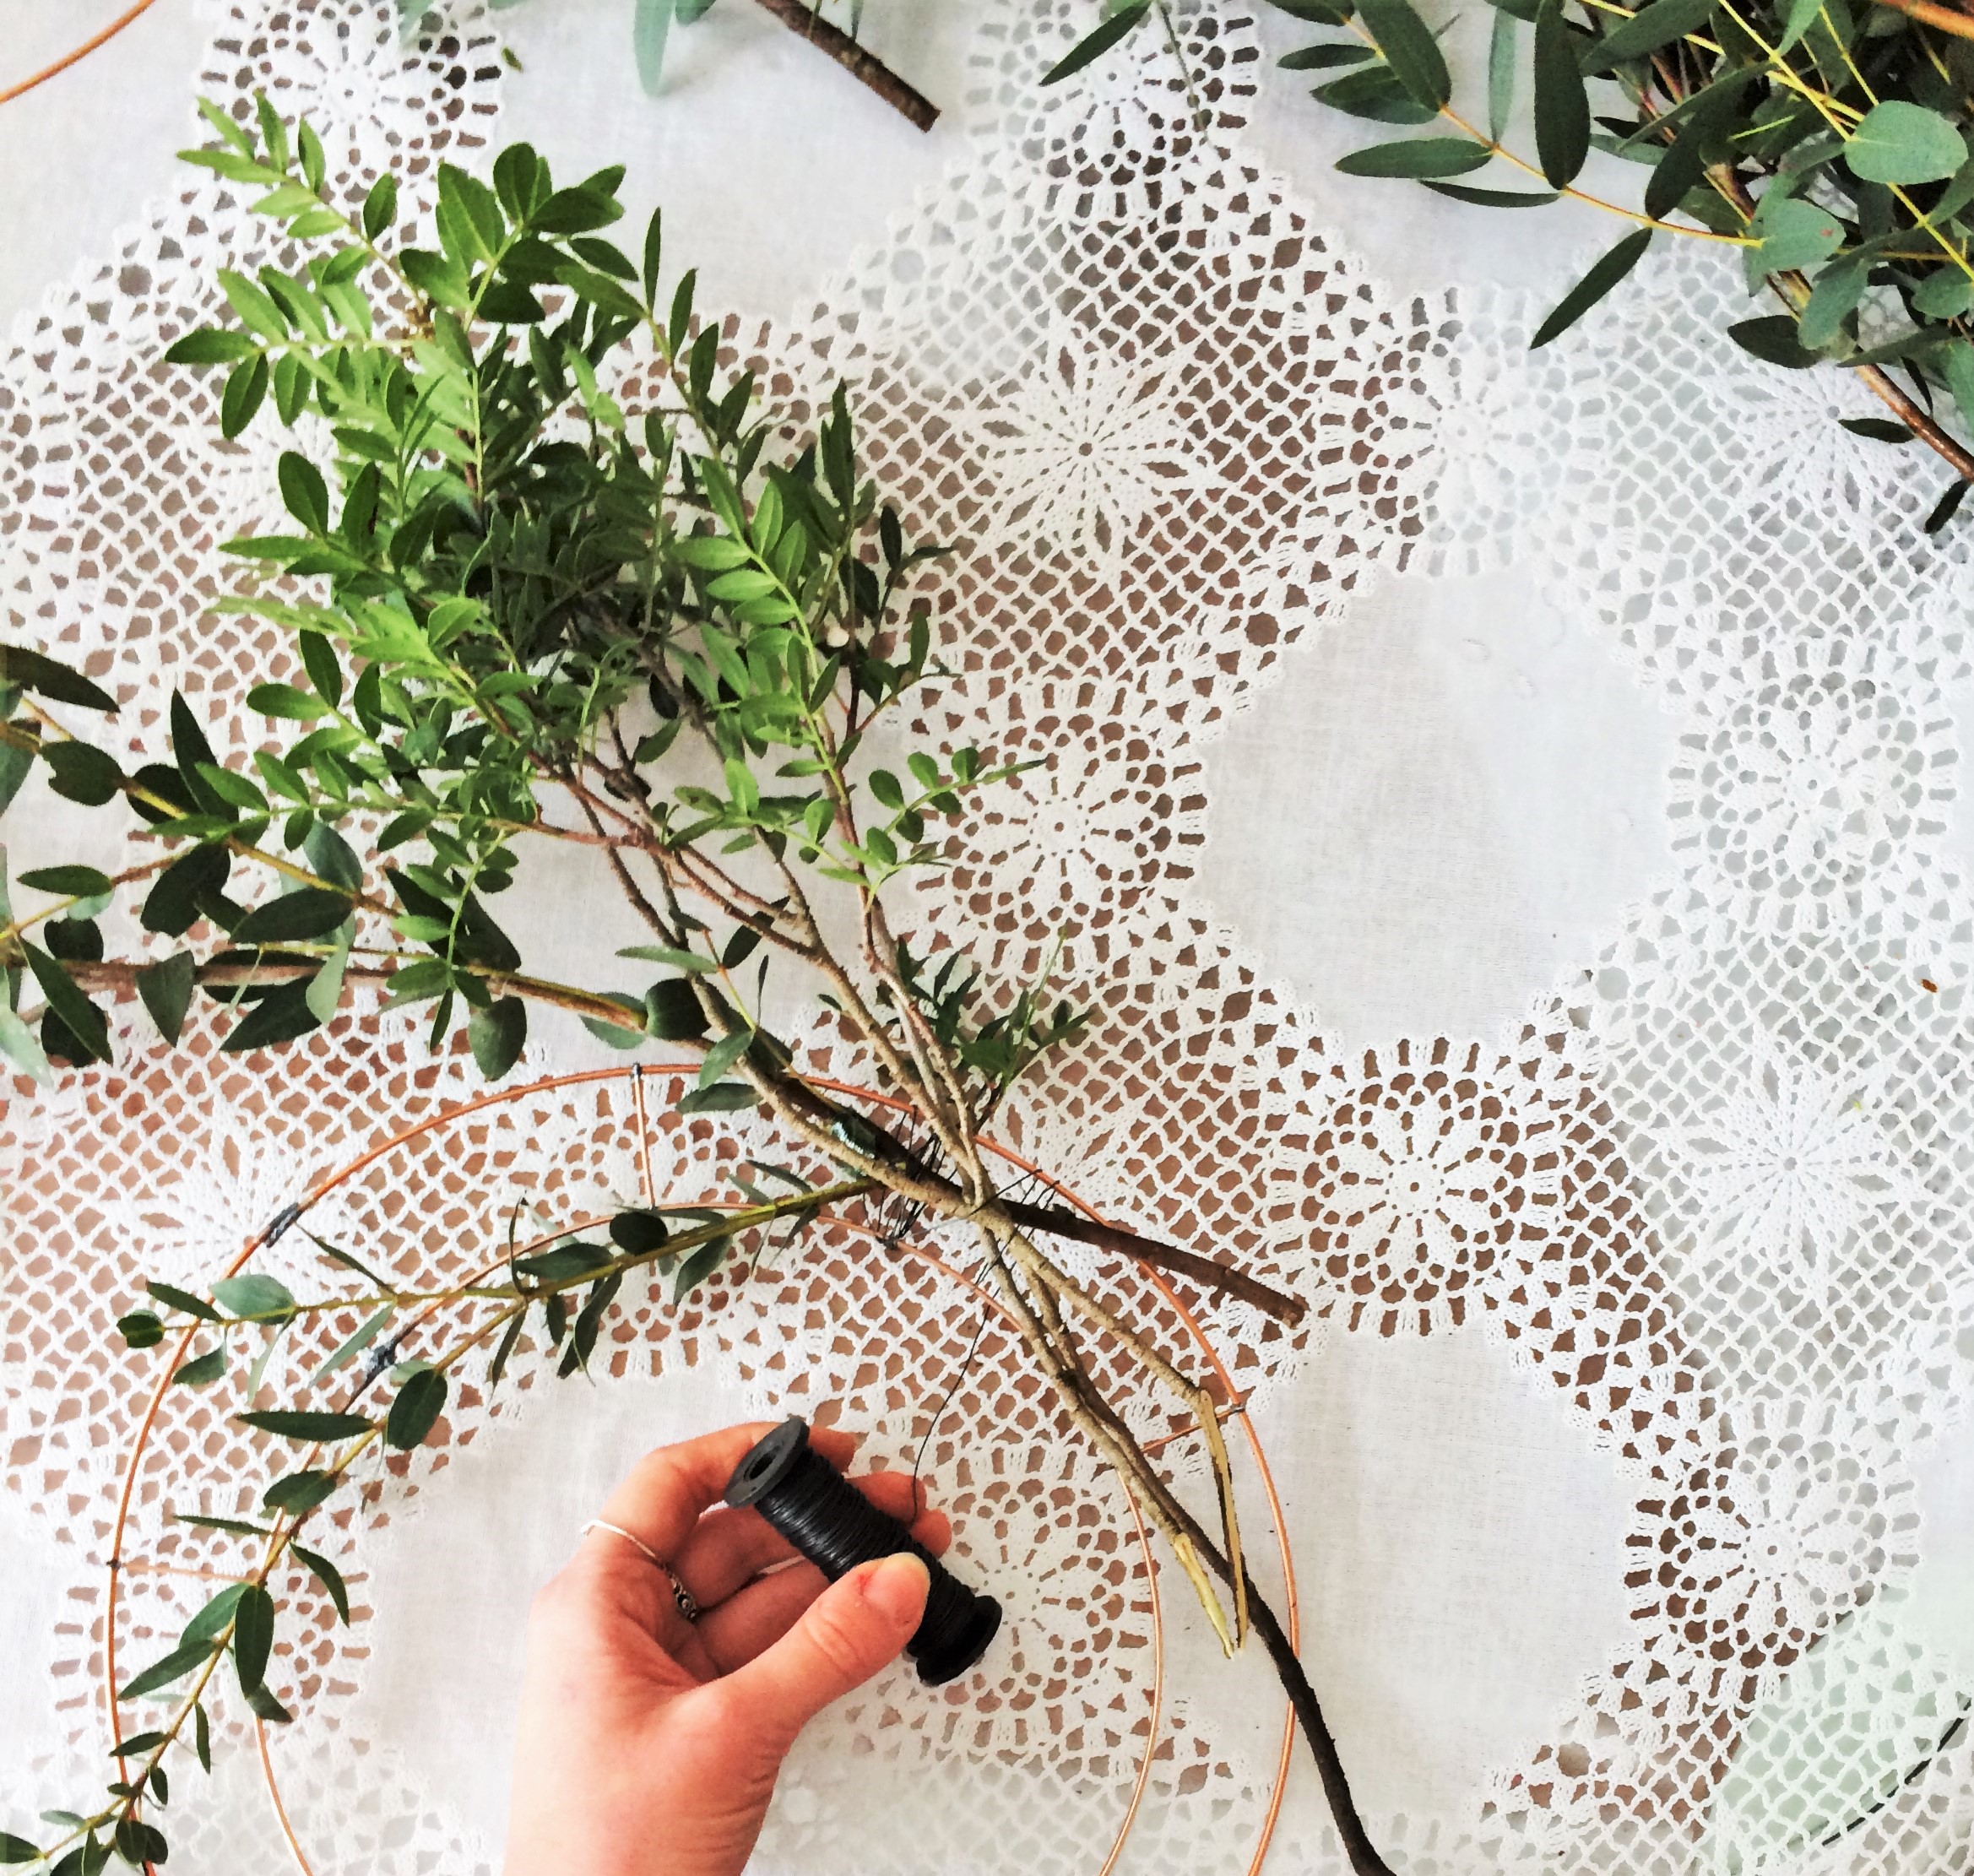
Step 1. Using the tape, cover any sharp parts of the copper ring to protect the wall or door you’ll be hanging it against. Securely tie the end of your wire to the copper ring and bind the first stem on, wrapping tightly.
Step 2. Moving in one direction around the ring, gradually build up the number of stems you attach to the wreath. To do this, lay one stem and bind it on, then lay the next stem on top of the last but slightly further down the hoop, then bind this one on. Keep repeating this process. The stems work better when they’re long because they can be woven into the wreath to neaten it up as it takes shape.
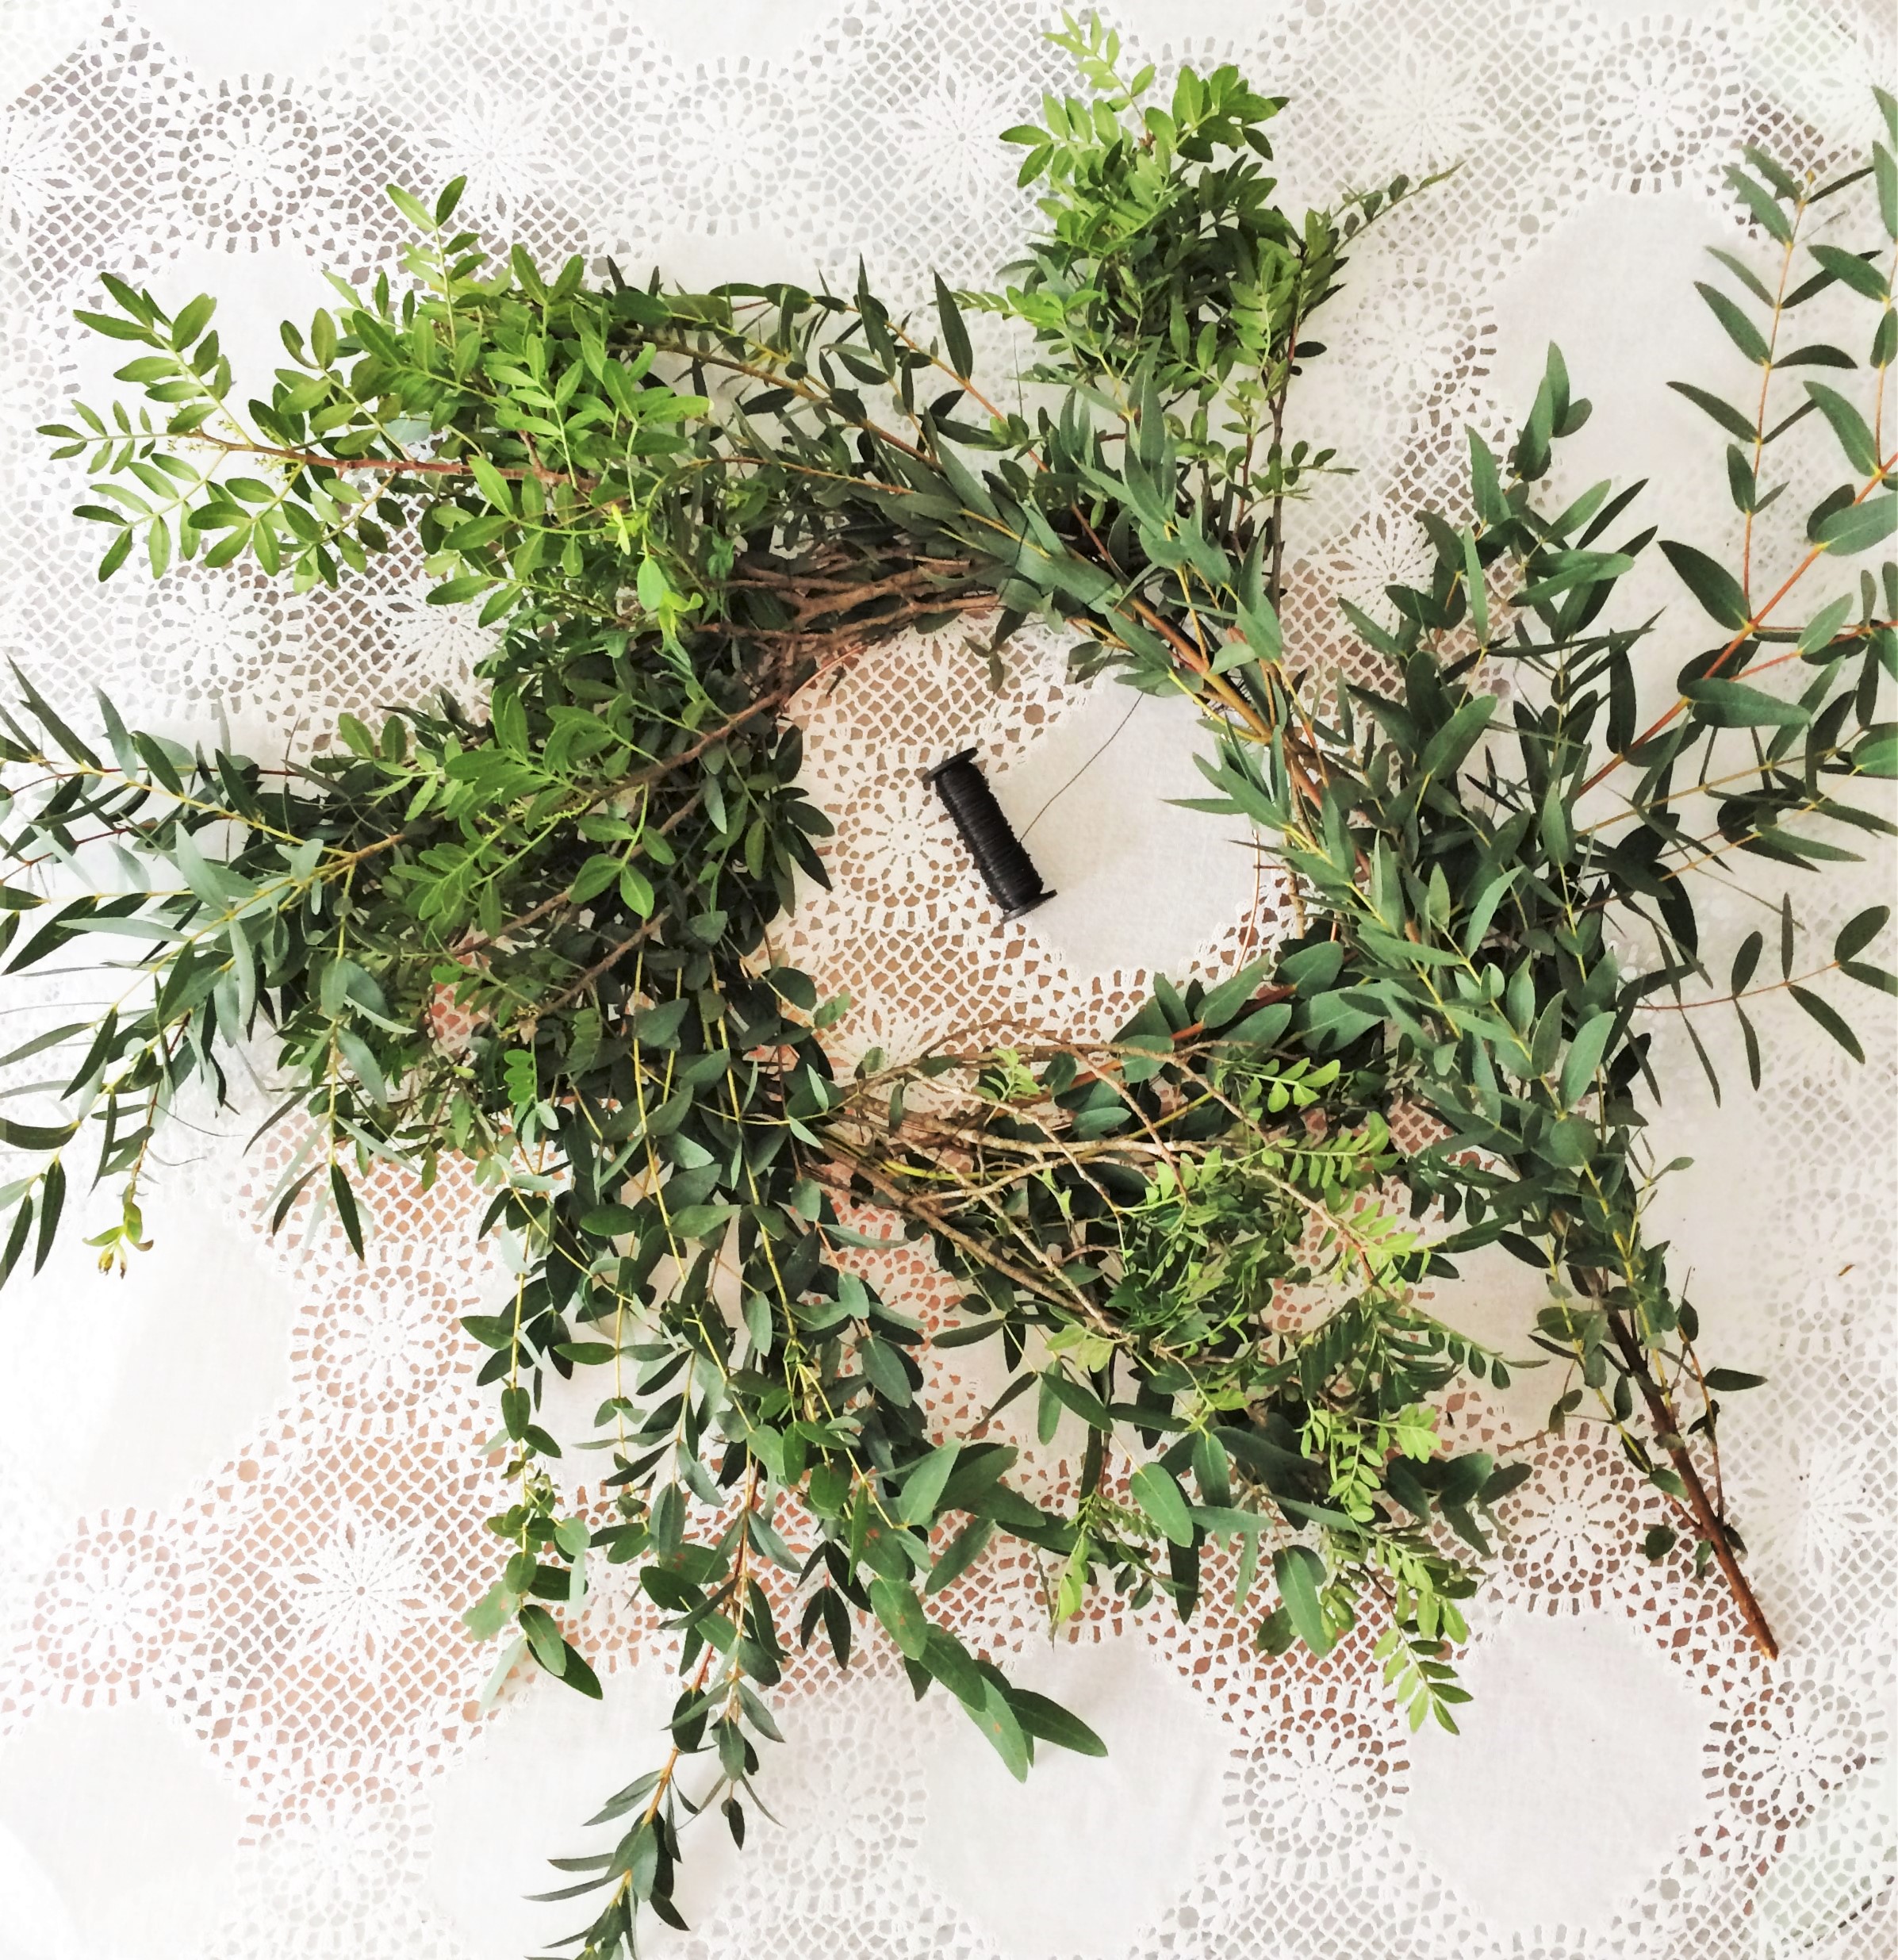
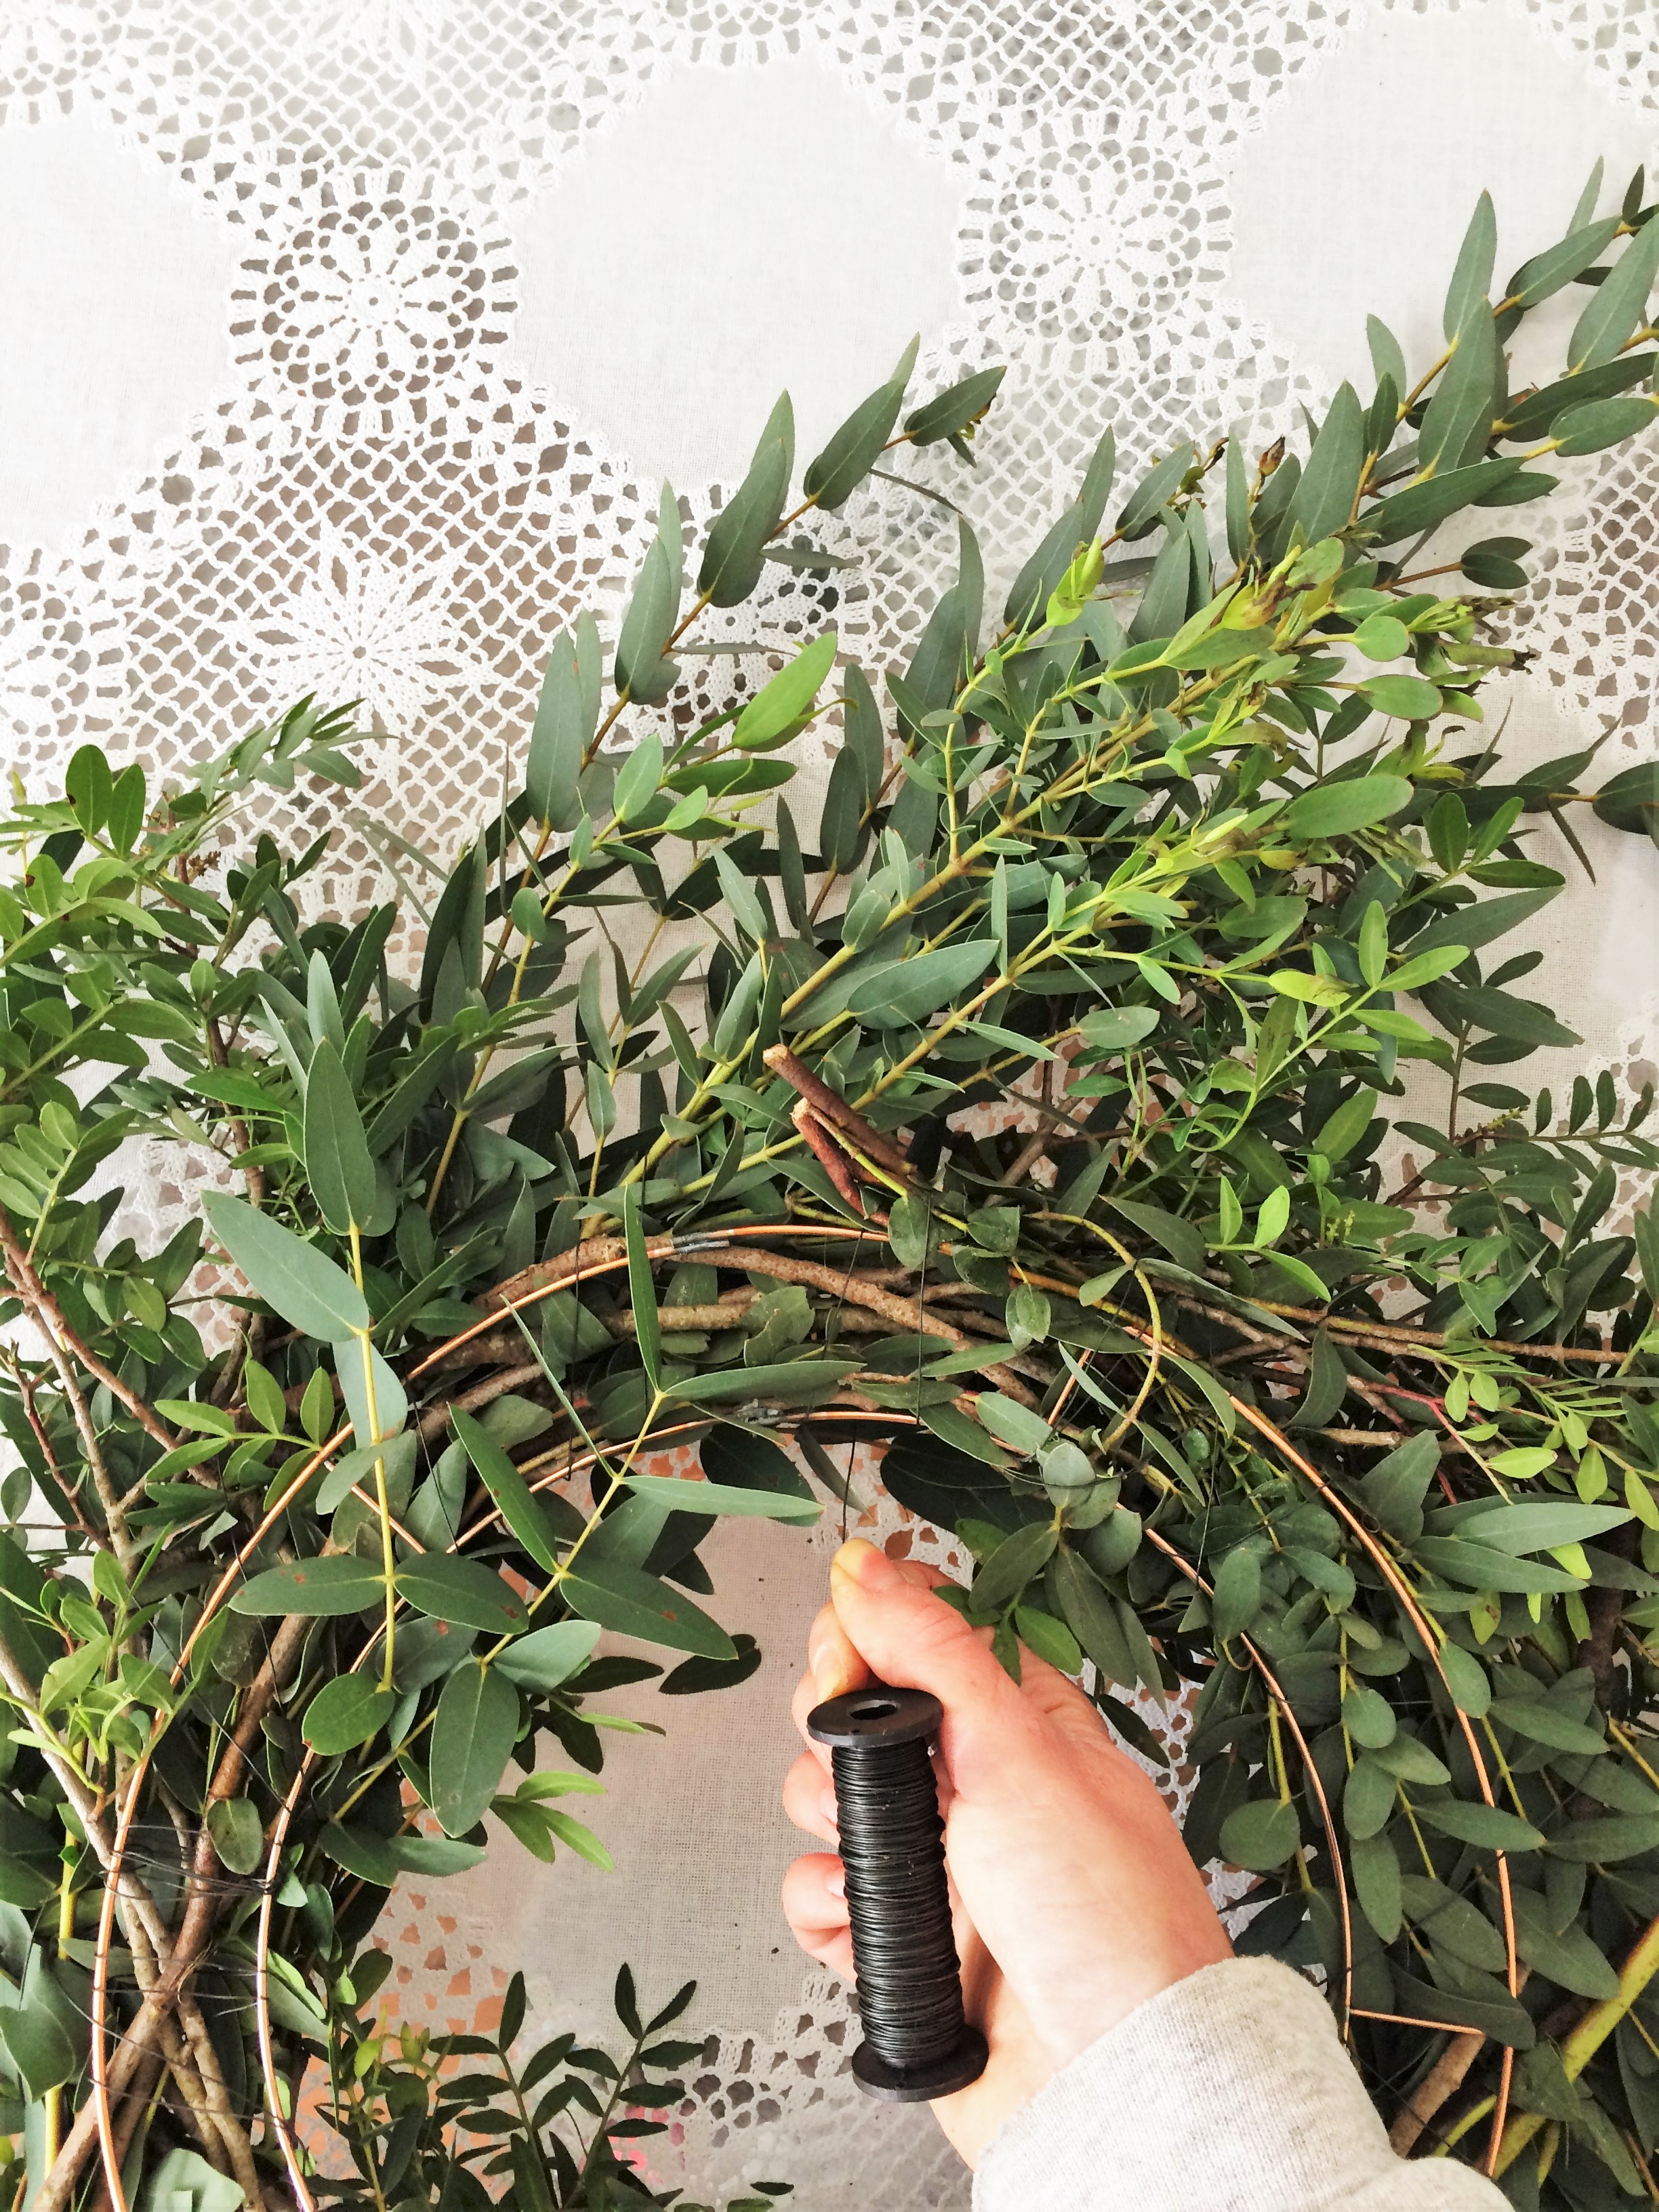
Step 3. Continue to bind each stem on by wrapping the wire around tightly a couple of times. Keep building the stems up and add a mixture of interesting foliage textures as you move round the hoop. If it’s looking like a wild mess, that’s only a good thing and it can be tamed later if you fancy having a neater wreath. As you’ve been laying each piece of foliage on top of the last, the front of the wreath will be full of luscious leaves and the back (which will be against your wall or door) will show all the woody stems.
Step 4. Once you’ve used all the foliage you’d like to, and your wreath is full of leaves, cut the wire and tie it off securely. Tuck any fly away stems into the wire. To create more of a neat circular wreath you can work your way through the stems meticulously and make a tidy hoop. If the fly away twigs are being stubborn and not staying in the wreath shape, cut off smaller pieces of your wire to individually bind in the stems that are misbehaving. If you’d like to keep your wreath more on the wild side then simply neaten up a few of the stems to make the shape as circular as you like.
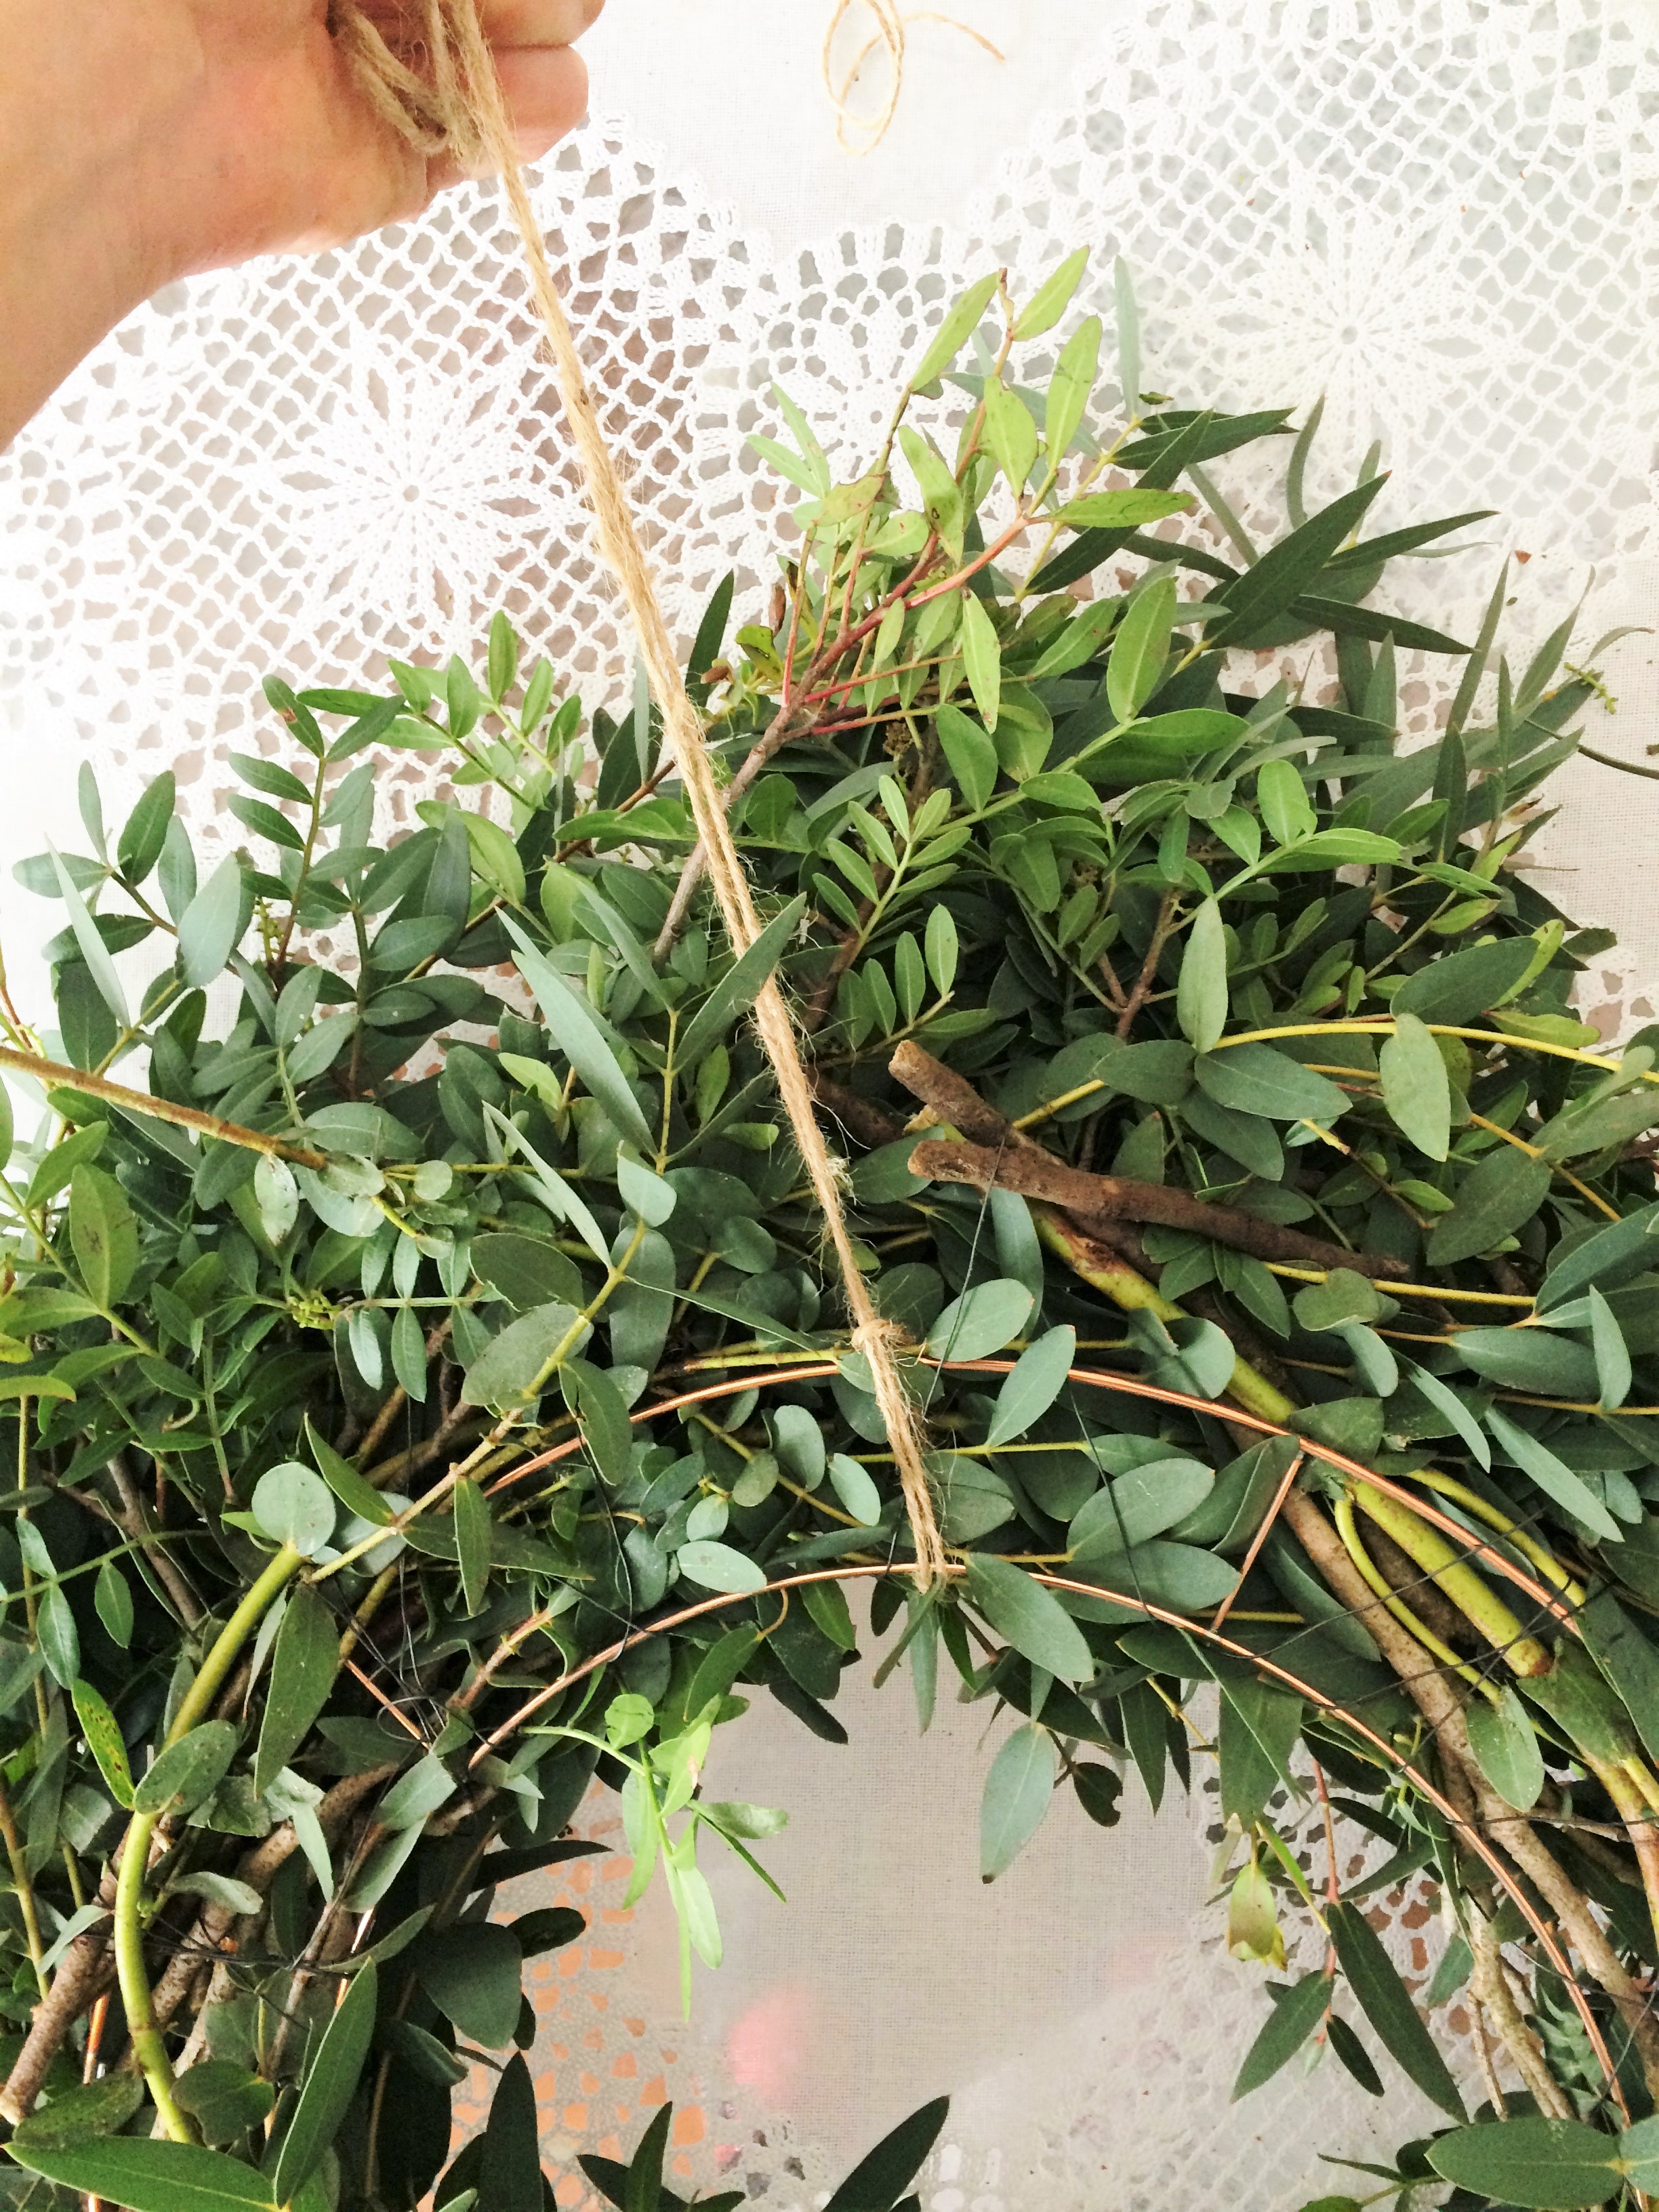
Step 5. Cut a long piece of twine and loop it though the back of the wreath to create a hanging tie.
Step 6. Hang your wreath up in your home, on your front door, or to decorate your wedding venue space. You can attach any decorations or bows to adapt it to the seasonal time of year. The leaves on the wreath will dry and fade over time but that simply adds to the rustic boho look.

The key parts to making the wreath are choosing scented, textured and woody foliage, binding tightly, letting it go wild and hanging it in a proud place for all to see. Let me know how you got on with your foliage wreath and where you decided to hang it! If you have any questions then send me an email alex@webbandfarrer.co.uk.

For more flower tips
Click here to learn how to make your cut flowers last.