
What to do with snapped and broken flower stems

Have you every unwrapped a bouquet 💐 and found some snapped stems that are too short for the big vase?
Ever accidentally broken a flower stem and wondered what to do with it so you can still enjoy it? 🧐
Do you love cutting flowers from your garden but some are miniature and get swamped when they’re with other flowers and foliage?
Then this blog is for you!…
… because it’s all about how to turn broken, snapped and short stems into beautiful little arrangements for your dining table, a shelf or your dressing table.

Seasonal flowers don't always have to be arranged in one big bunch to create impact. You can spread just a few stems out along the table and they stand out on their own. Any snapped stems, small broken stems that get swamped in a big arrangement or flowers that are just too short for a big vase are perfect for this step by step flower tutorial.
With all their interesting shapes and shades, flowers like:
daffodils, tulips, ranunculus, hellebores, viburnum, muscari and blossom are amazing as solo flowers in Spring.
And in the Summer:
dahlias, roses, delphinium, hydrangeas and ammi majus all stand out on their own in a little bottle or bud vase too.
So, if you're looking to dress the dining table with flowers this weekend, with just a few stems and nothing too massive here's how...
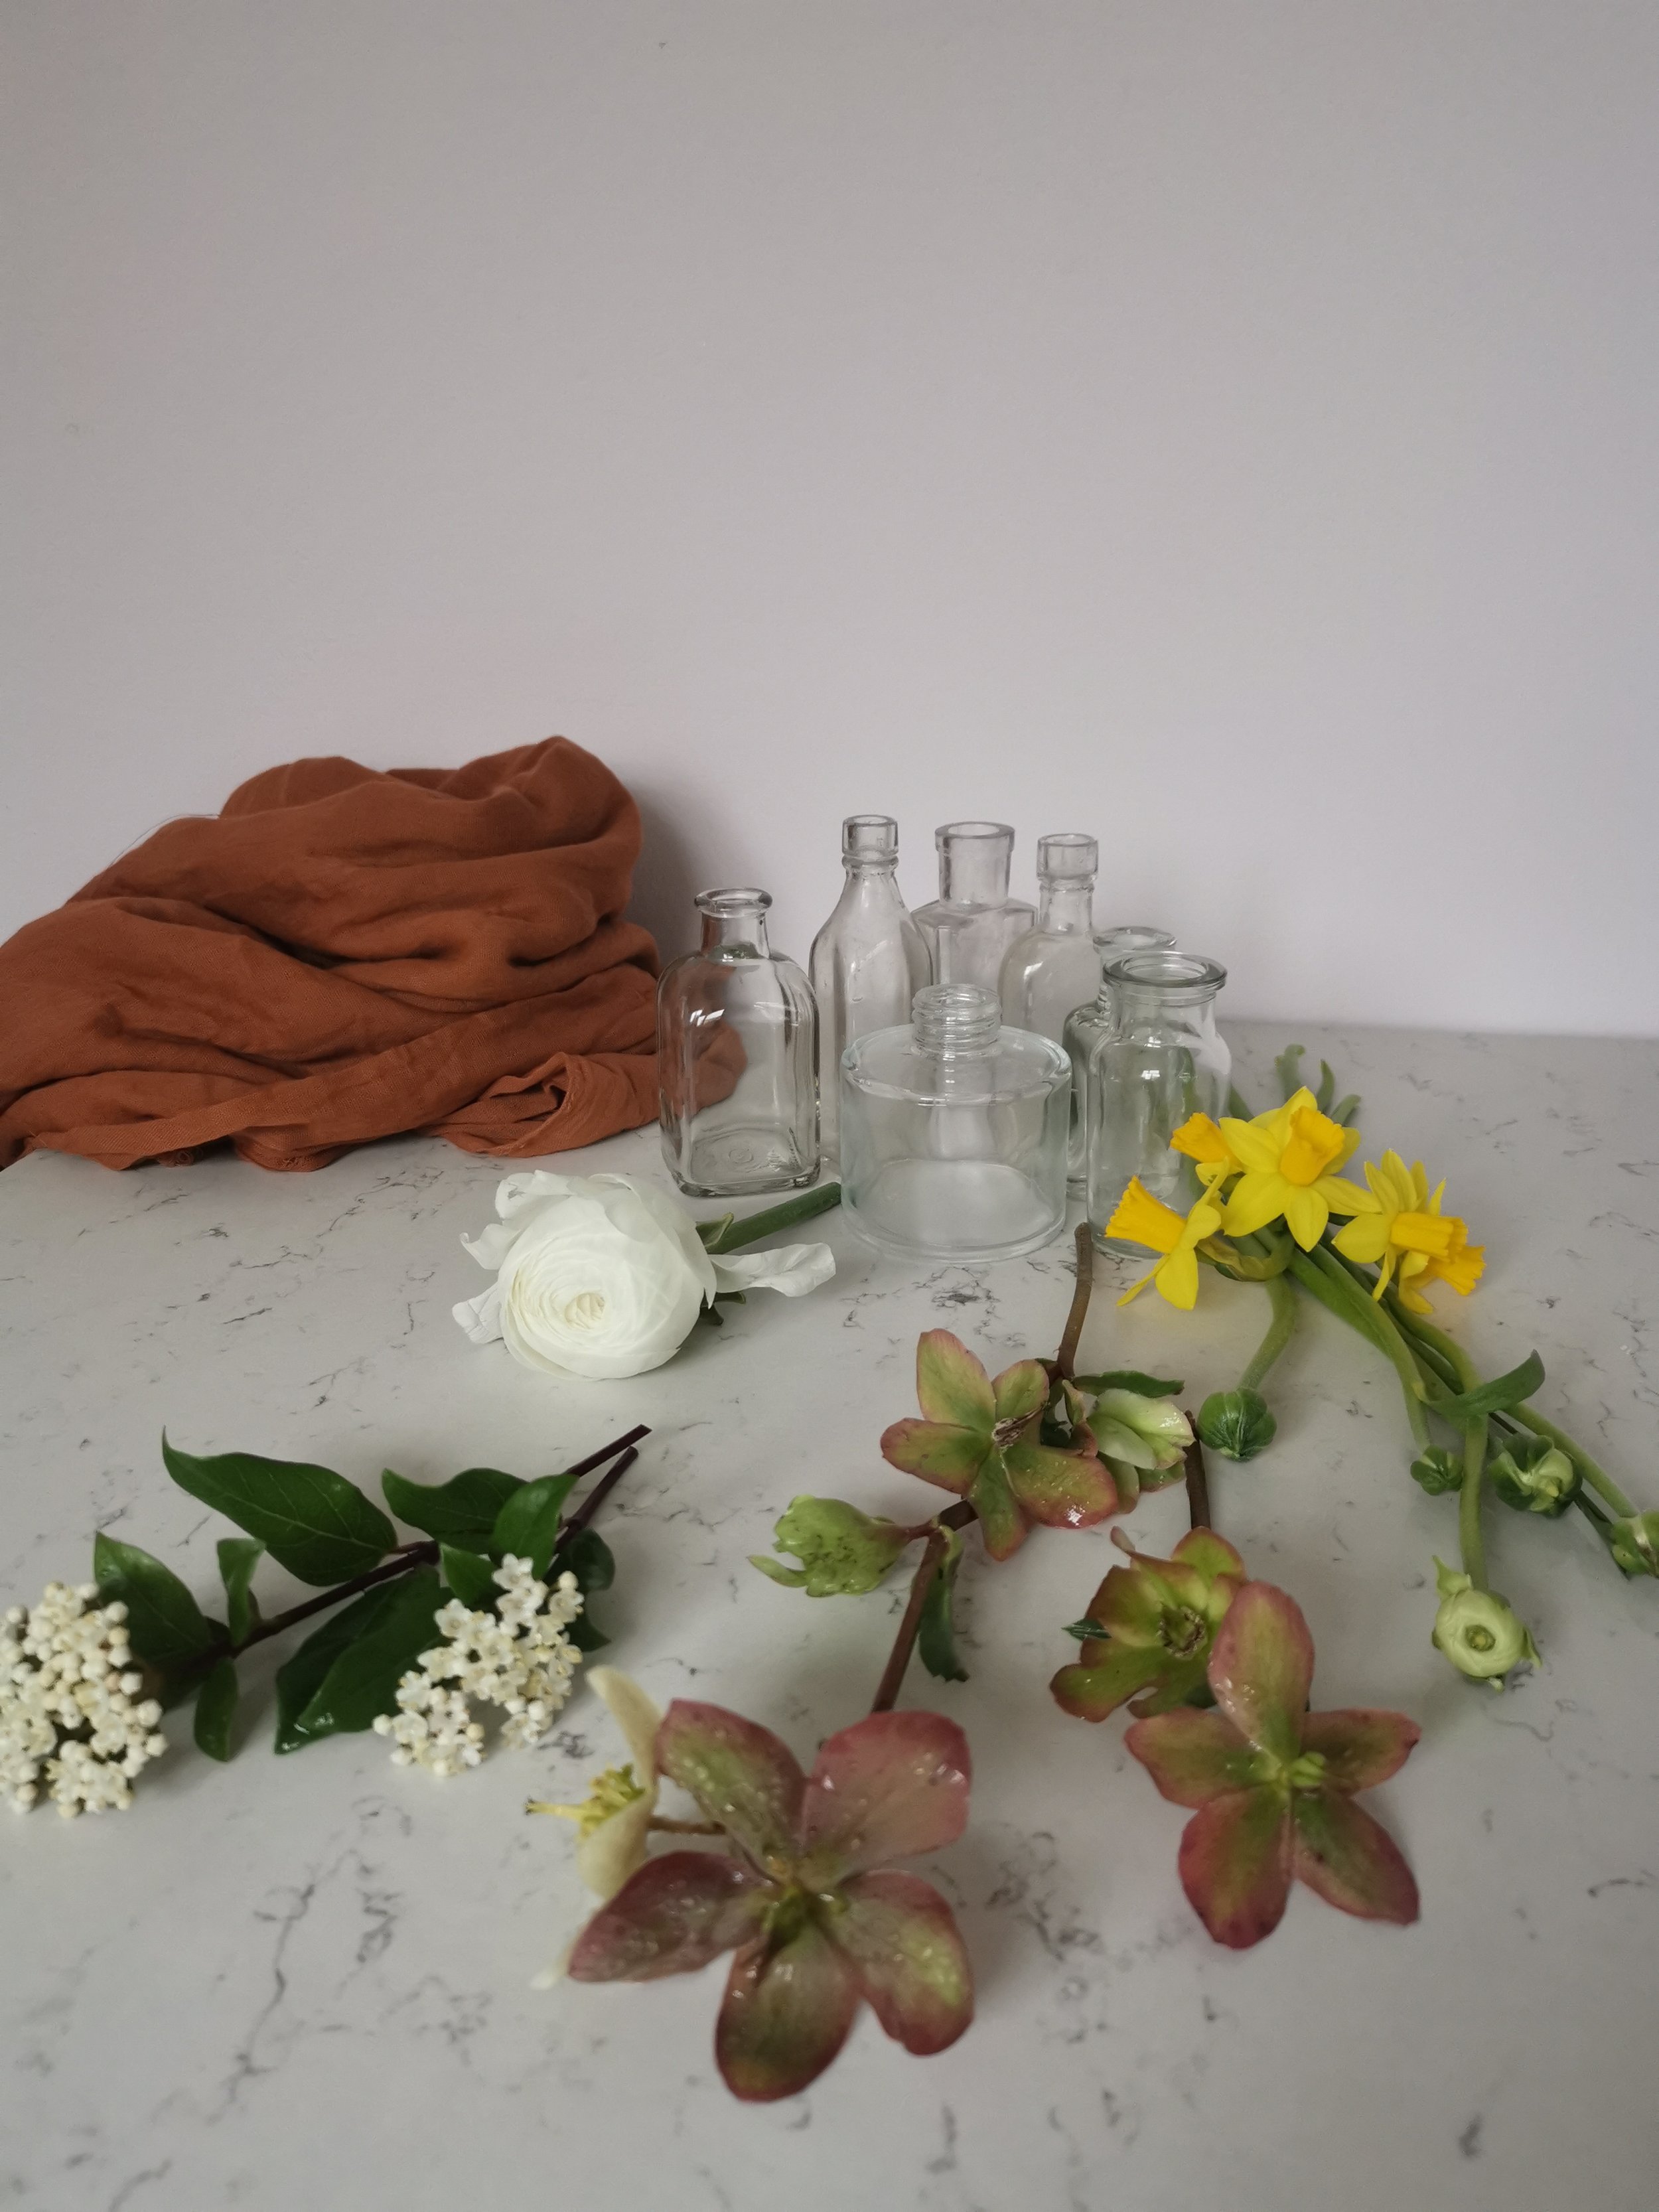
You will need:
- Little glass bottles, bud vases, old perfume bottles or you could also use shot glasses.
- Broken, short and small seasonal flowers. Just a few stems per bud vase. It’s Spring at the moment so I used seasonal flowers including: daffodils, 1 broken ranunculus, hellebores and viburnum.
- Some scissors and fresh cold water.
- Table runner optional.

3 simple steps to arrange snapped stems...
1. Make sure the bud vases and bottles are clean with no old leaves at the bottom. The cleaner the glass bottles, the longer the flower stems will last because there’ll be less bacteria to build up and reduce the vase life of the flowers. You can use vinegar to clean the glass bottles and remove any streaks and water marks. Rinse them with cold water for an extra shine ✨. Fill each of your bud vases and bottles with fresh cold water to about midway.

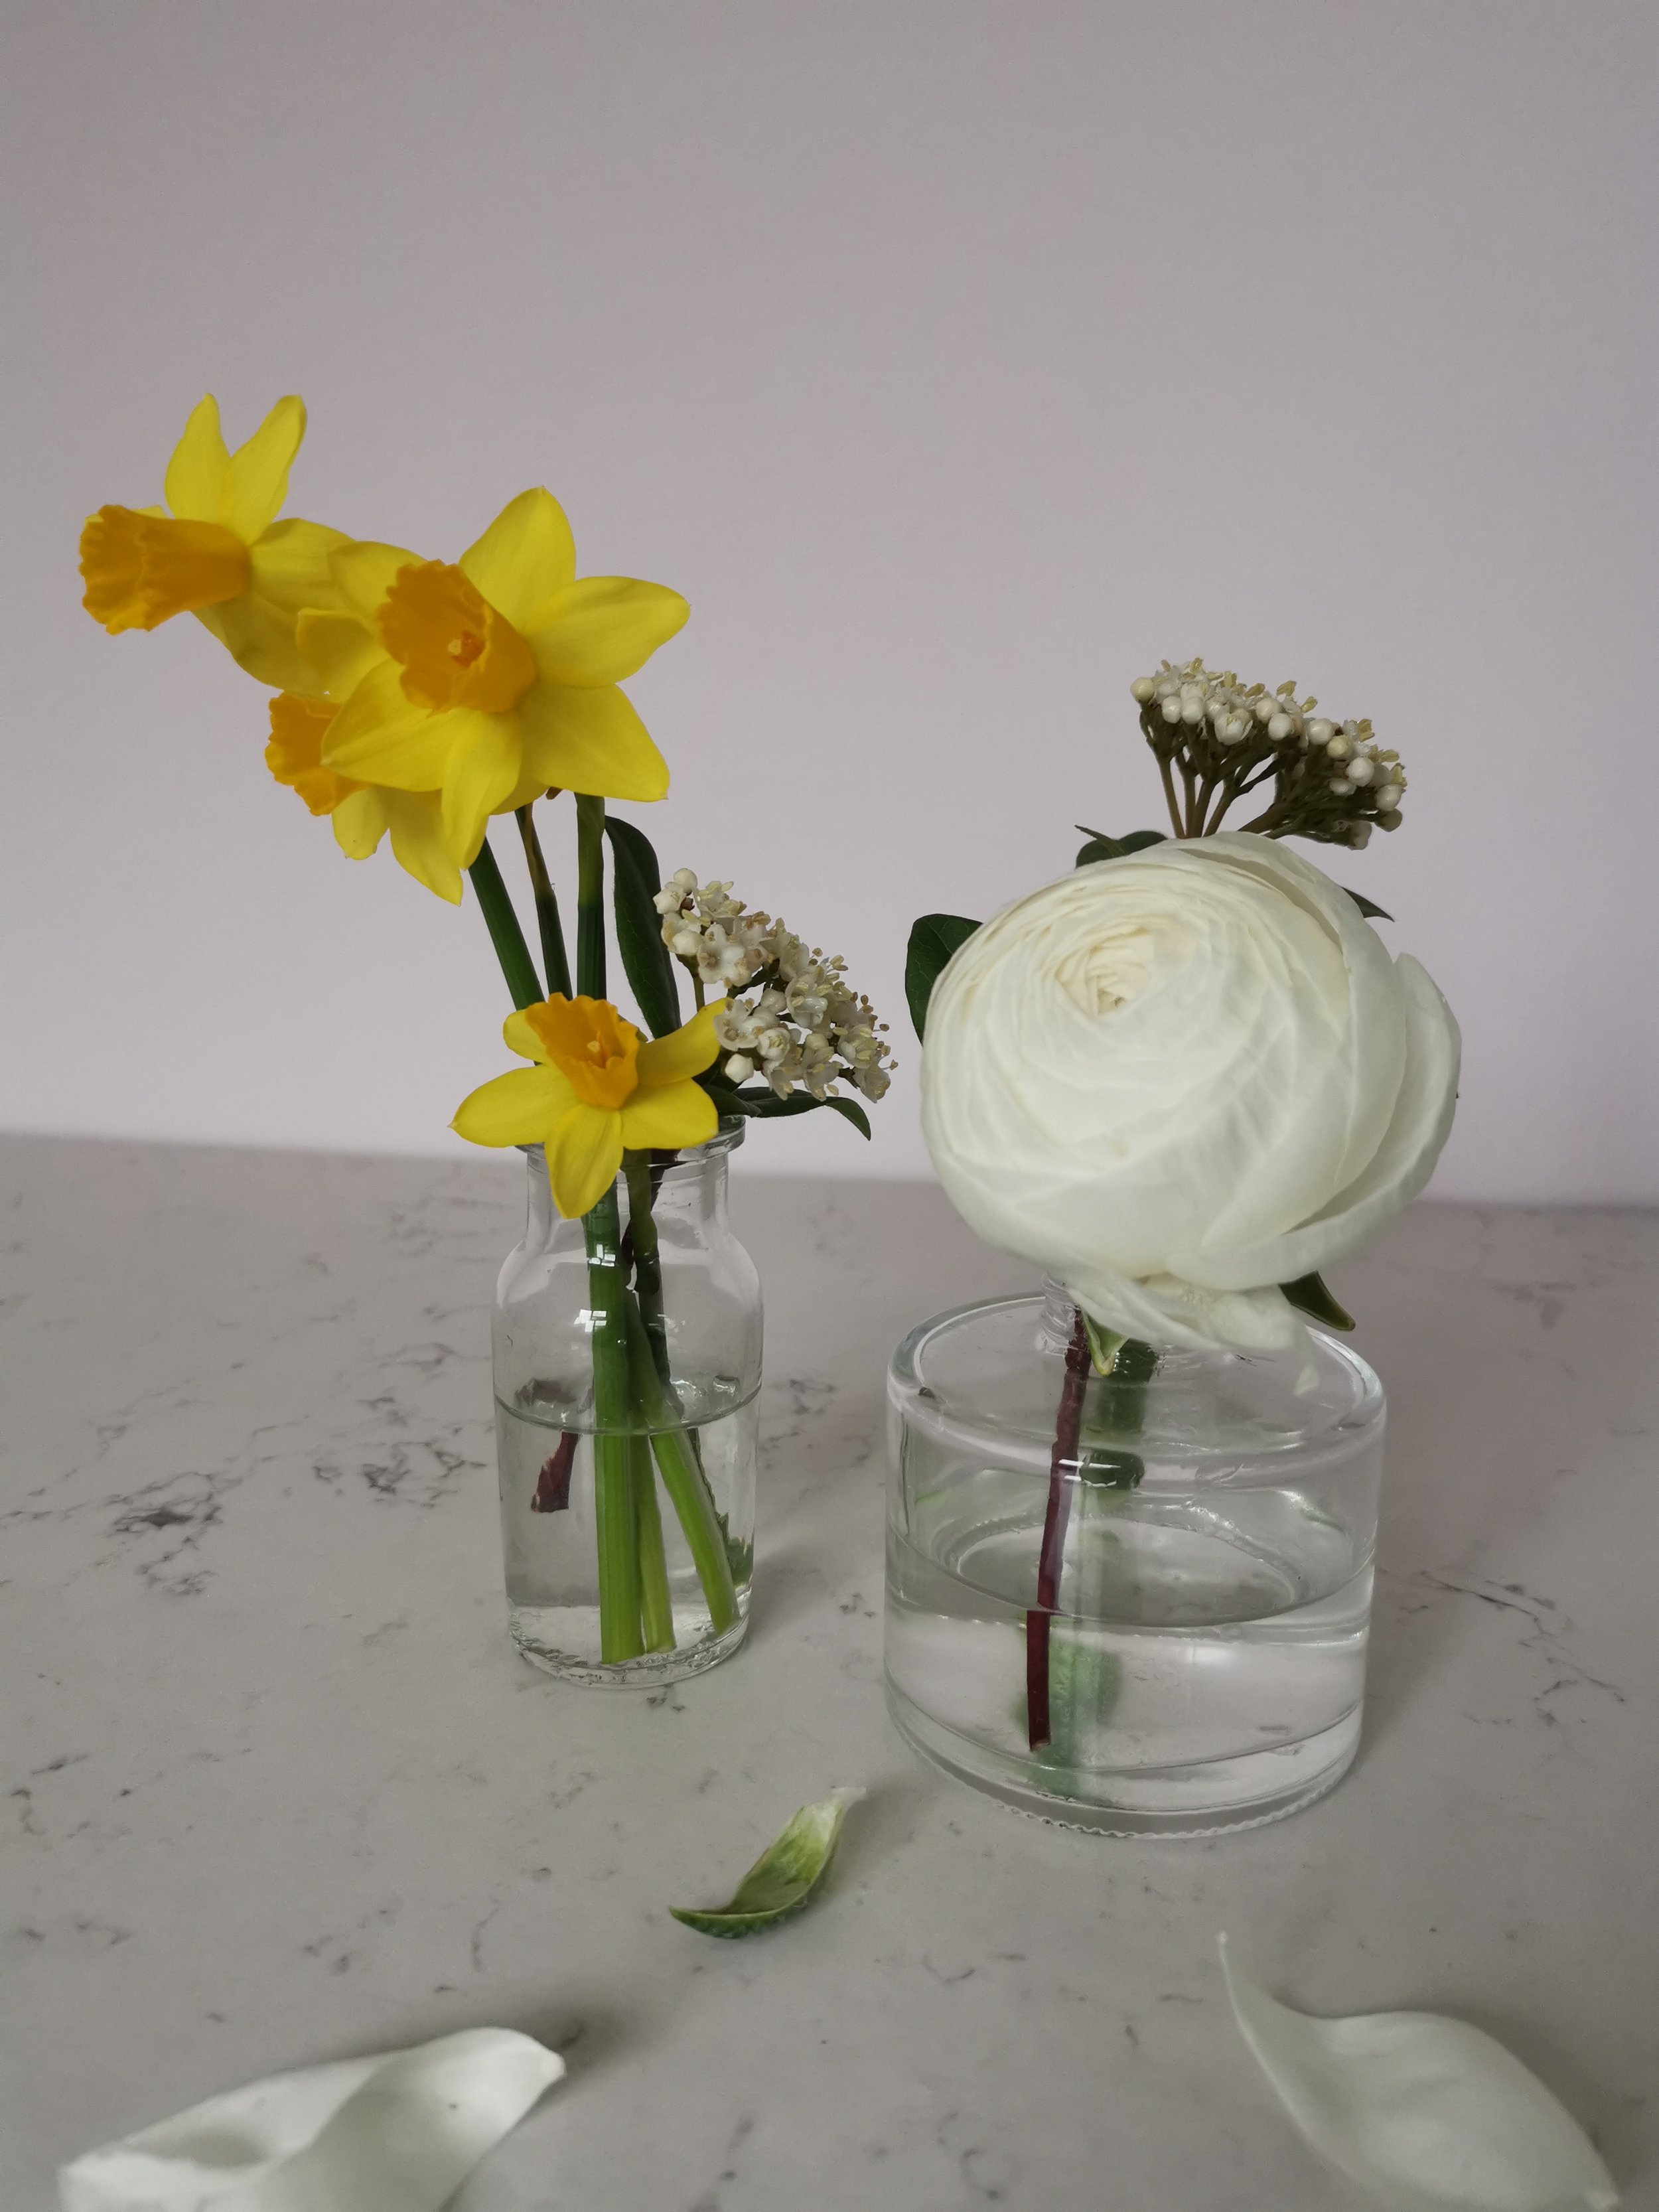
2. When you cut each flower stem, ✂️ cut at an angle to increase the surface area for the water to travel up. In each little bottle, place just a few stems together. Keep larger and heavier flowers very short and resting on the rim of the vase. Anything lighter can go a bit taller to add some height to the arrangements.
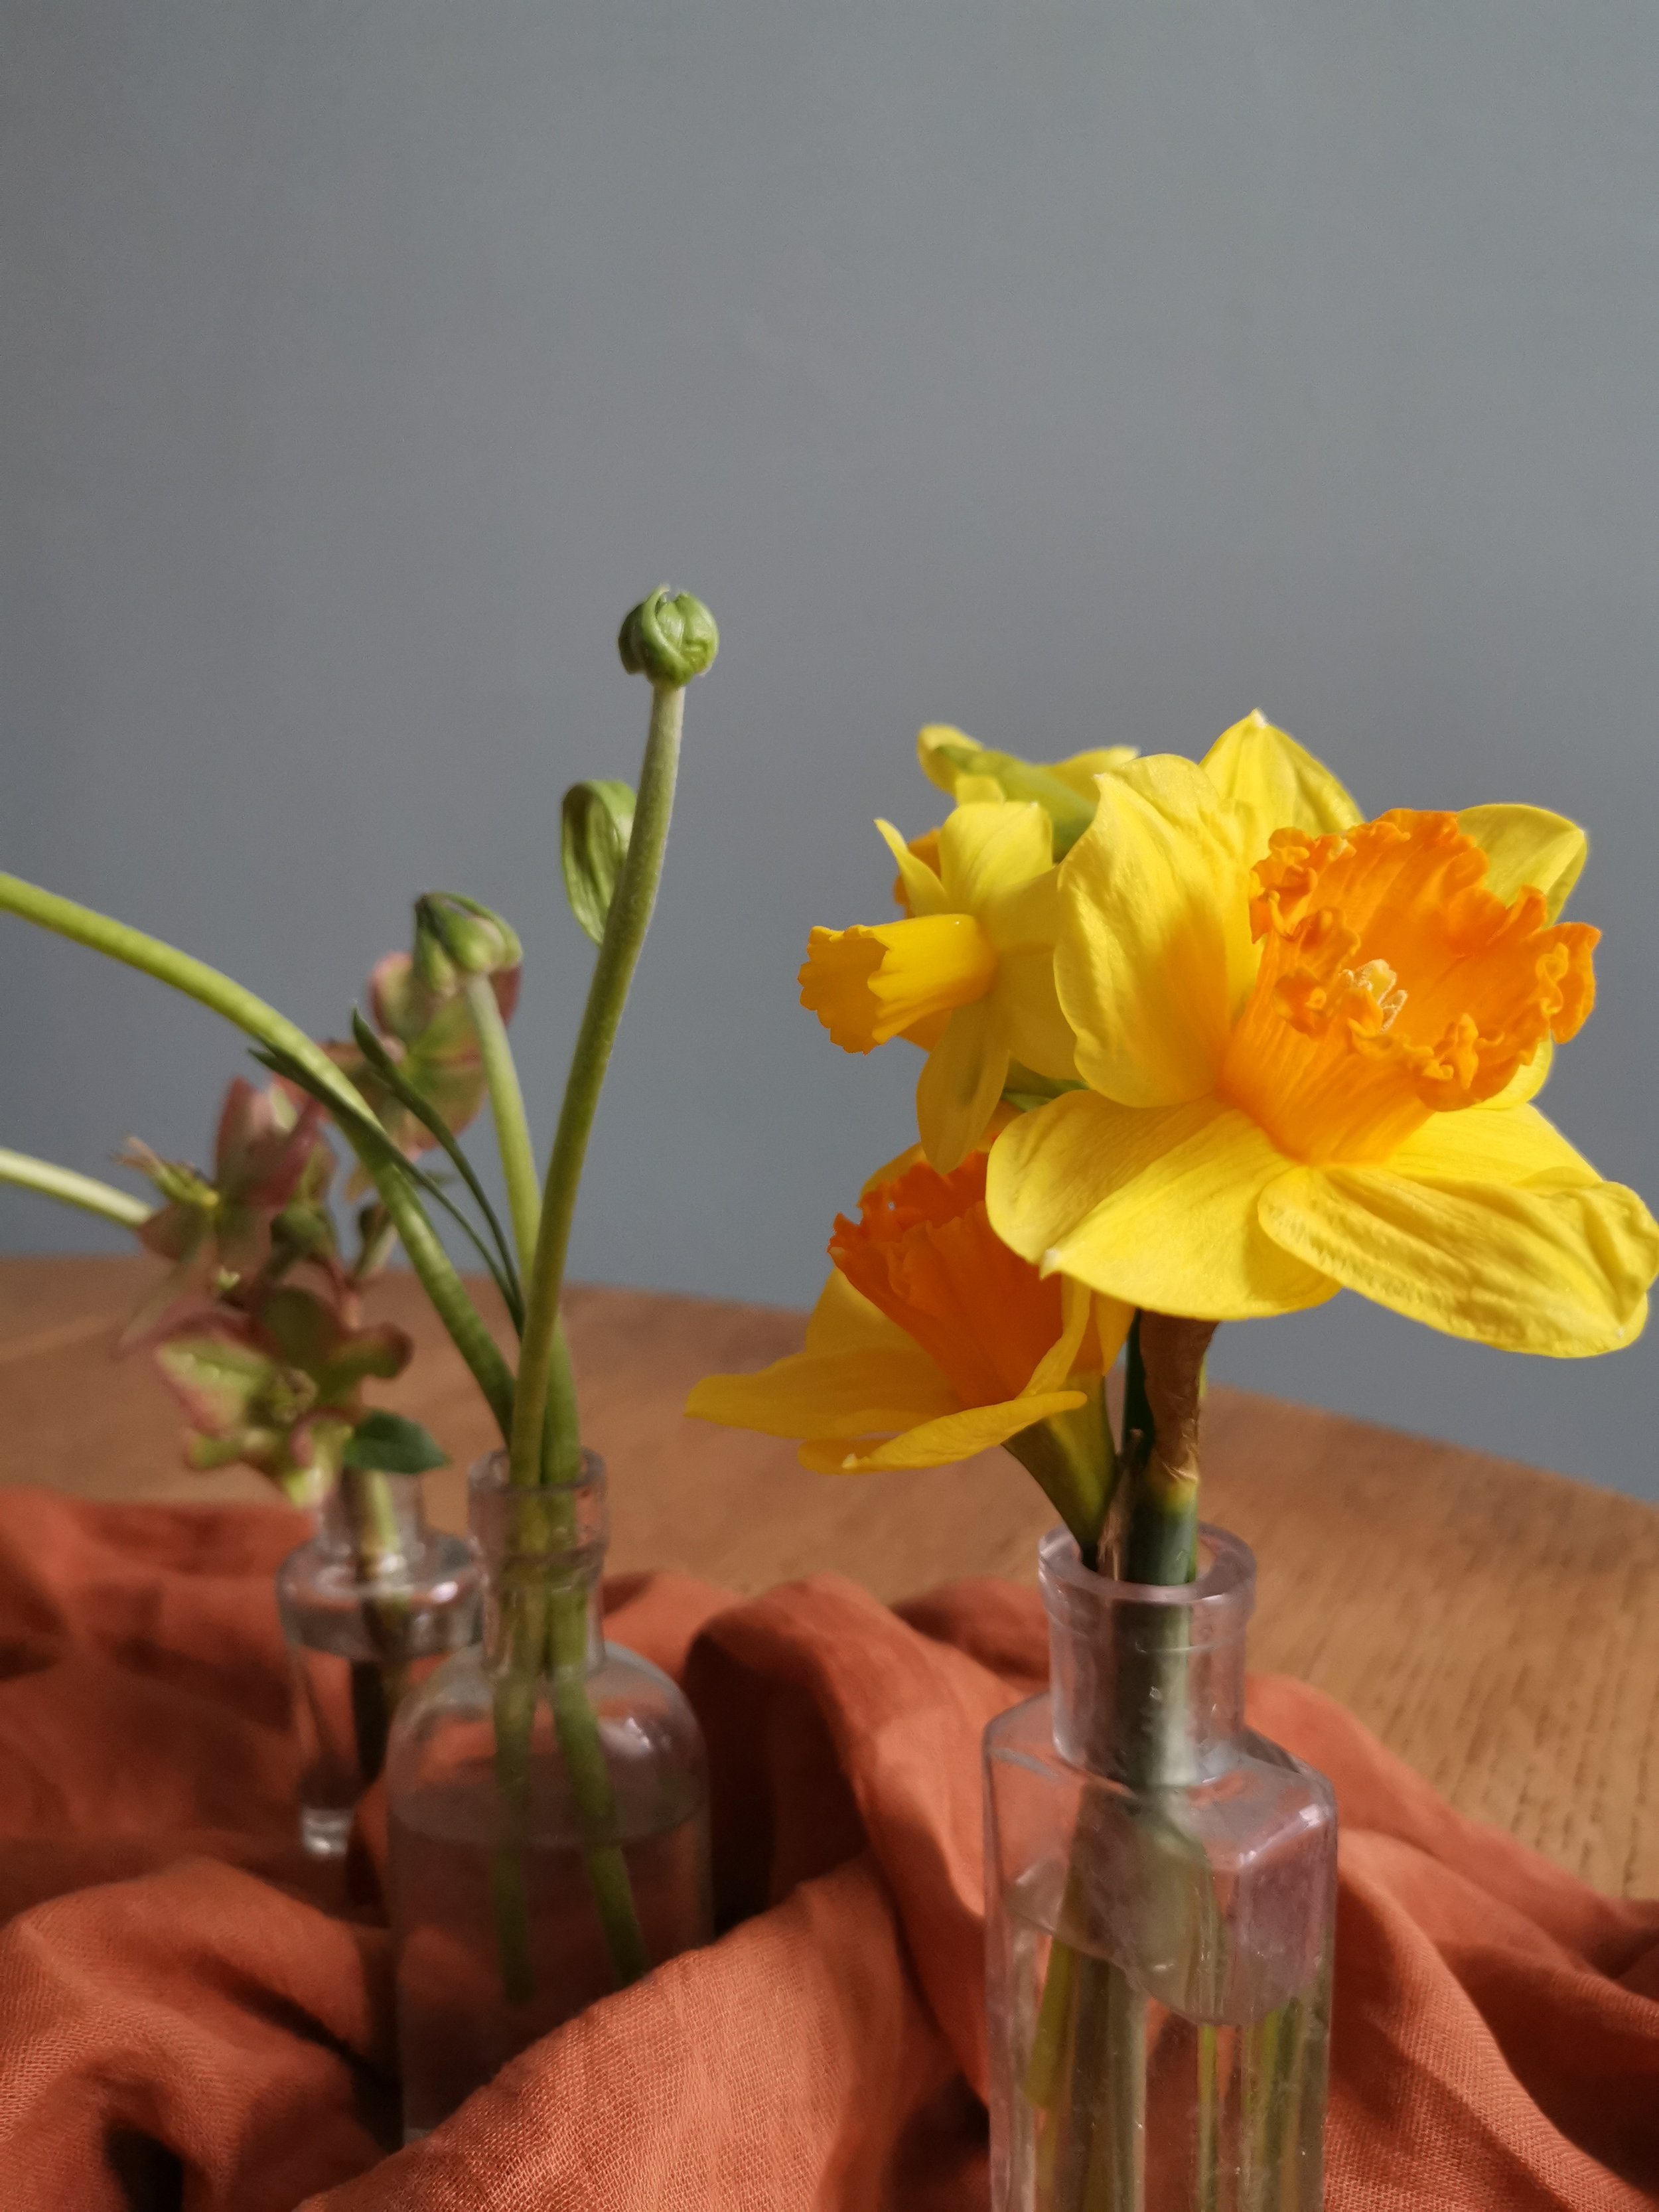
3. Arrange your bottles along the table, or if you've got a round table, scatter them in a circle centrally. You can group bottles together for a more relaxed and unstyled* look or spread them apart to go more contemporary, light and airy.
I spread the bright yellow bottles along the design so they weren't all bunched together in one place.
*unstyled is always actually very styled isn't it 😂


{A top tip for getting your fabric table runner to look really naturally draped, is to spread it across the table and then pinch and lift all along the runner, allowing it to drop back down onto the table, leaving it where it falls.}
Also, I can't believe it's taken me this long, but this month I learned how to type emojis on my laptop, so they will now be featuring in my blogs 🌷🌼🌸
I would love to see how your little bud vase arrangements come along, so tag me on Instagram in your photos @WebbandFarrer. If you’d like to watch a reel all about how I made these bud vases, you can watch it here.


